
26 moments
Born at Tikrit
· Tikrit, Iraq
Saladin was born at Tikrit, then a fortress town on the Tigris. His exact birth date is unknown. The source gives the birth year as circa 1137; coordinates represent Tikrit.
Defends Alexandria
· Alexandria, Egypt
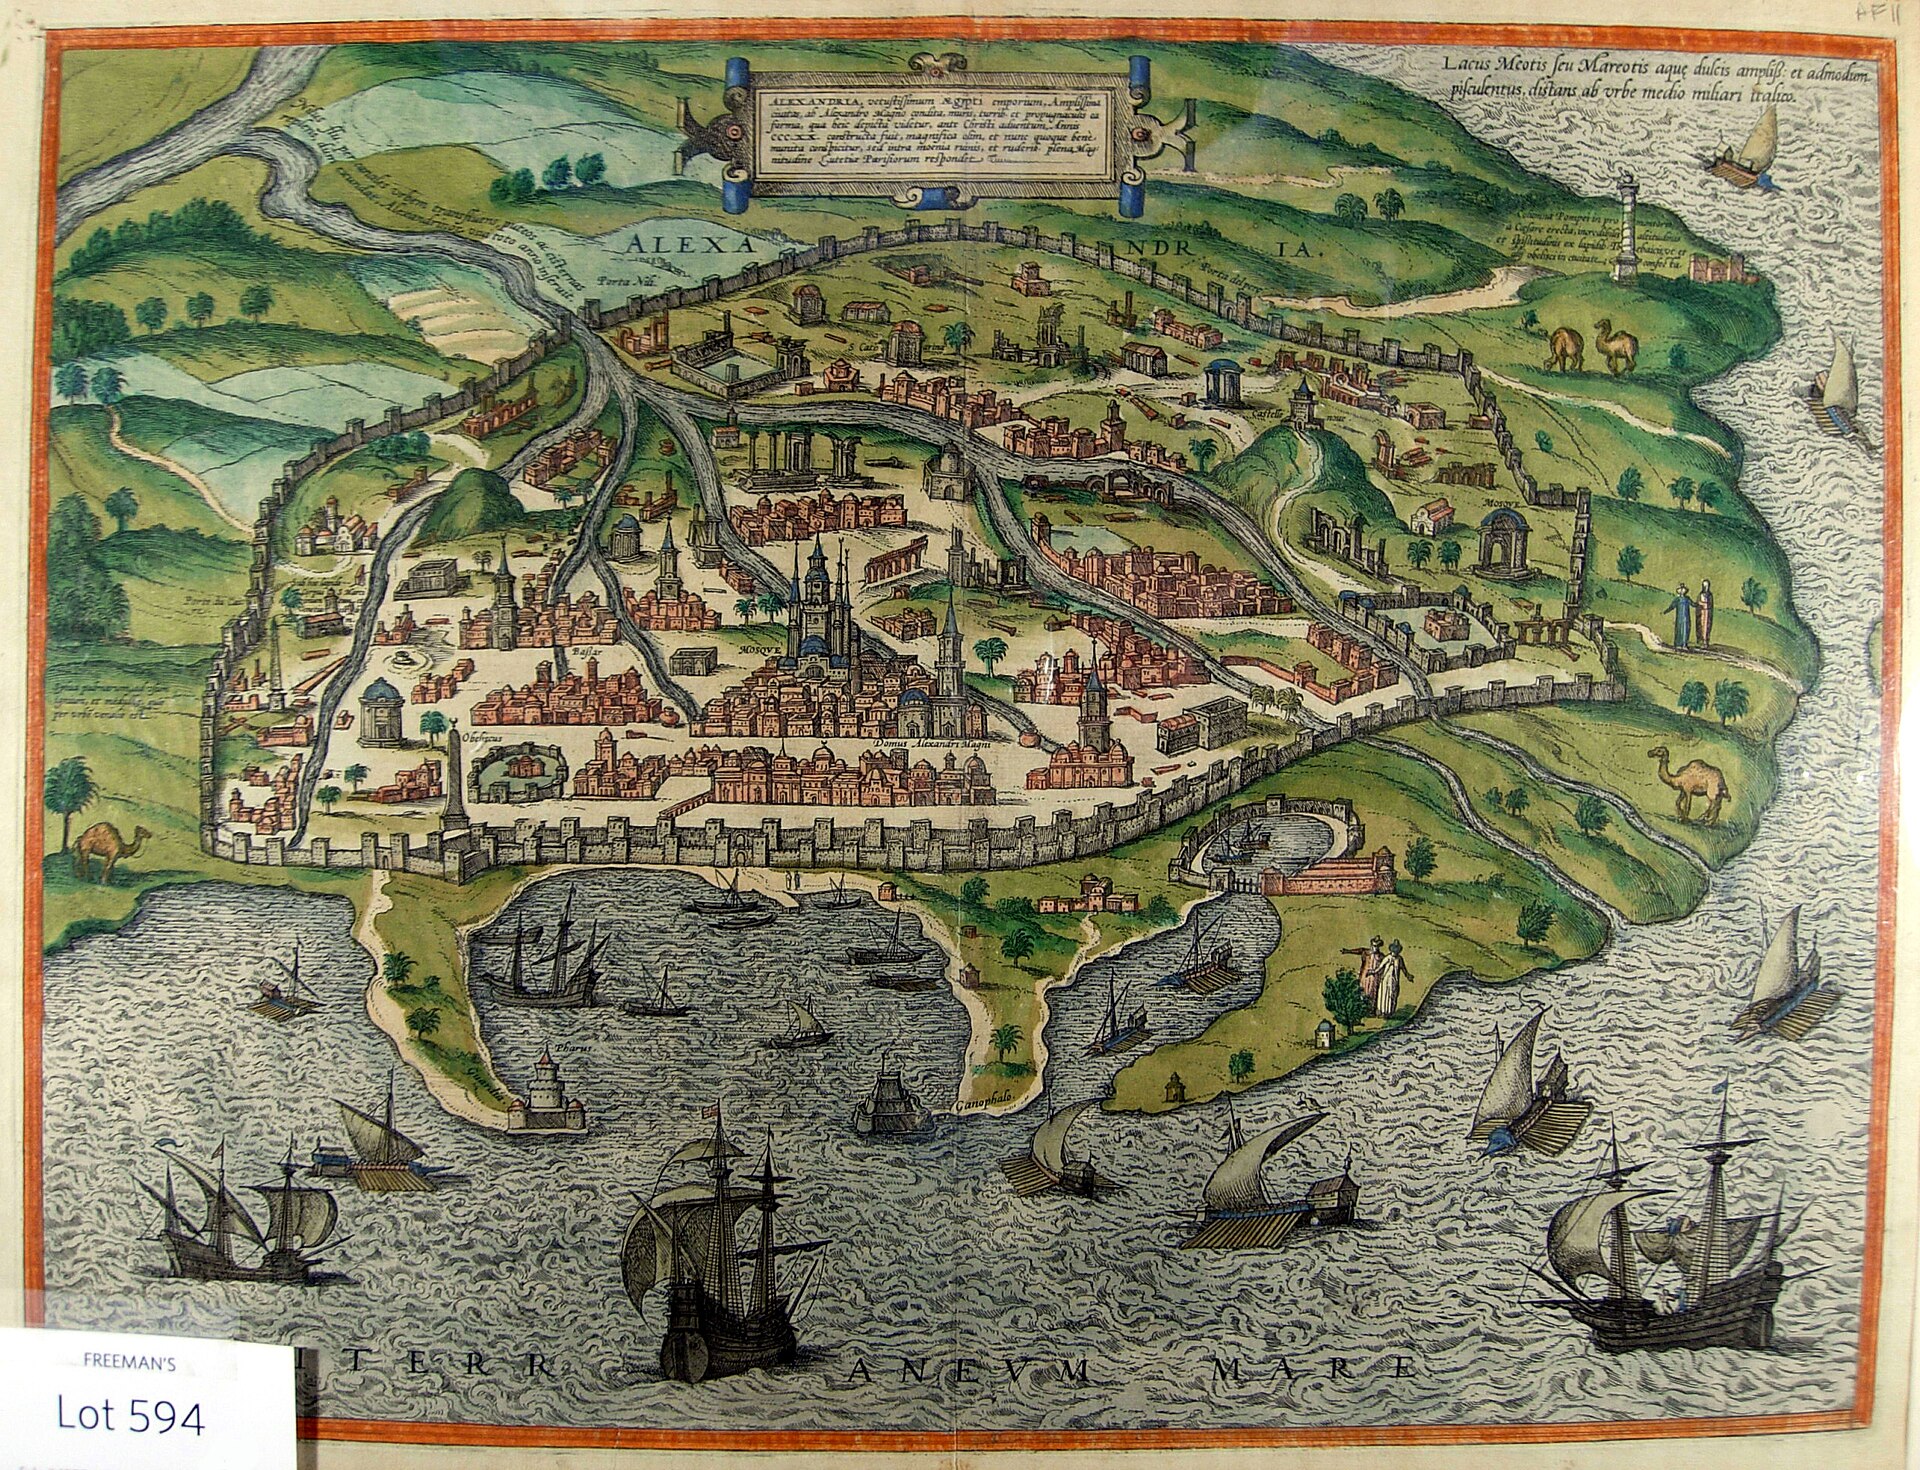
Wikimedia Commons · Creative Commons Zero, Public Domain Dedication · file After the campaign moved to Alexandria, Saladin commanded the defense of the port during a three-month siege by Crusader and Fatimid forces. The siege is dated only to summer 1167.
Fights at al-Babein
· Al-Babein battlefield, Giza, Egypt
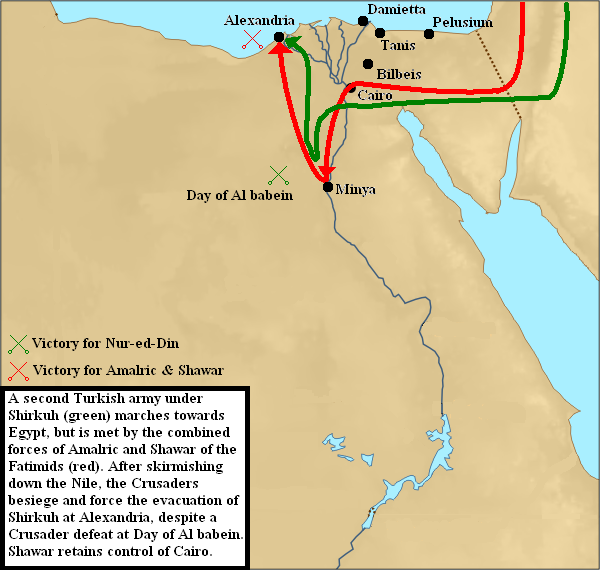
Wikimedia Commons · Creative Commons Attribution-Share Alike 3.0 · file Saladin served as a senior officer in Shirkuh’s army during the battle west of the Nile, an important stage in his rise during the struggle for Egypt. The article dates and locates the battle at Giza; its supplied battlefield coordinates are used.
Reaches Ascalon
· Ascalon, Ashkelon, Israel
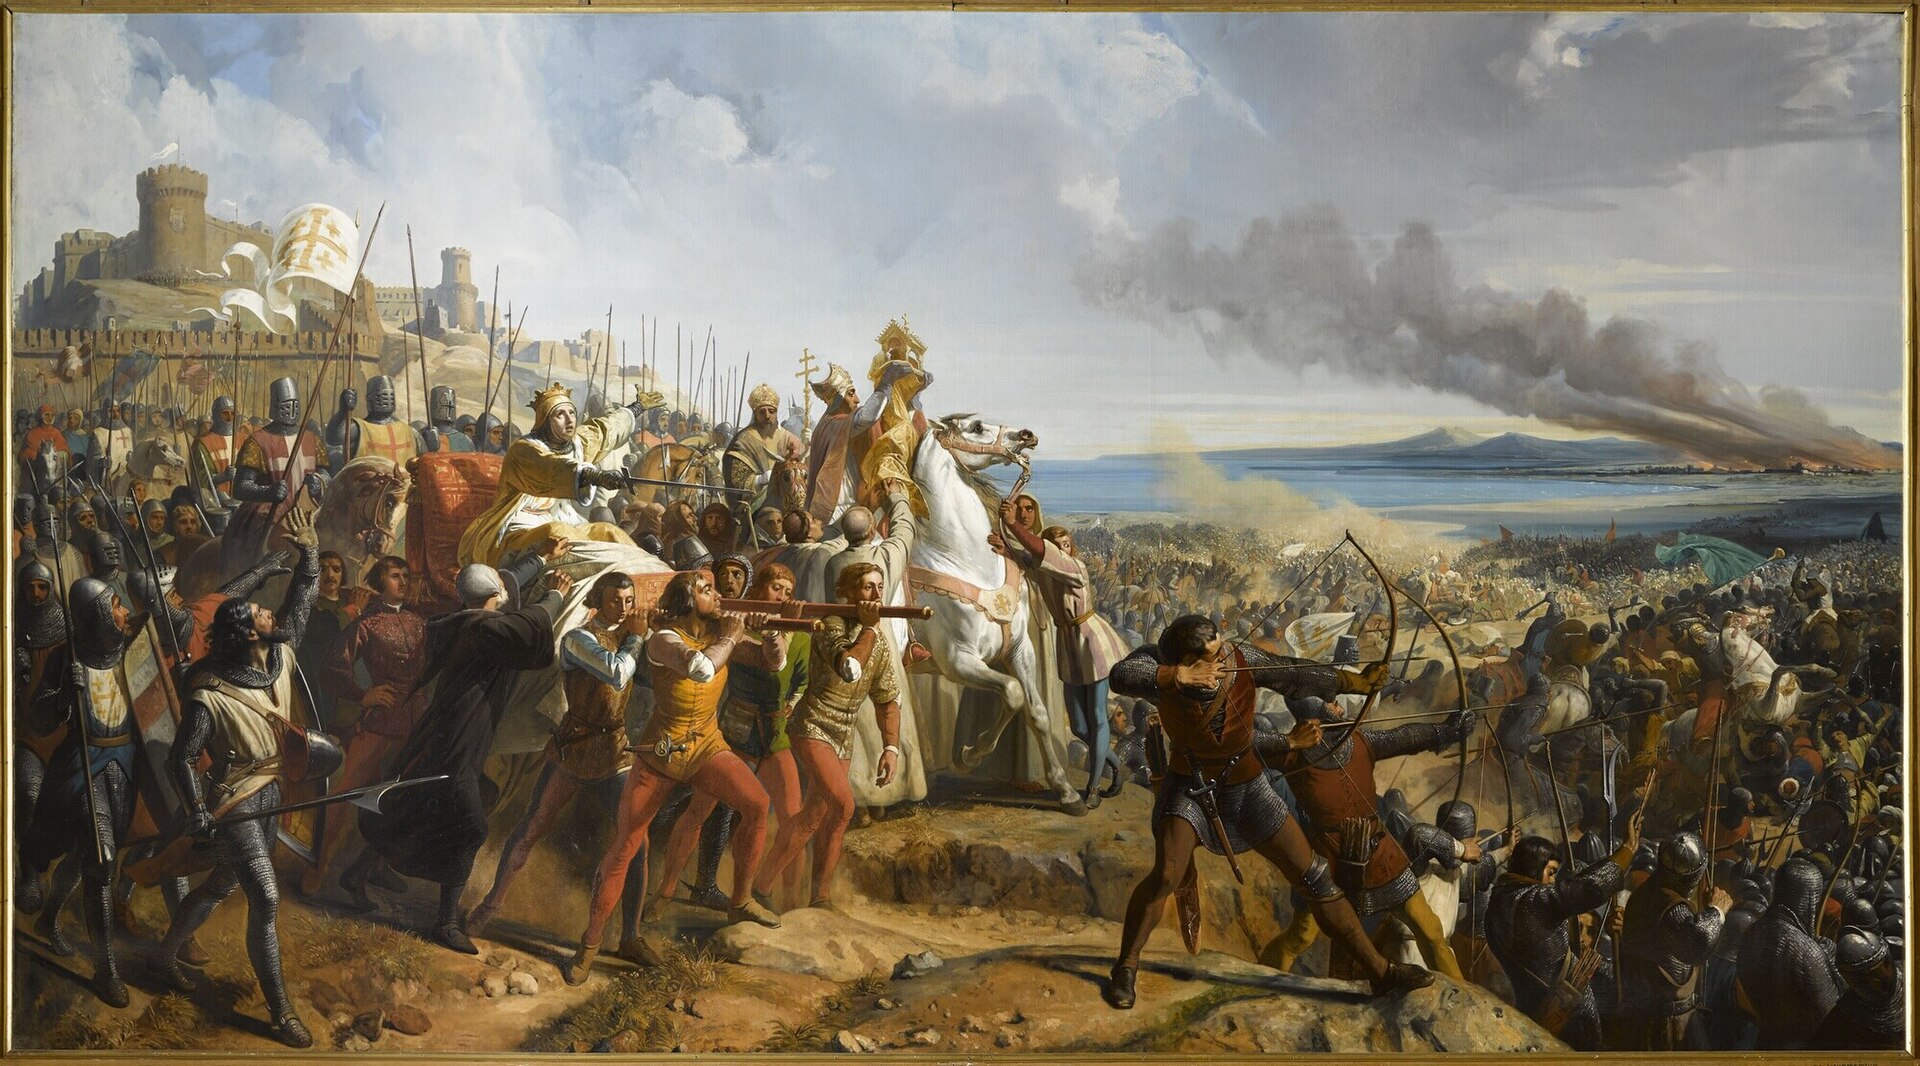
Wikimedia Commons · Public domain · file During his invasion of the Kingdom of Jerusalem, Saladin reached Ascalon before continuing toward Jerusalem. Coordinates represent the historic Ascalon archaeological area.
Defeated near Montgisard
· Montgisard battlefield, Ramla region, Israel
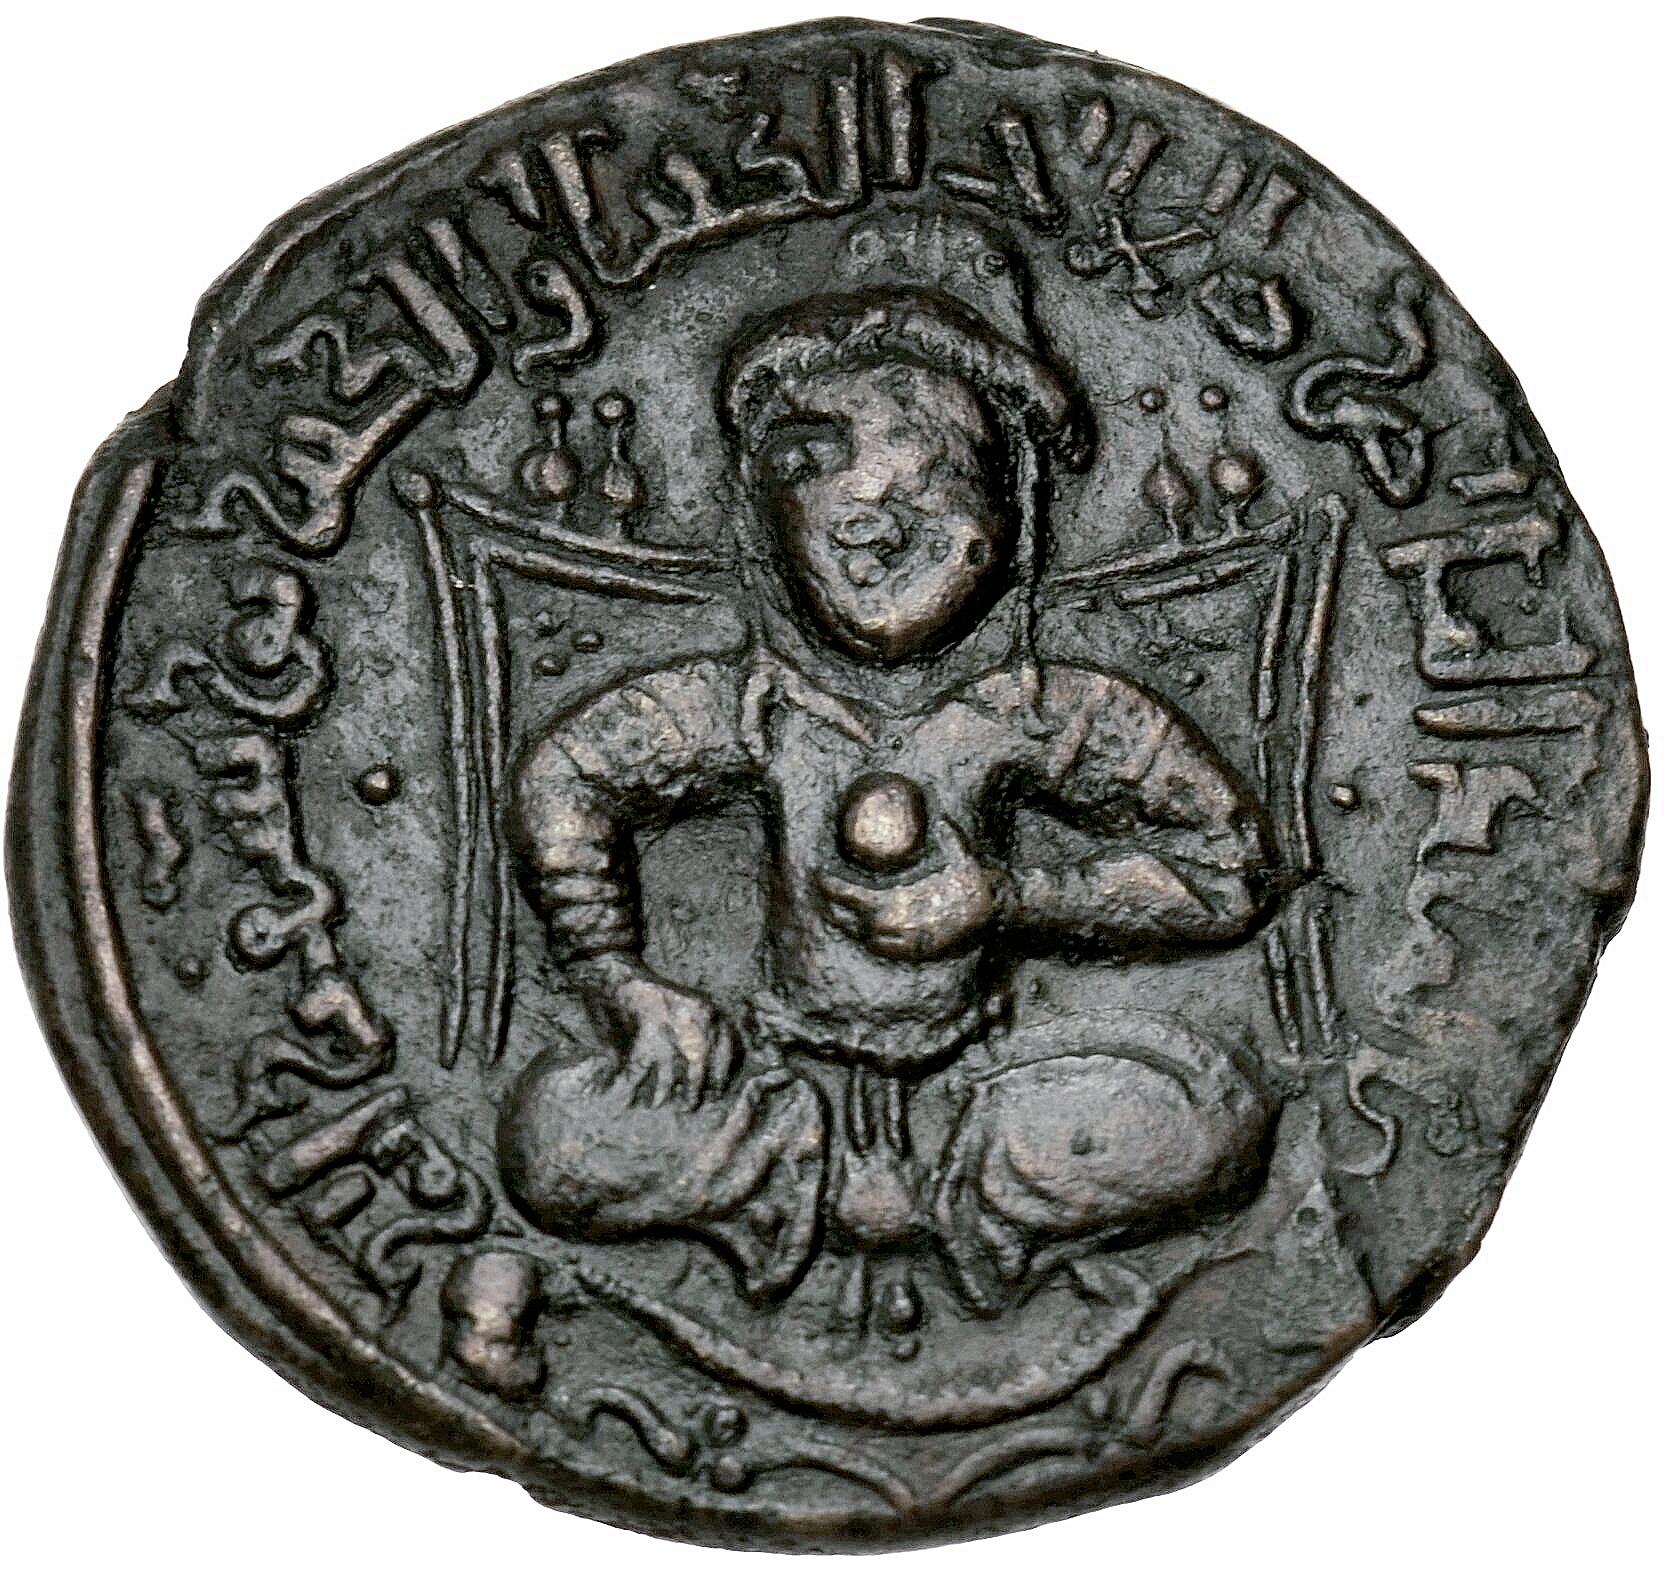
Wikimedia Commons · Public domain · file Baldwin IV’s forces intercepted and defeated Saladin’s dispersed army near Ramla. Saladin escaped and returned to Egypt with a small remnant. The battlefield's identification is disputed; coordinates use Ramla as a representative regional point.
Arrives at Jacob's Ford
· Jacob's Ford, Jordan River, Israel
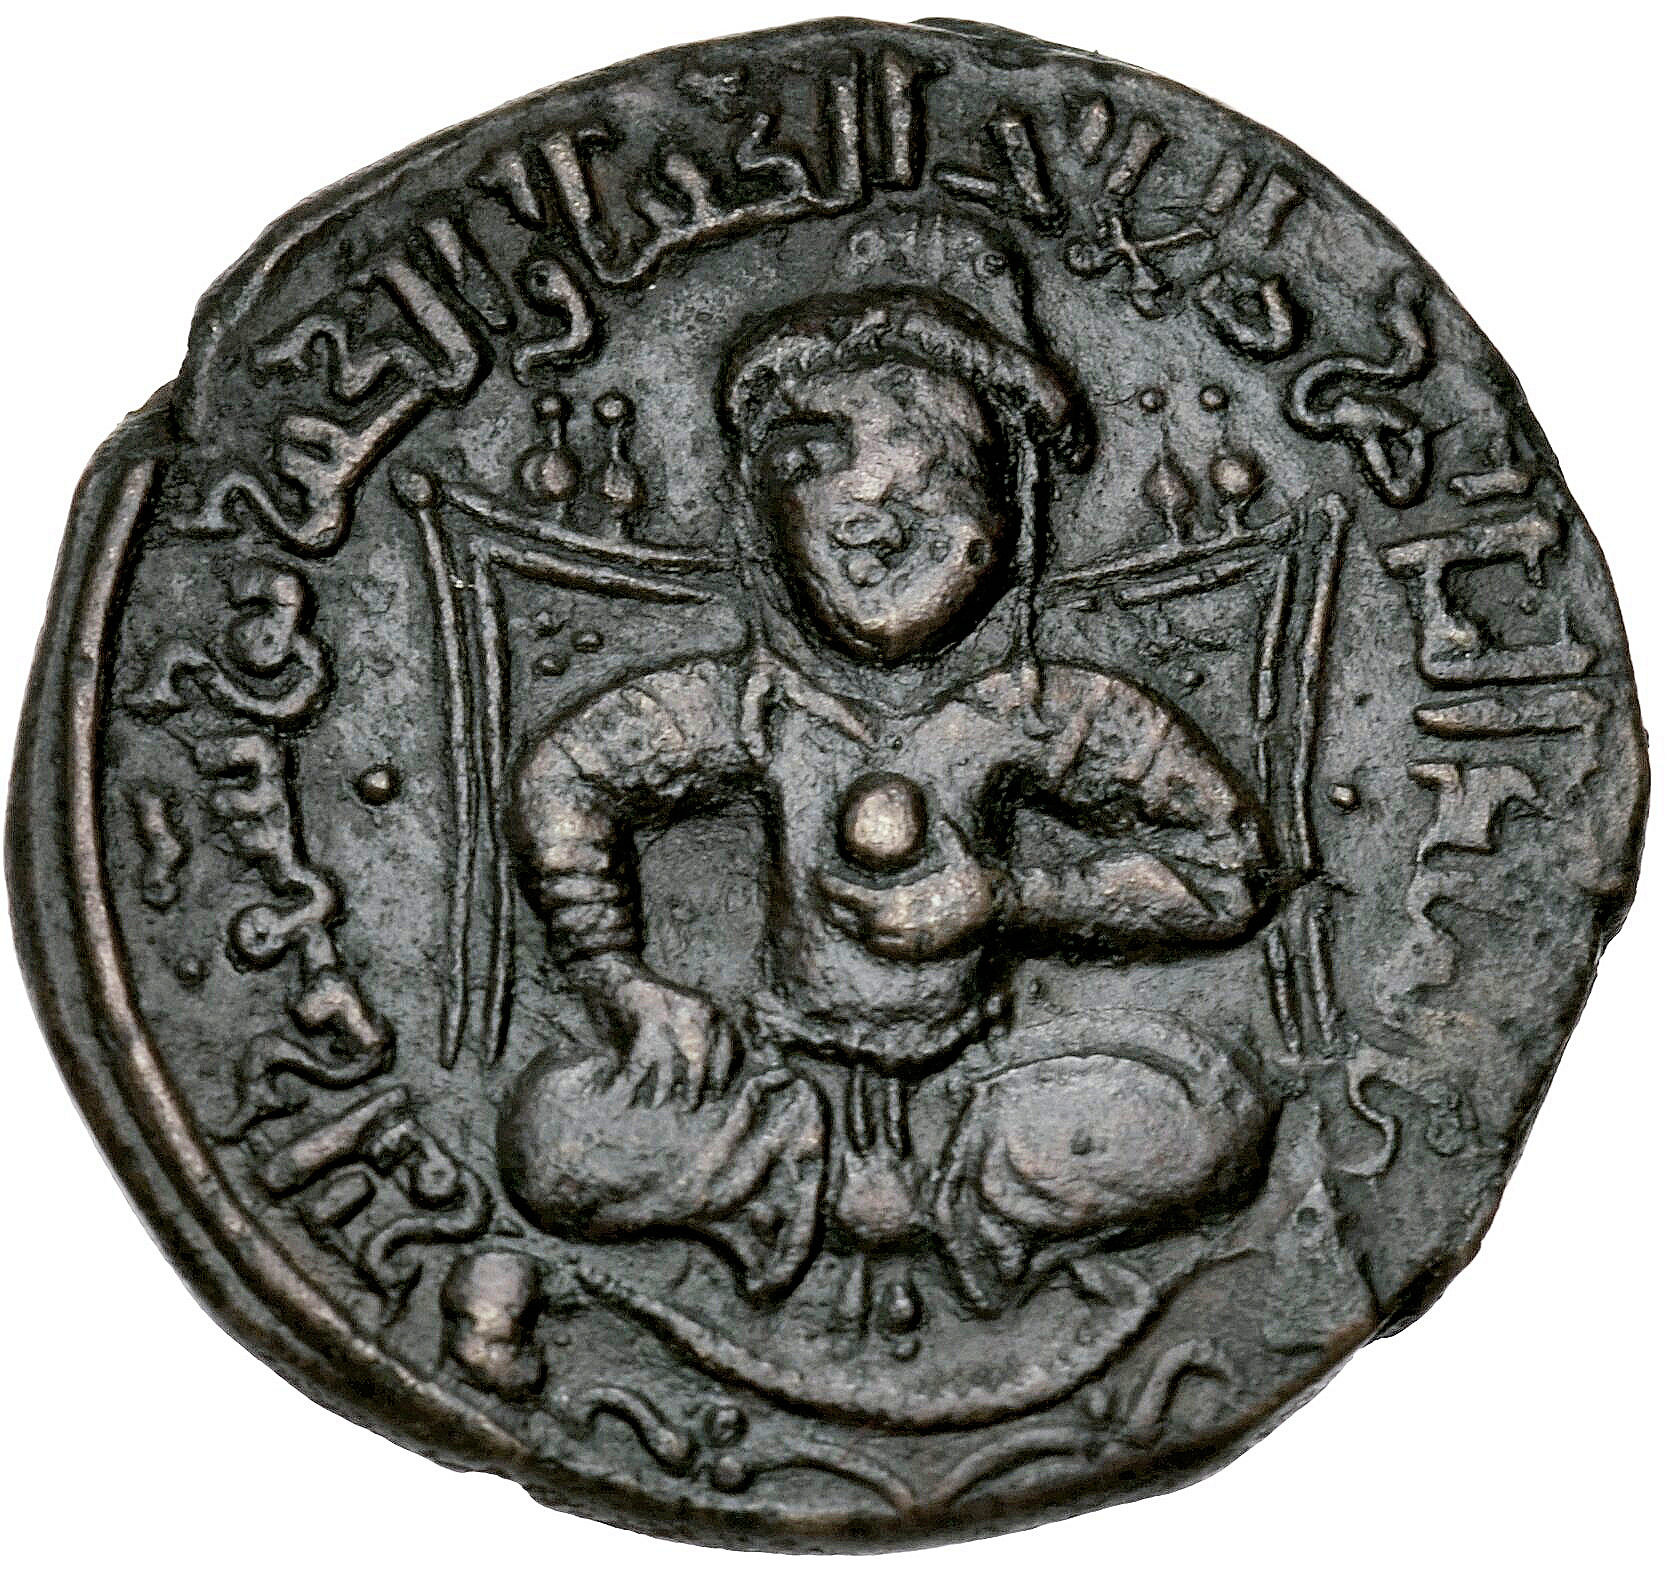
Wikimedia Commons · Public domain · file Saladin arrived at the Templar fortress guarding Jacob’s Ford and initiated the siege that destroyed this strategic crossing-point stronghold.
Assaults Tiberias
· Tiberias, Israel
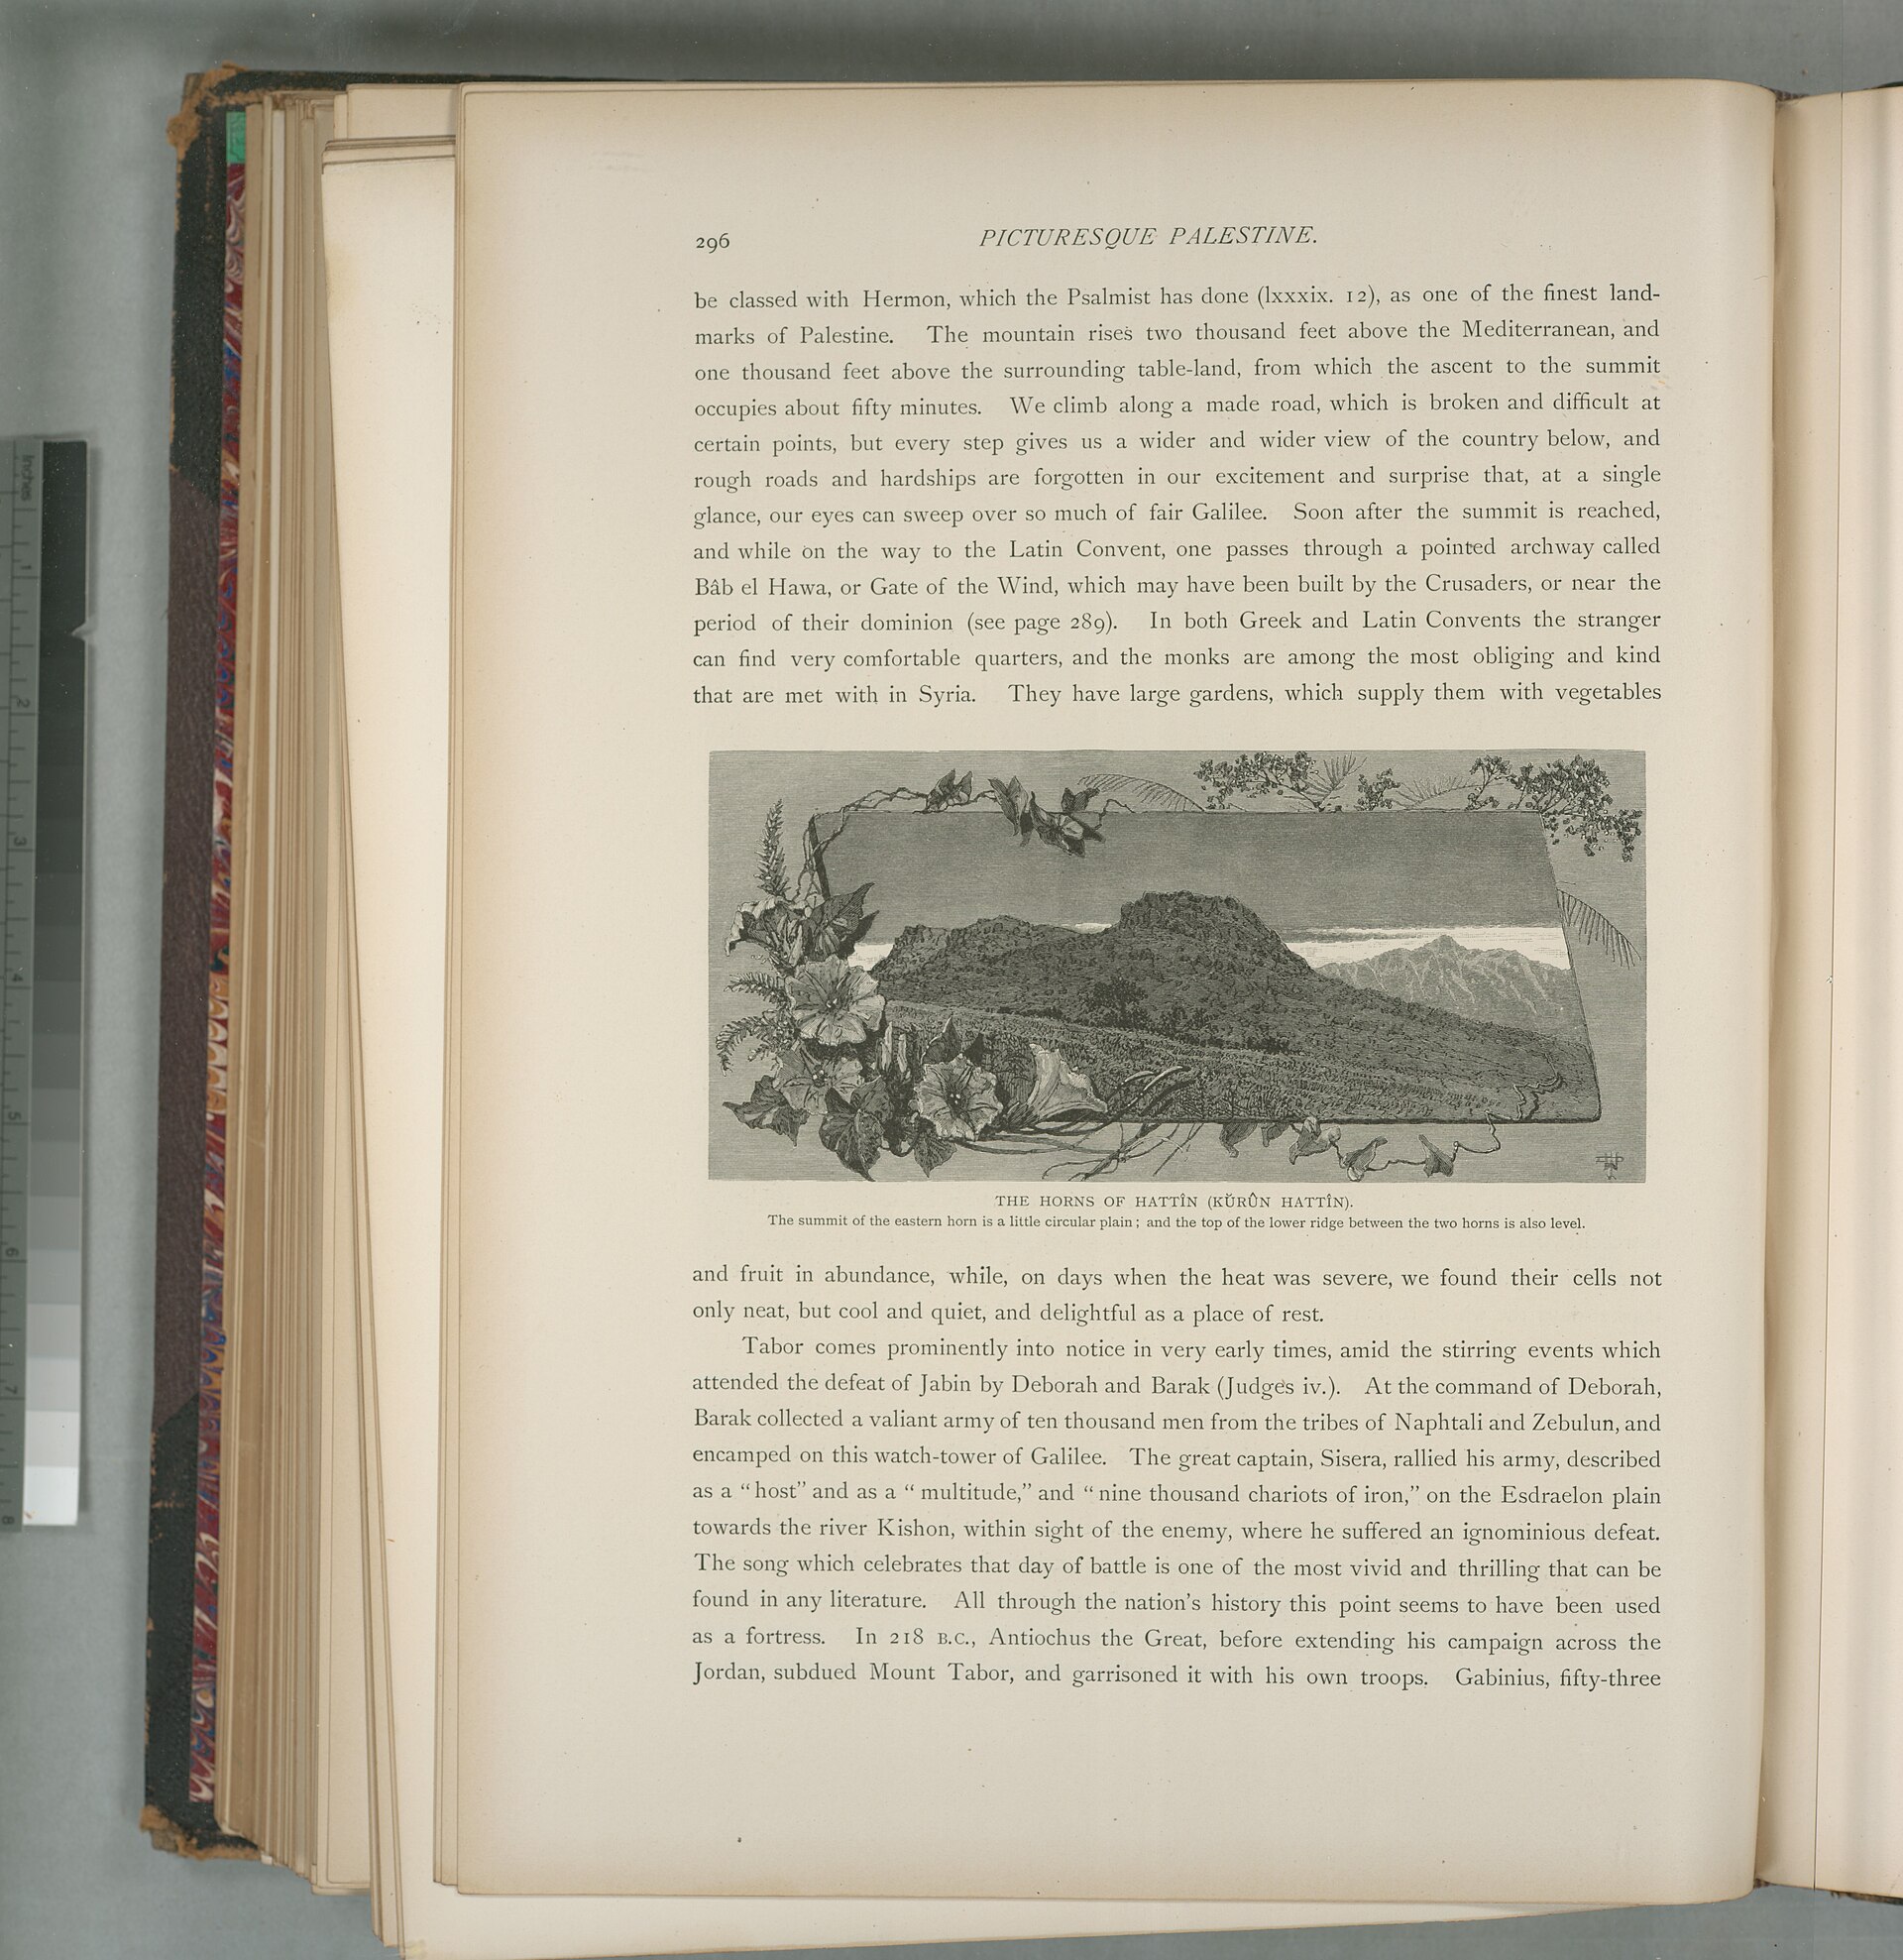
Wikimedia Commons · Public domain · file Saladin personally attacked Tiberias to draw the Crusader field army away from its secure water supply at Sepphoris. Coordinates represent central historic Tiberias.
Commands at Hattin
· Horns of Hattin, Israel
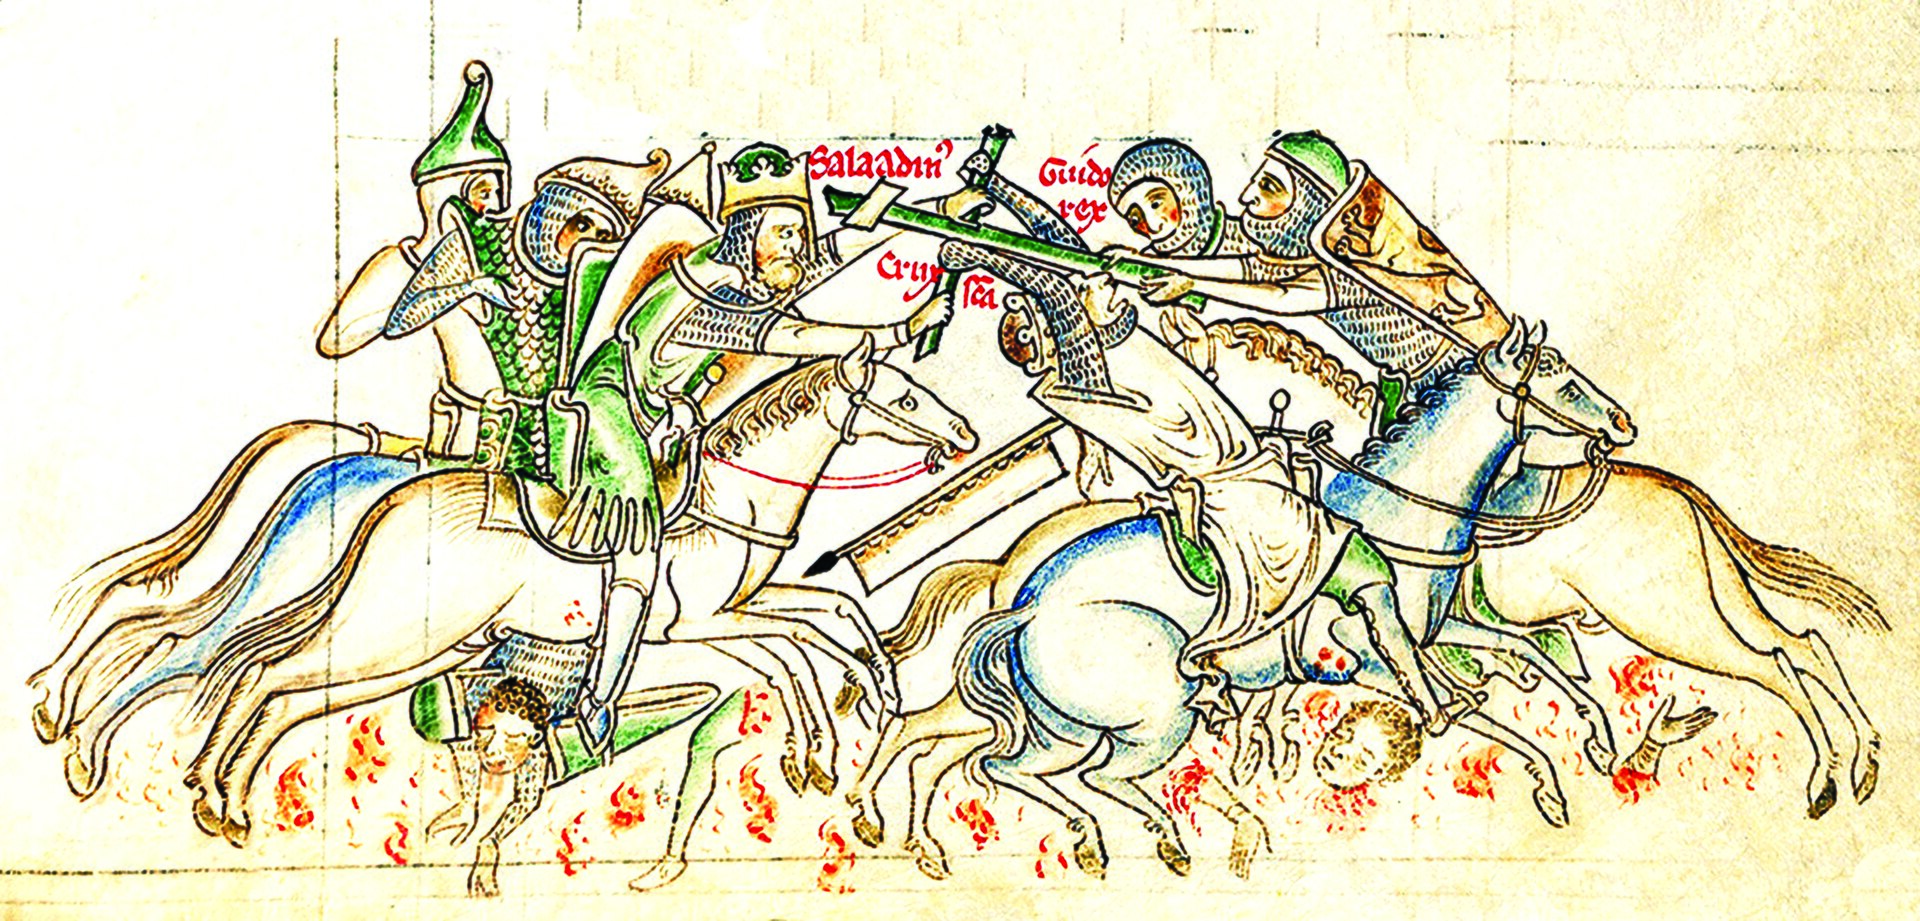
Wikimedia Commons · Public domain · file Saladin commanded the Ayyubid army at Hattin, where the principal Crusader field army was destroyed and King Guy was captured. Coordinates represent the Horns of Hattin battlefield.
Receives envoys at Ascalon
· Ascalon, Ashkelon, Israel

Wikimedia Commons · Public domain · file While consolidating his conquests after Hattin, Saladin was at Ascalon when representatives brought him Balian of Ibelin’s decision to defend Jerusalem. The passage places Saladin at Ascalon before his September 20 arrival at Jerusalem but supplies no day.
Arrives outside Jerusalem
· Jerusalem
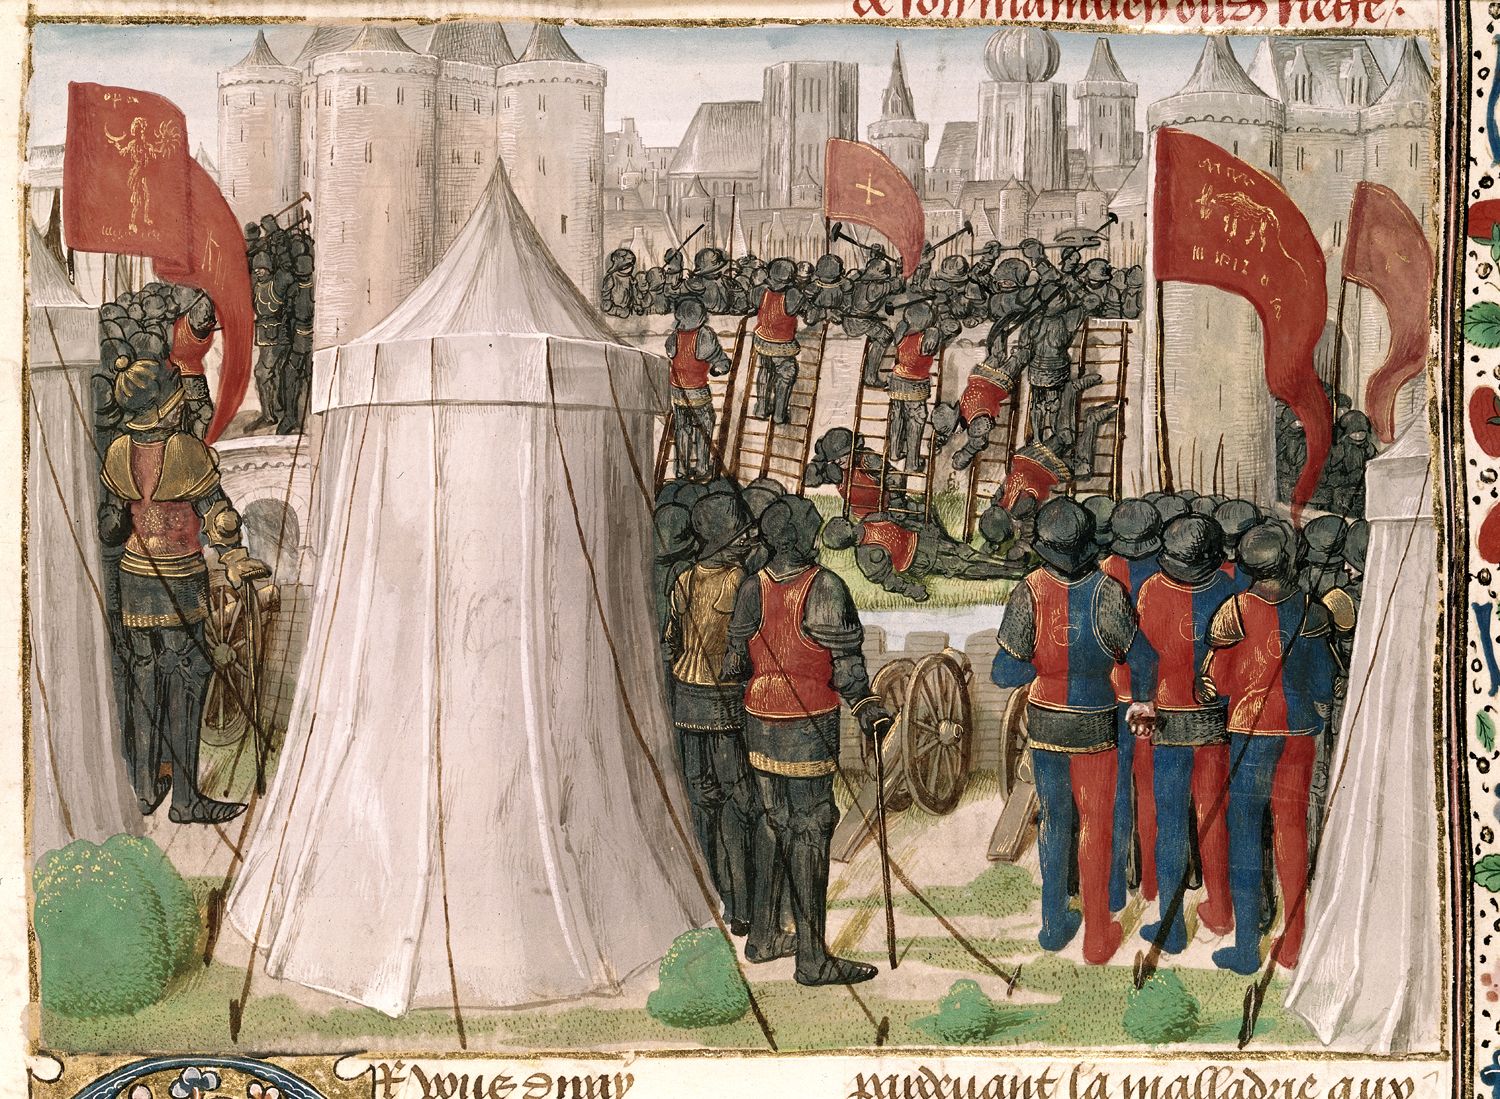
Wikimedia Commons · Public domain · file Saladin arrived outside Jerusalem with the armies of Egypt and Syria and began the siege that ended Crusader rule over the city. Coordinates represent Jerusalem's Old City.
Moves camp to the Mount of Olives
· Mount of Olives, Jerusalem
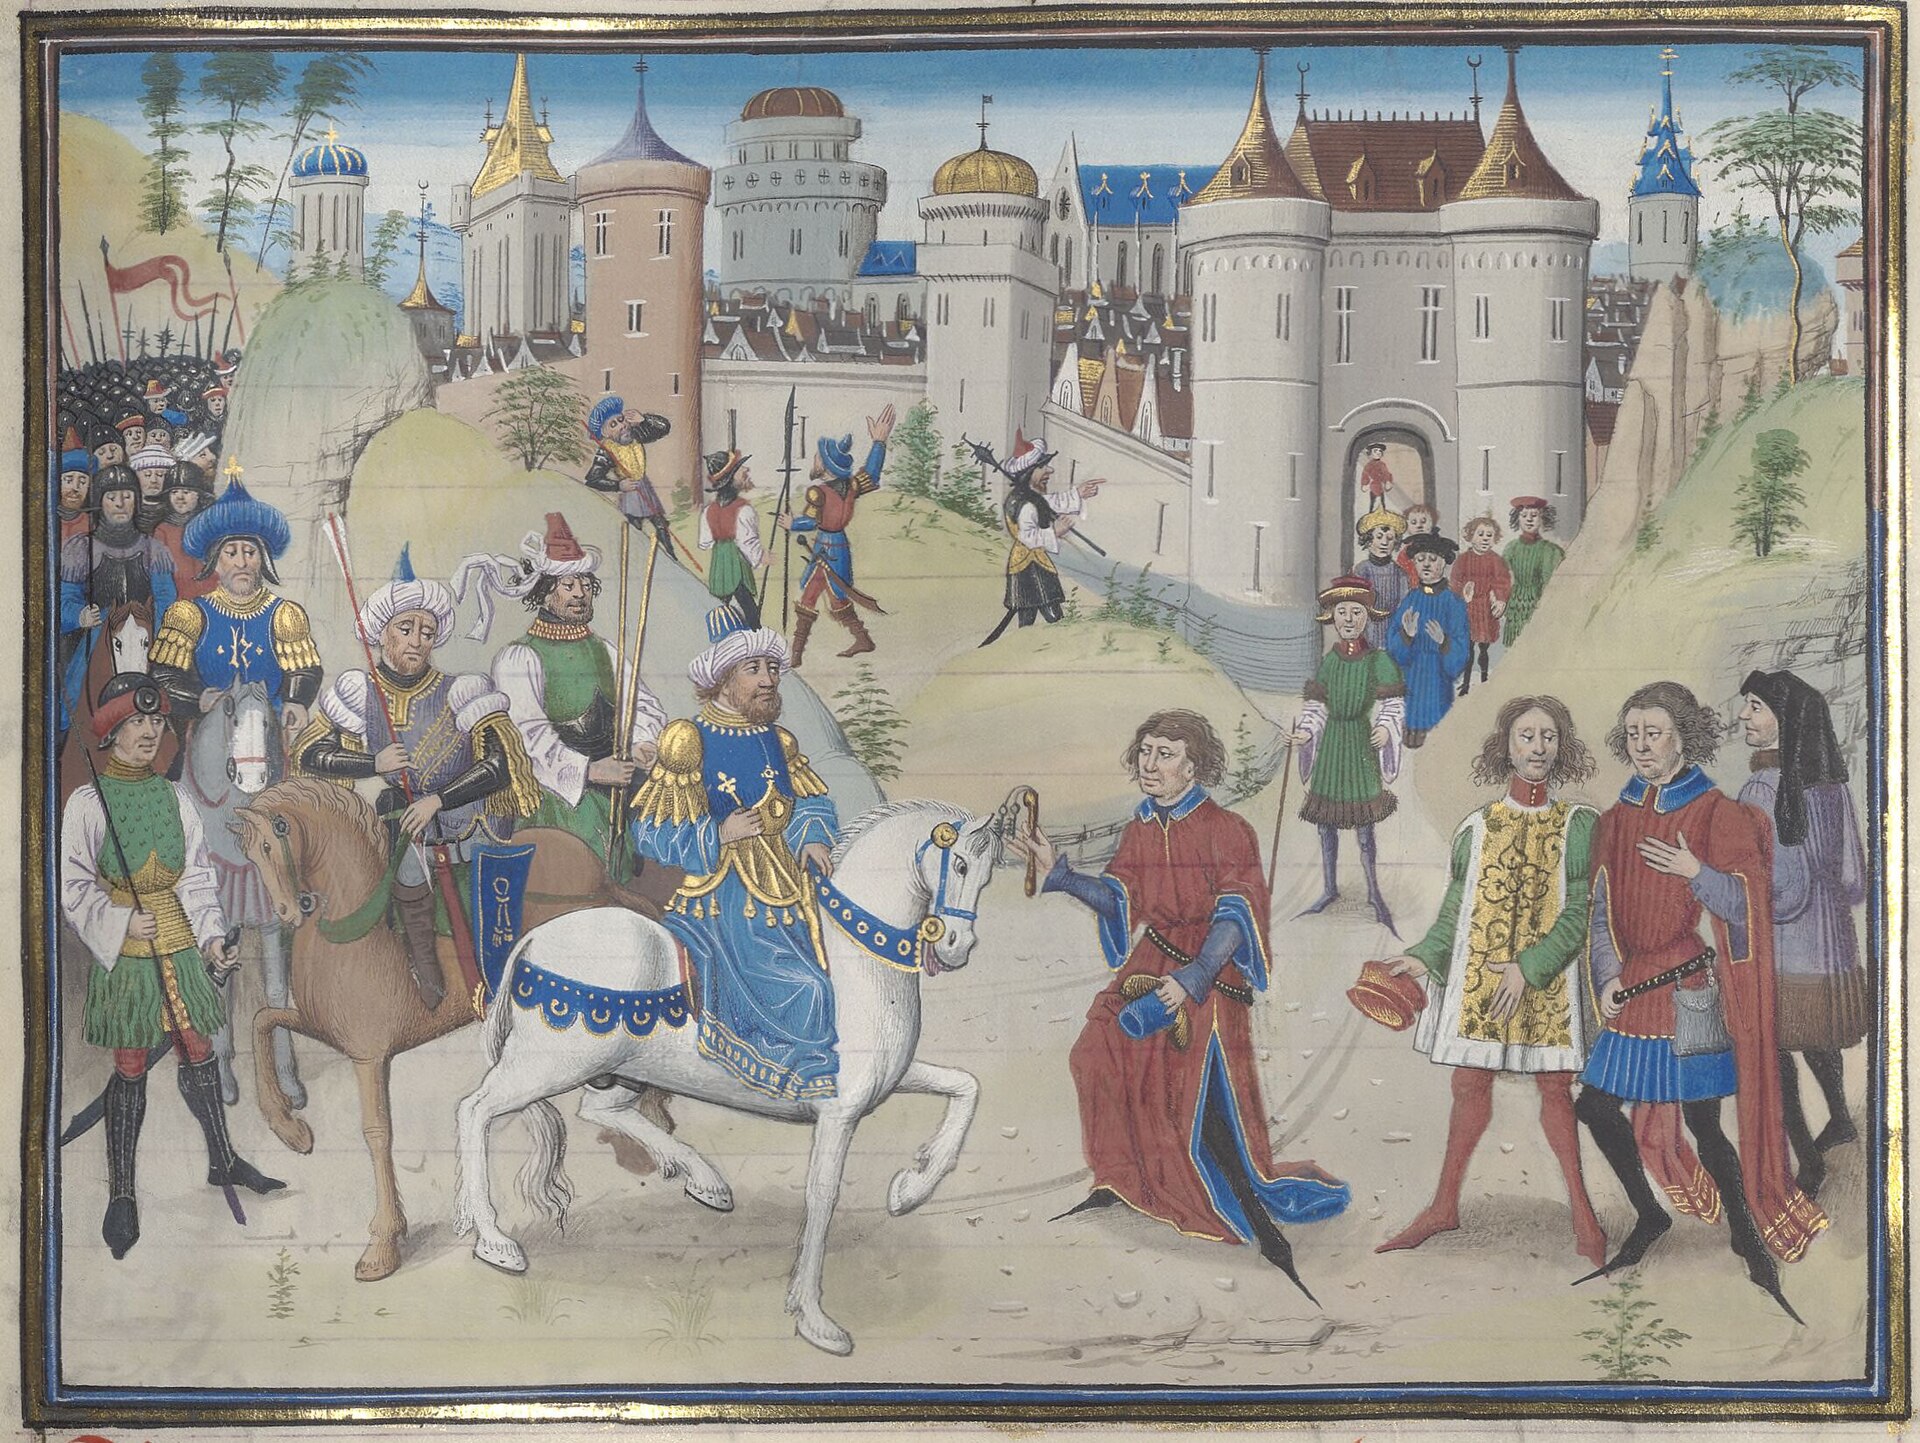
Wikimedia Commons · Public domain · file Saladin shifted his siege camp to the Mount of Olives, where the terrain limited Crusader counterattacks and enabled sustained bombardment. Coordinates represent the central Mount of Olives ridge.
Besieges Tyre
· Tyre, Lebanon
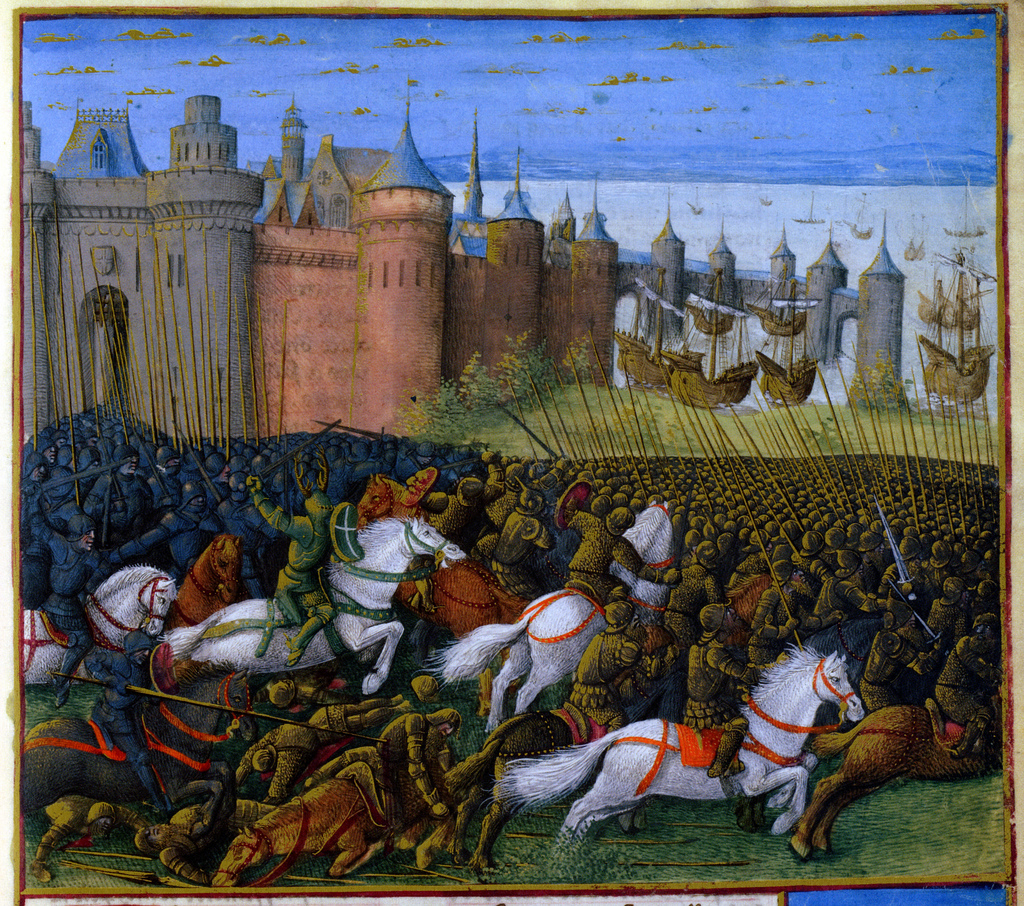
Wikimedia Commons · Public domain · file Saladin’s forces arrived at Tyre for a sustained amphibious siege. Conrad of Montferrat’s defense preserved the city as a Crusader base. The article identifies Saladin as commander of the besieging army; coordinates represent historic Tyre.
Releases King Guy at Tortosa
· Tortosa, Tartus, Syria
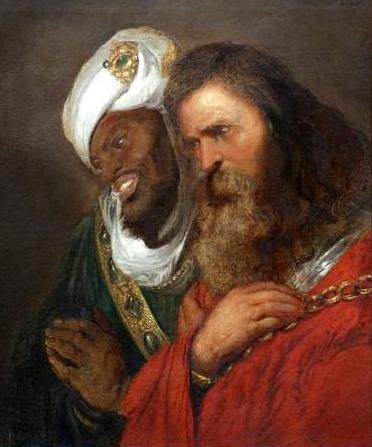
Wikimedia Commons · Public domain · file At Tortosa, Saladin released the captive King Guy of Lusignan, whose subsequent attempt to recover his kingdom helped initiate the siege of Acre. No month or day is supplied.
Withdraws from Tyre to Acre
· Acre, Israel
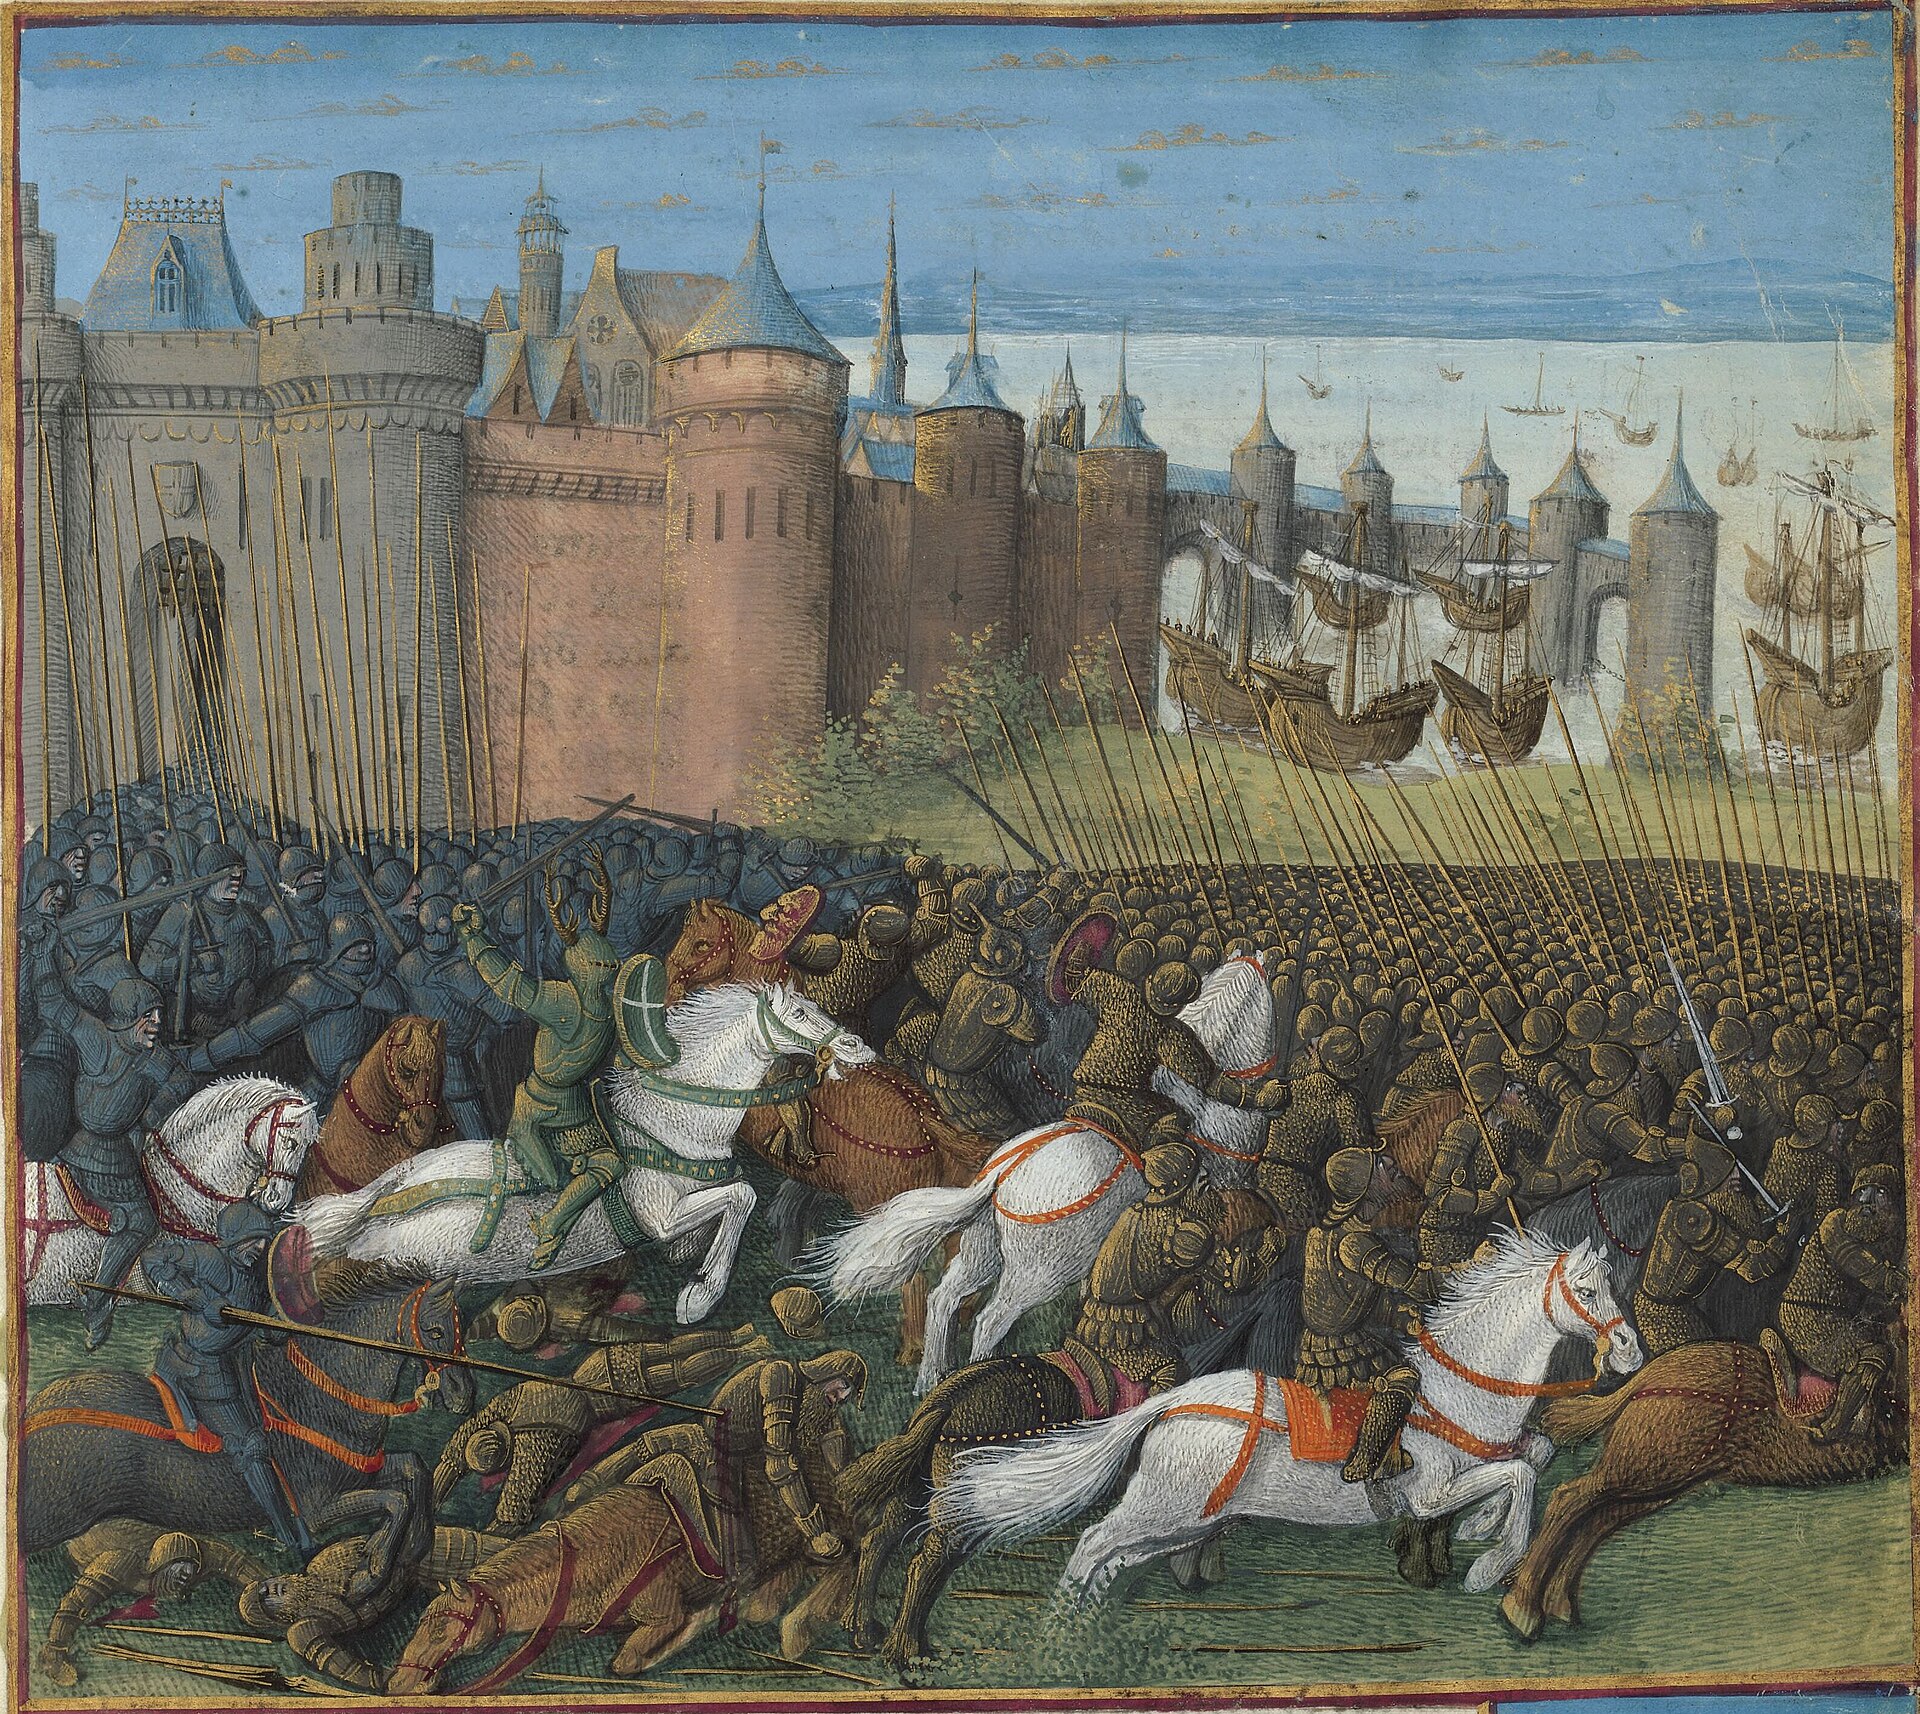
Wikimedia Commons · Public domain · file After naval and land attacks failed, Saladin ended the siege of Tyre and withdrew to Acre. The siege ended January 1; the source does not specify the precise arrival time at Acre.
Arrives before Jableh
· Jableh, Syria
Saladin reached Jableh during his campaign against the Principality of Antioch and remained while its castle surrendered. Coordinates represent Jableh.
Marches on Latakia
· Latakia, Syria
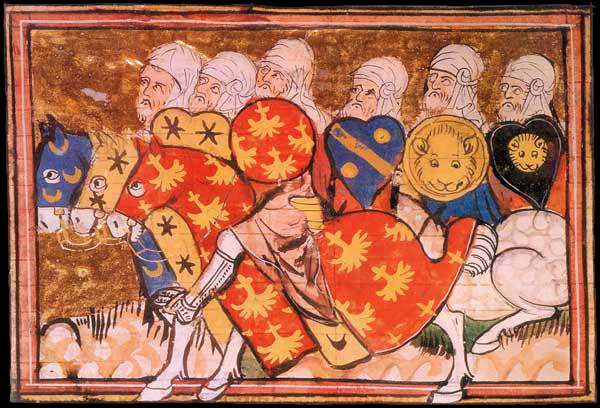
Wikimedia Commons · Public domain · file Leaving Jableh, Saladin moved against Latakia and its two hilltop castles during his northern coastal offensive. The movement followed his stay at Jableh through July 20; the source does not give an arrival hour.
Besieges Sahyun Castle
· Sahyun Castle, Al-Haffah District, Syria
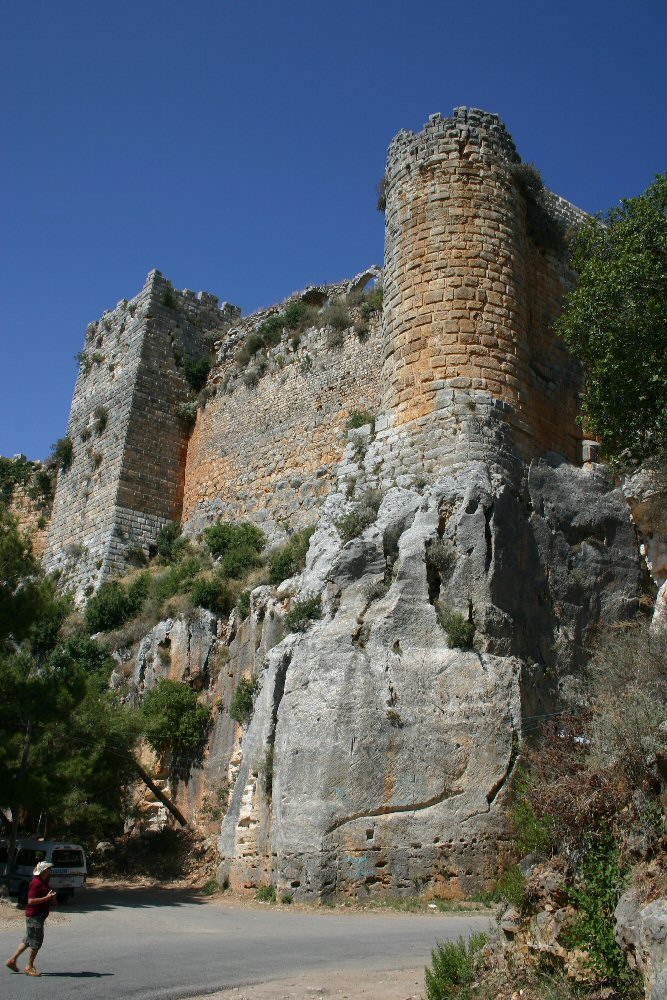
Wikimedia Commons · Creative Commons Attribution-Share Alike 2.0 · file Saladin marched from Latakia to Sahyun Castle and surrounded the Hospitaller fortress with his army and siege engines. The site is also known as Saladin Castle.
Encamps near al-Shughur
· Shughr-Bakas, near Jisr al-Shughur, Syria
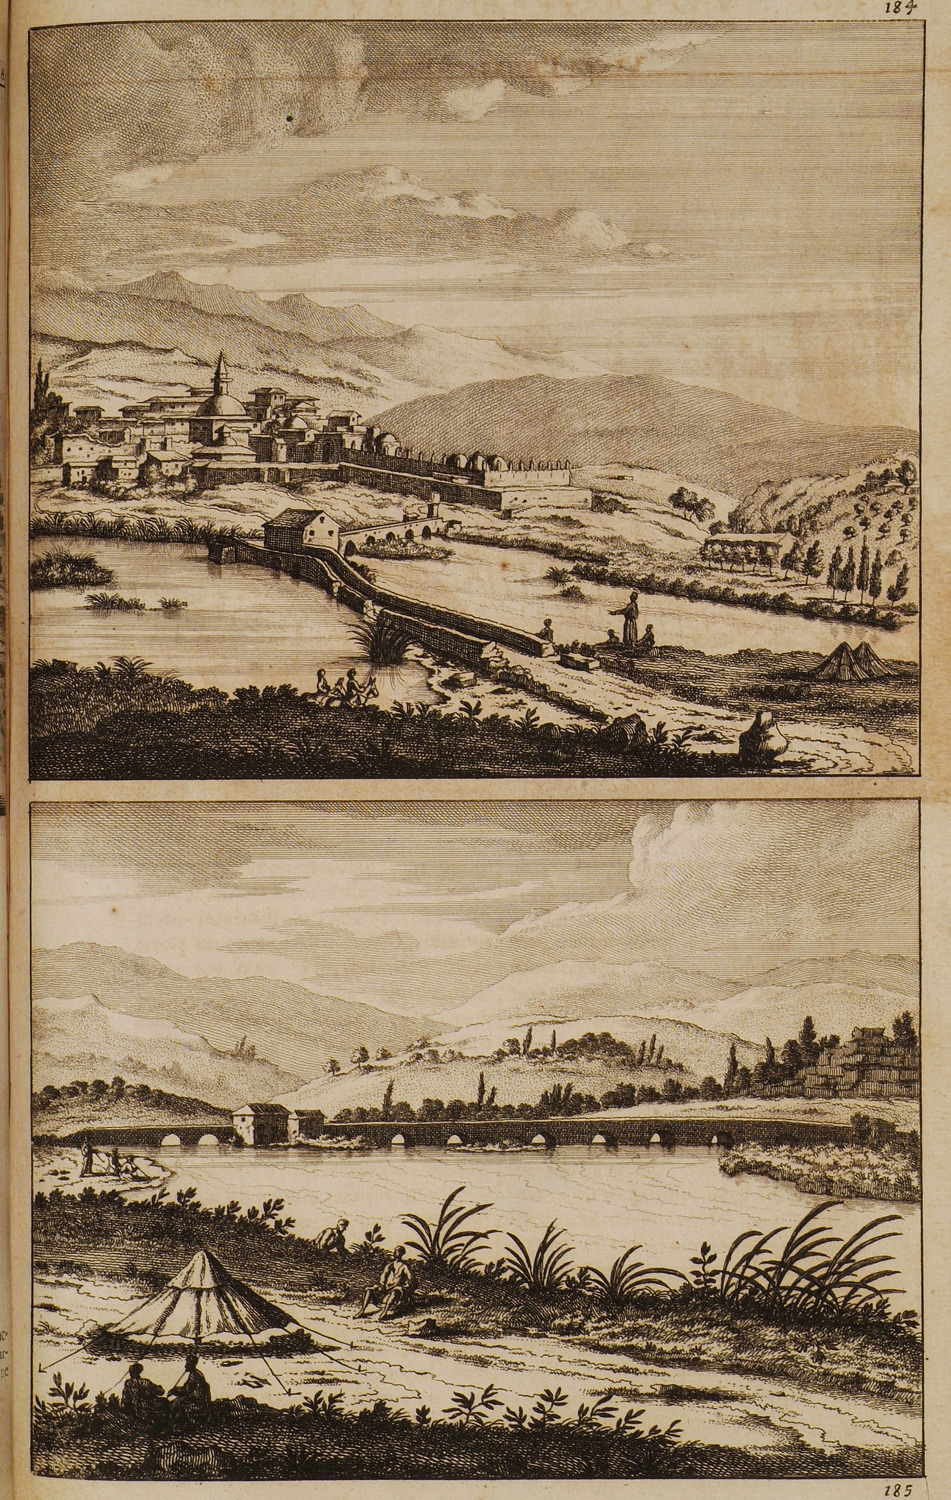
Wikimedia Commons · Public domain · file Saladin left Sahyun and encamped beside the Orontes near the paired fortresses of Shughr and Bakas. Coordinates use Jisr al-Shughur as a representative point because the exact camp location is not specified.
Arrives at Bourzey Castle
· Bourzey Castle, Hama Governorate, Syria
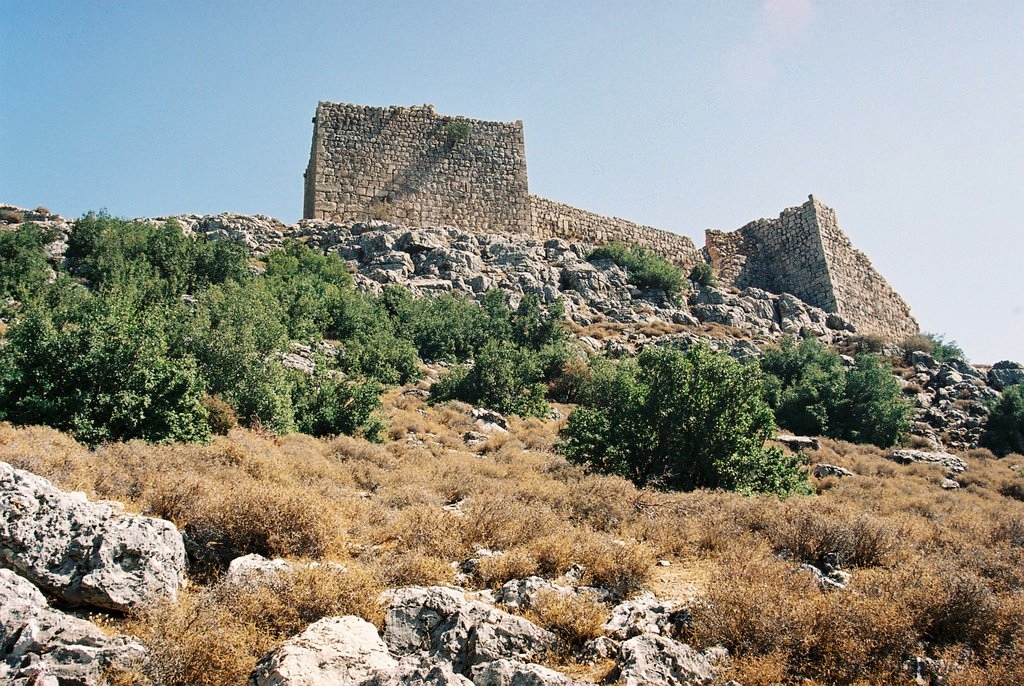
Wikimedia Commons · Creative Commons Attribution-Share Alike 3.0 · file Saladin reached the elevated fortress of Bourzey and established the main Ayyubid camp beside the Orontes before surveying its defenses.
Directs the siege of Safed
· Safed, Israel
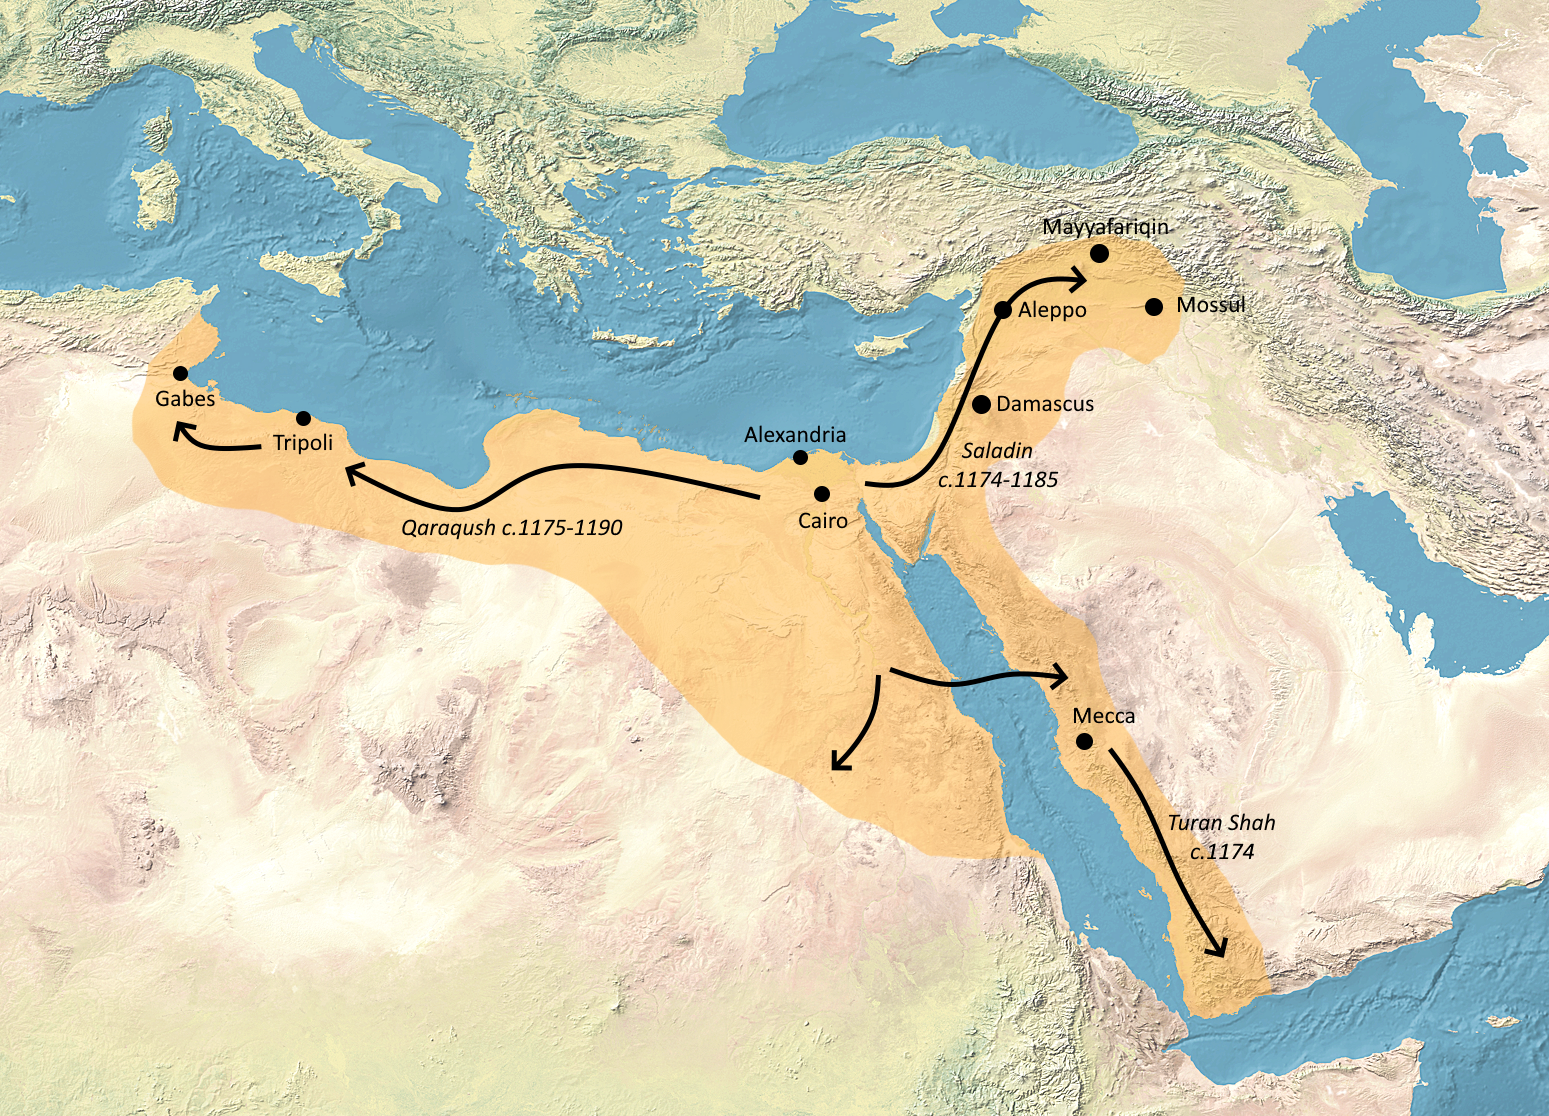
Wikimedia Commons · Creative Commons Attribution-Share Alike 4.0 · file Saladin joined his brother al-Adil in a close blockade of the Templar castle at Safed, using trebuchets and mining operations. The siege continued into December; coordinates represent Safed.
Marches to relieve Acre
· Acre, Israel
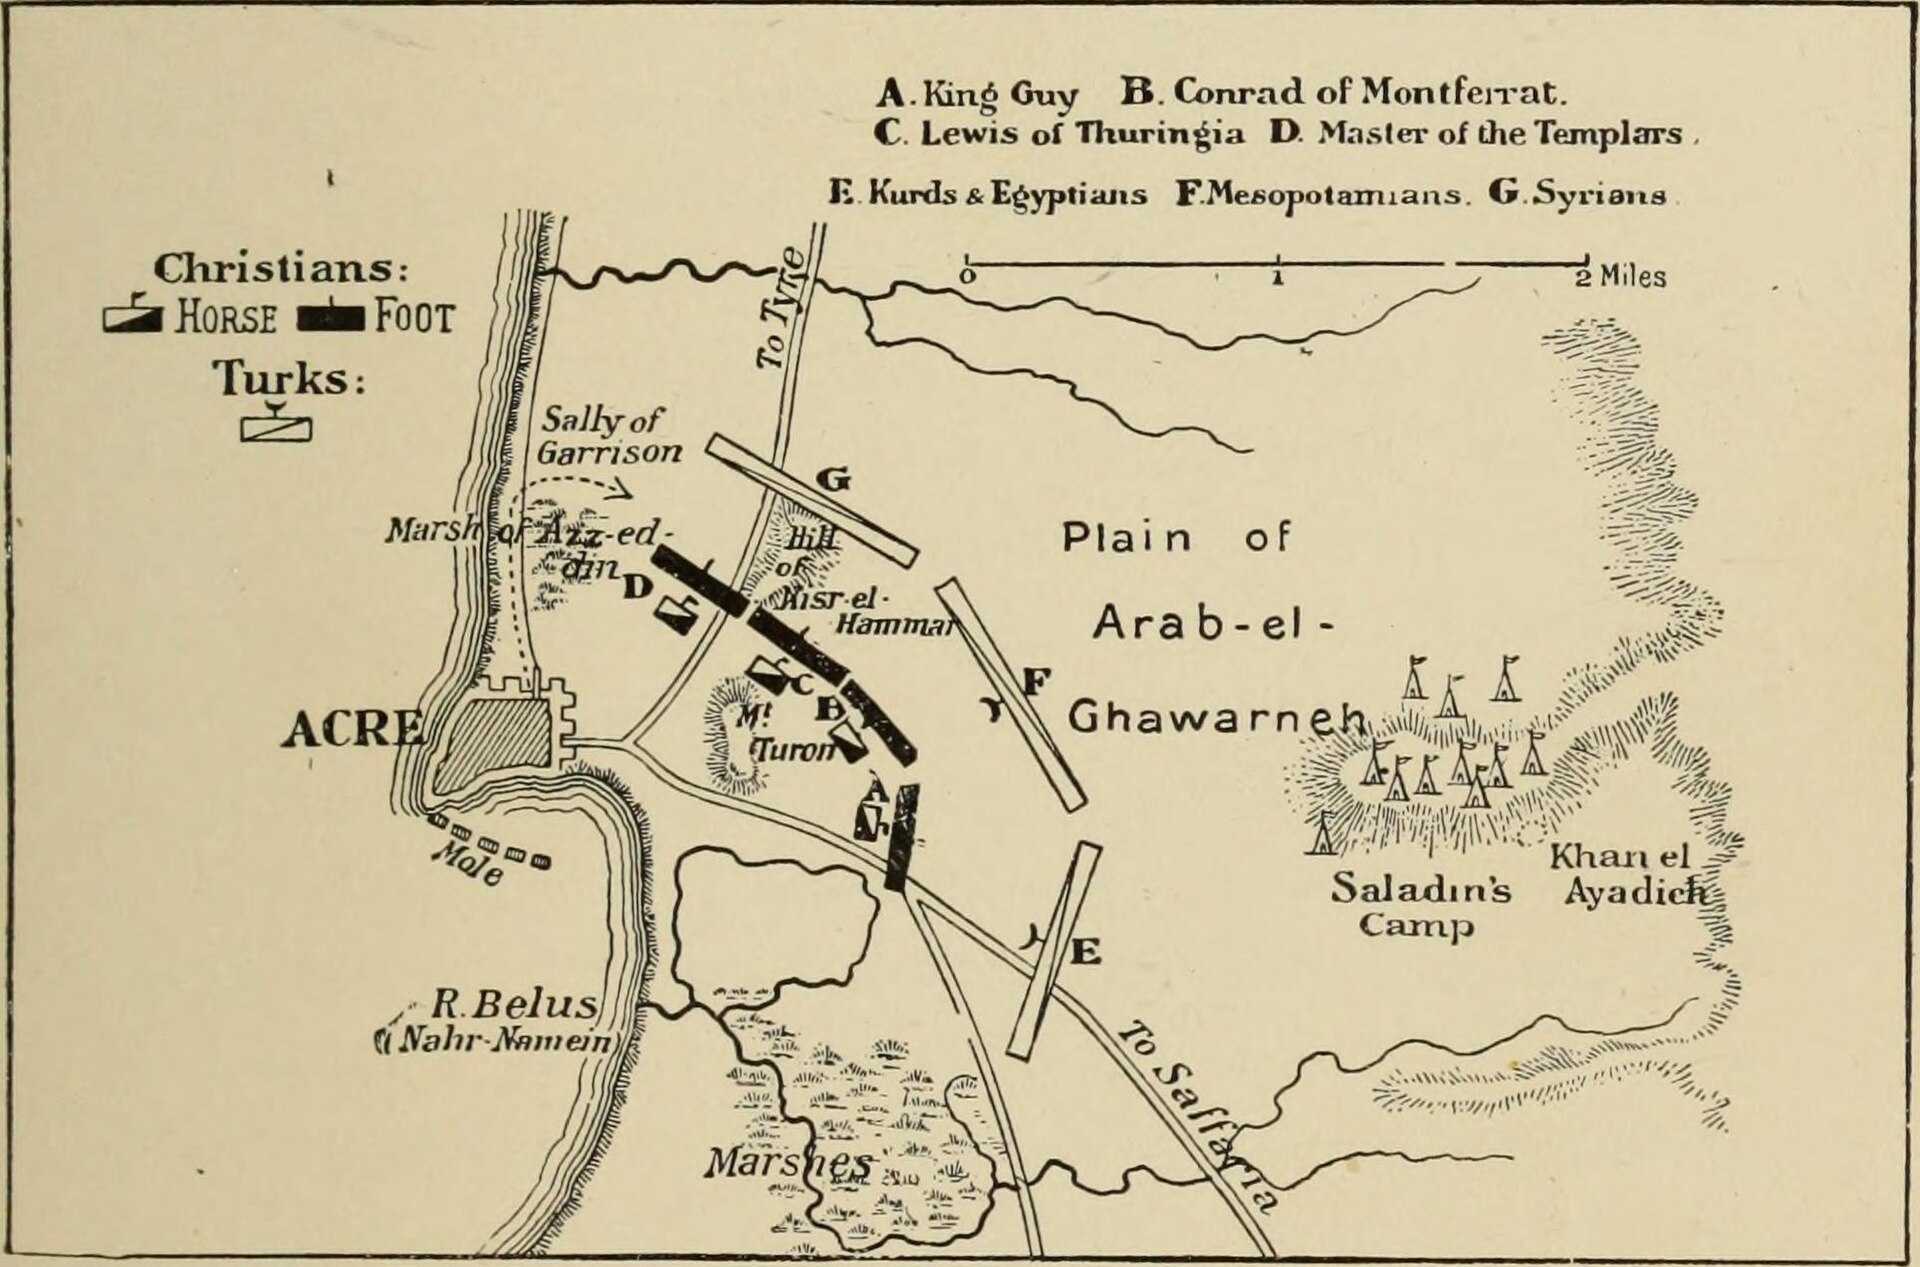
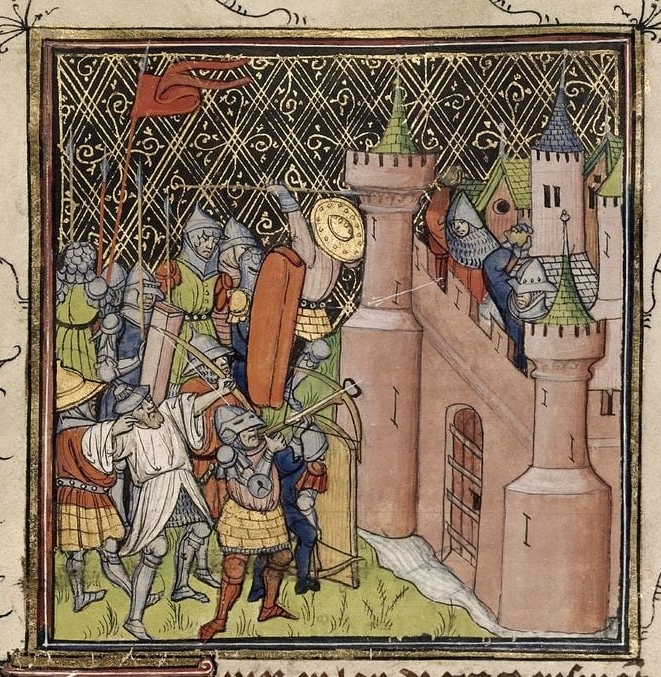
Wikimedia Commons · Public domain · file After Guy of Lusignan established the Crusader siege of Acre, Saladin marched to the city and attacked the besiegers’ camp. Coordinates represent Acre and the immediately surrounding siege zone.
Confronts the Crusaders east of Acre
· Eastern siege field, Acre, Israel
Wikimedia Commons · Public domain · file Saladin positioned his army east of Acre for a major attempt to break the Crusader encirclement of the city. Coordinates are a representative point east of historic Acre; the precise medieval camp is uncertain.
Fights Richard at Arsuf
· Arsuf battlefield, Sharon Plain, Israel
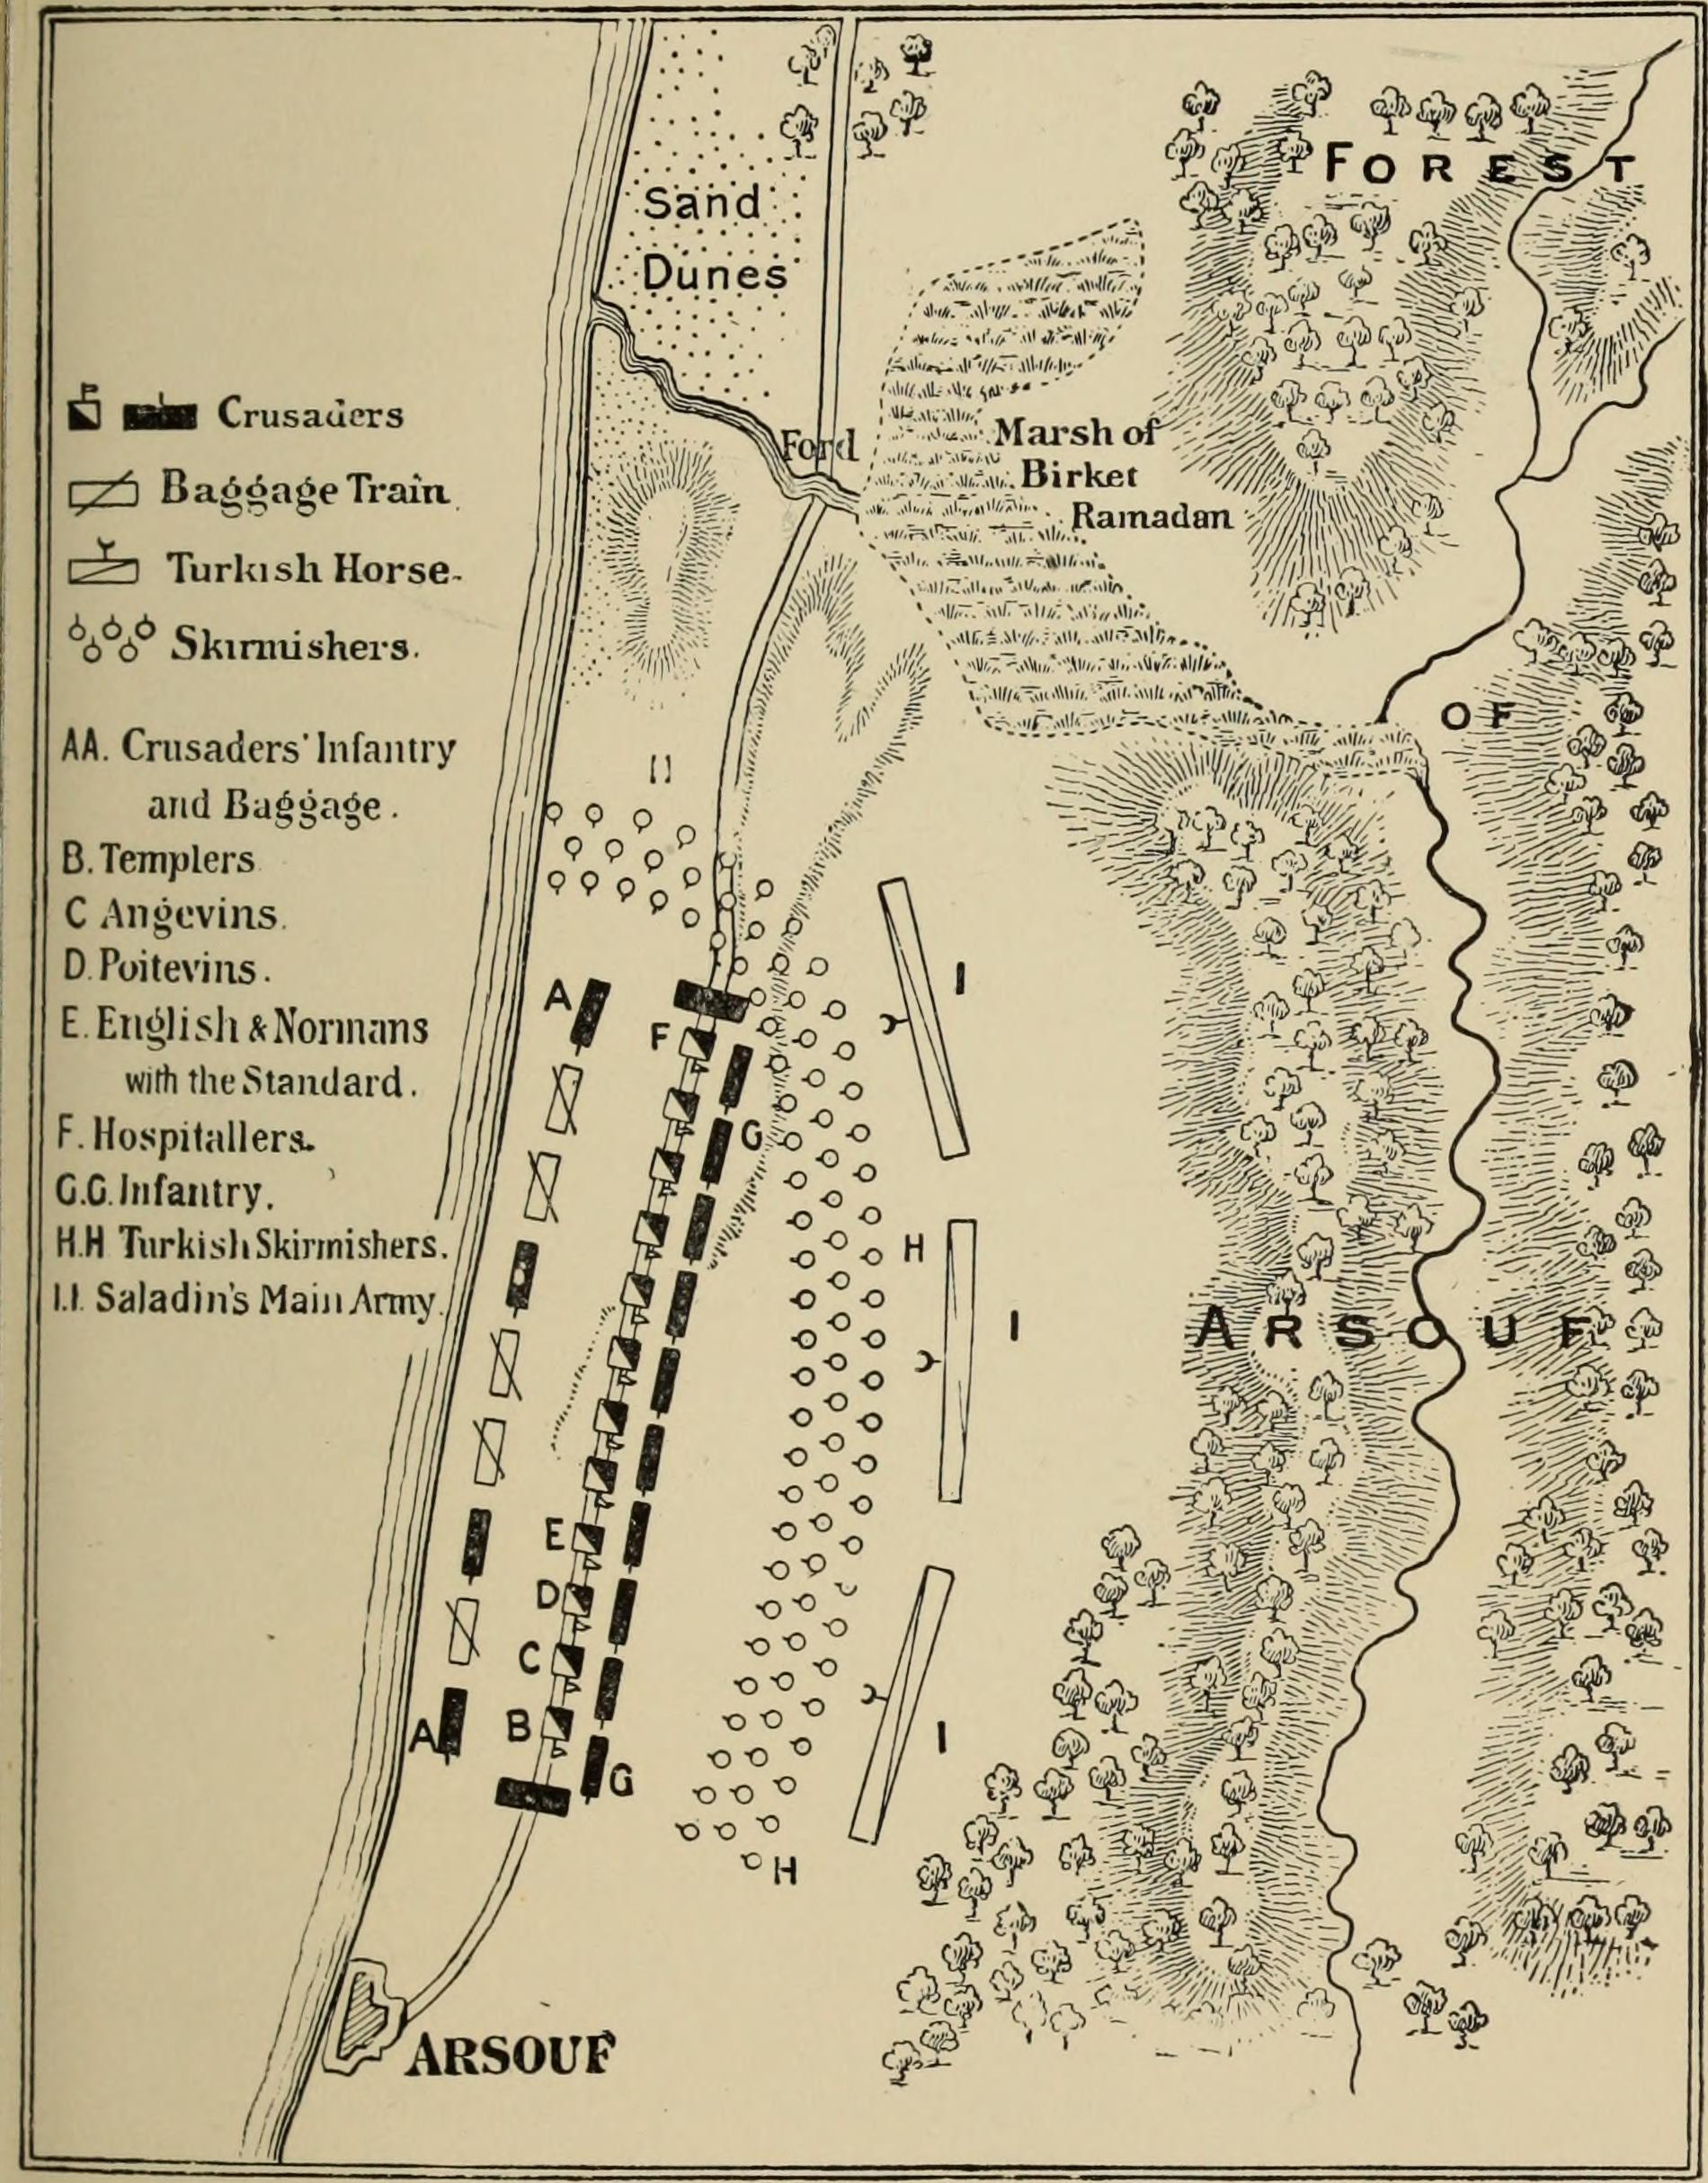
Wikimedia Commons · Public domain · file Saladin committed his field army against Richard I’s marching Crusader force near Arsuf. The Ayyubid army was repulsed after a powerful cavalry counterattack. Coordinates represent the probable battlefield northeast of Apollonia-Arsuf.
Regroups inland from Jaffa
· Inland from Jaffa, Israel
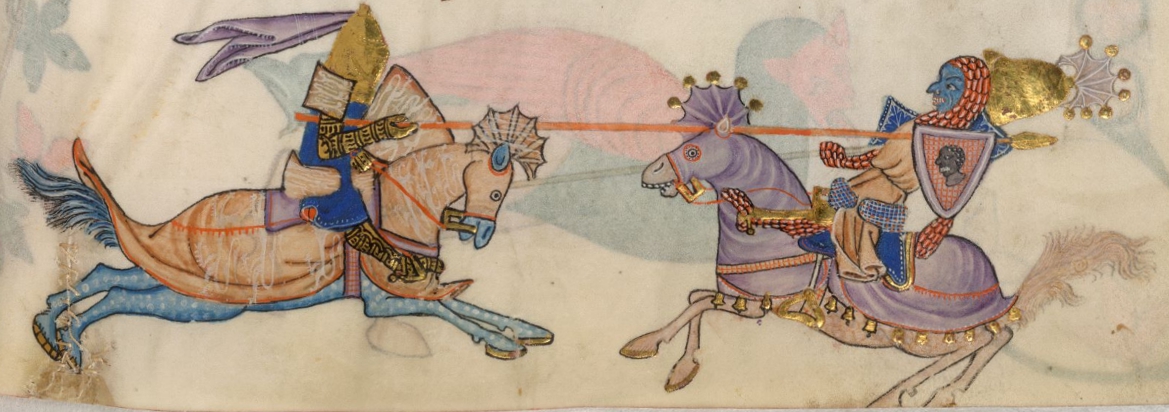
Wikimedia Commons · Public domain · file Richard’s sudden landing drove Saladin’s army out of Jaffa. Saladin personally remained with the retreat until his forces regrouped inland. Representative point approximately five miles inland from Jaffa; the source does not identify the exact regrouping site or day.
Besieges Jaffa
· Jaffa, Tel Aviv-Yafo, Israel
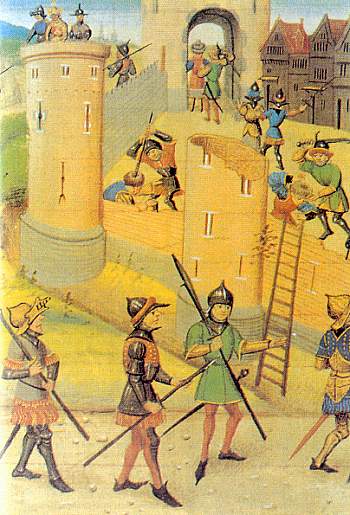
Wikimedia Commons · Public domain · file Saladin attacked Richard’s coastal base at Jaffa and stormed most of the town before Richard returned by sea. Coordinates represent historic Jaffa.
Dies at Damascus
· Damascus, Syria
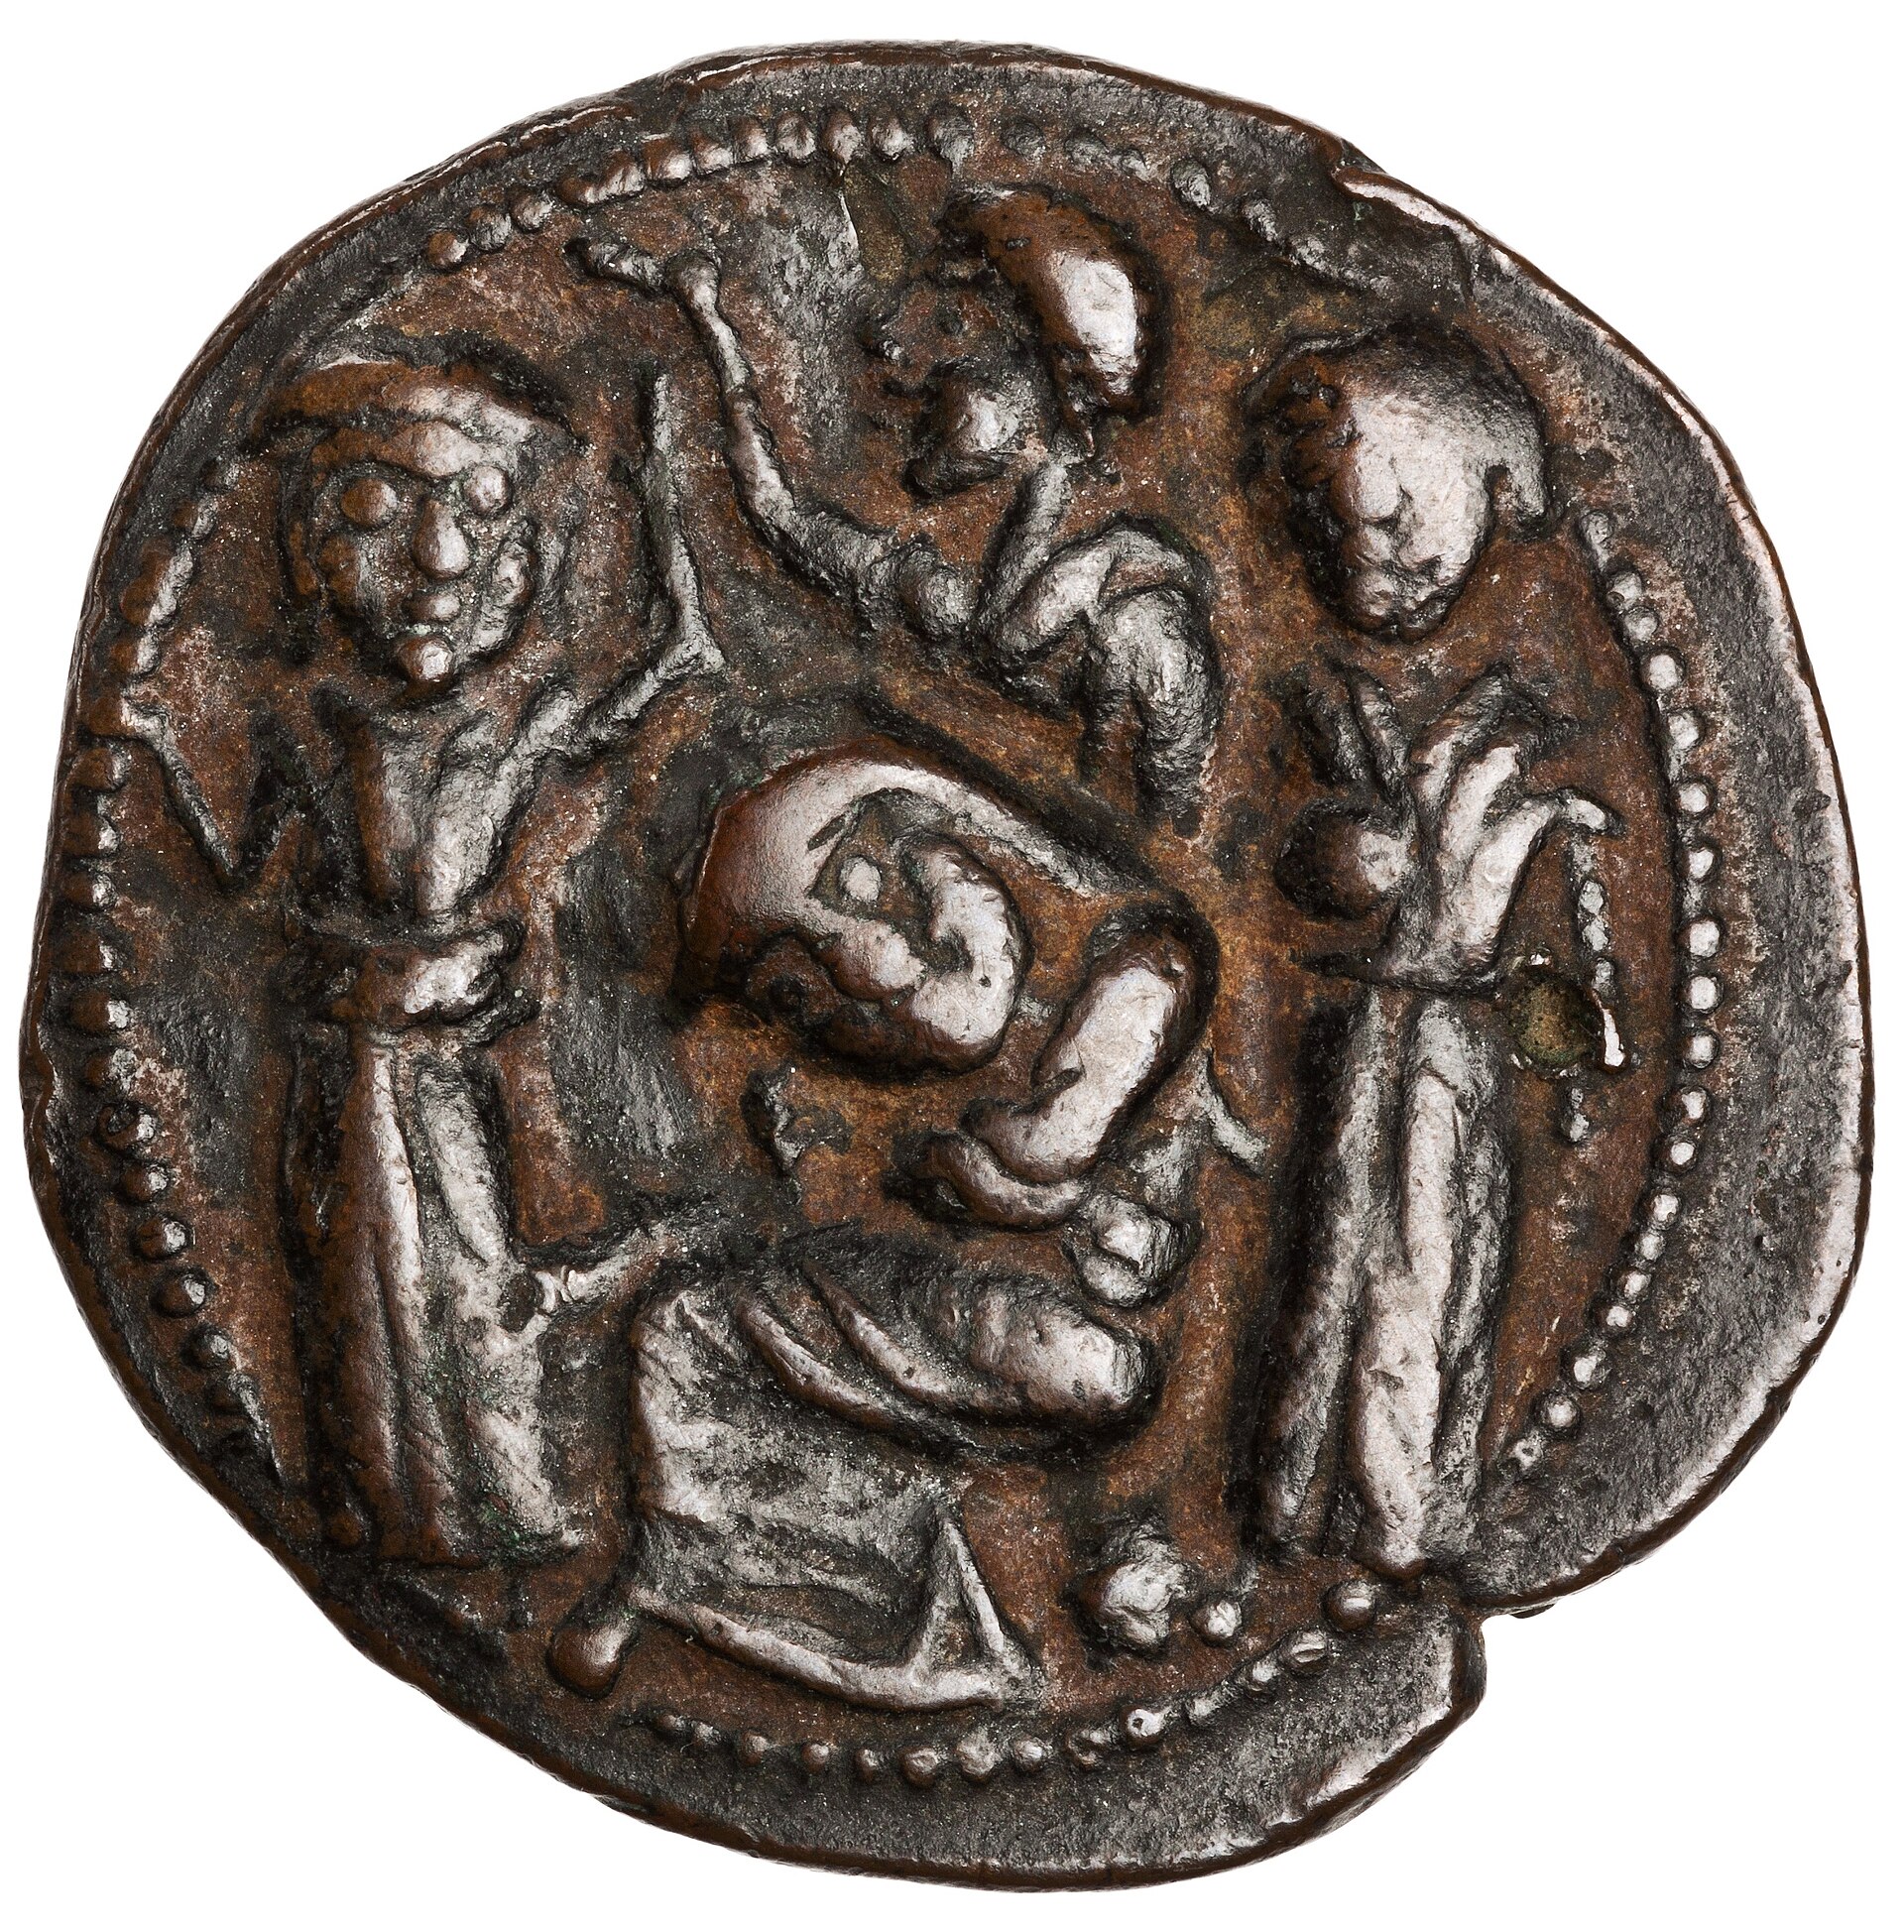
Wikimedia Commons · Creative Commons Attribution-Share Alike 2.5 · file Saladin died of fever at Damascus shortly after the conclusion of the Third Crusade. He was subsequently buried near the Umayyad Mosque. Coordinates represent central historic Damascus.