
43 moments
Born at Carthage
· Ancient Carthage, Tunis, Tunisia
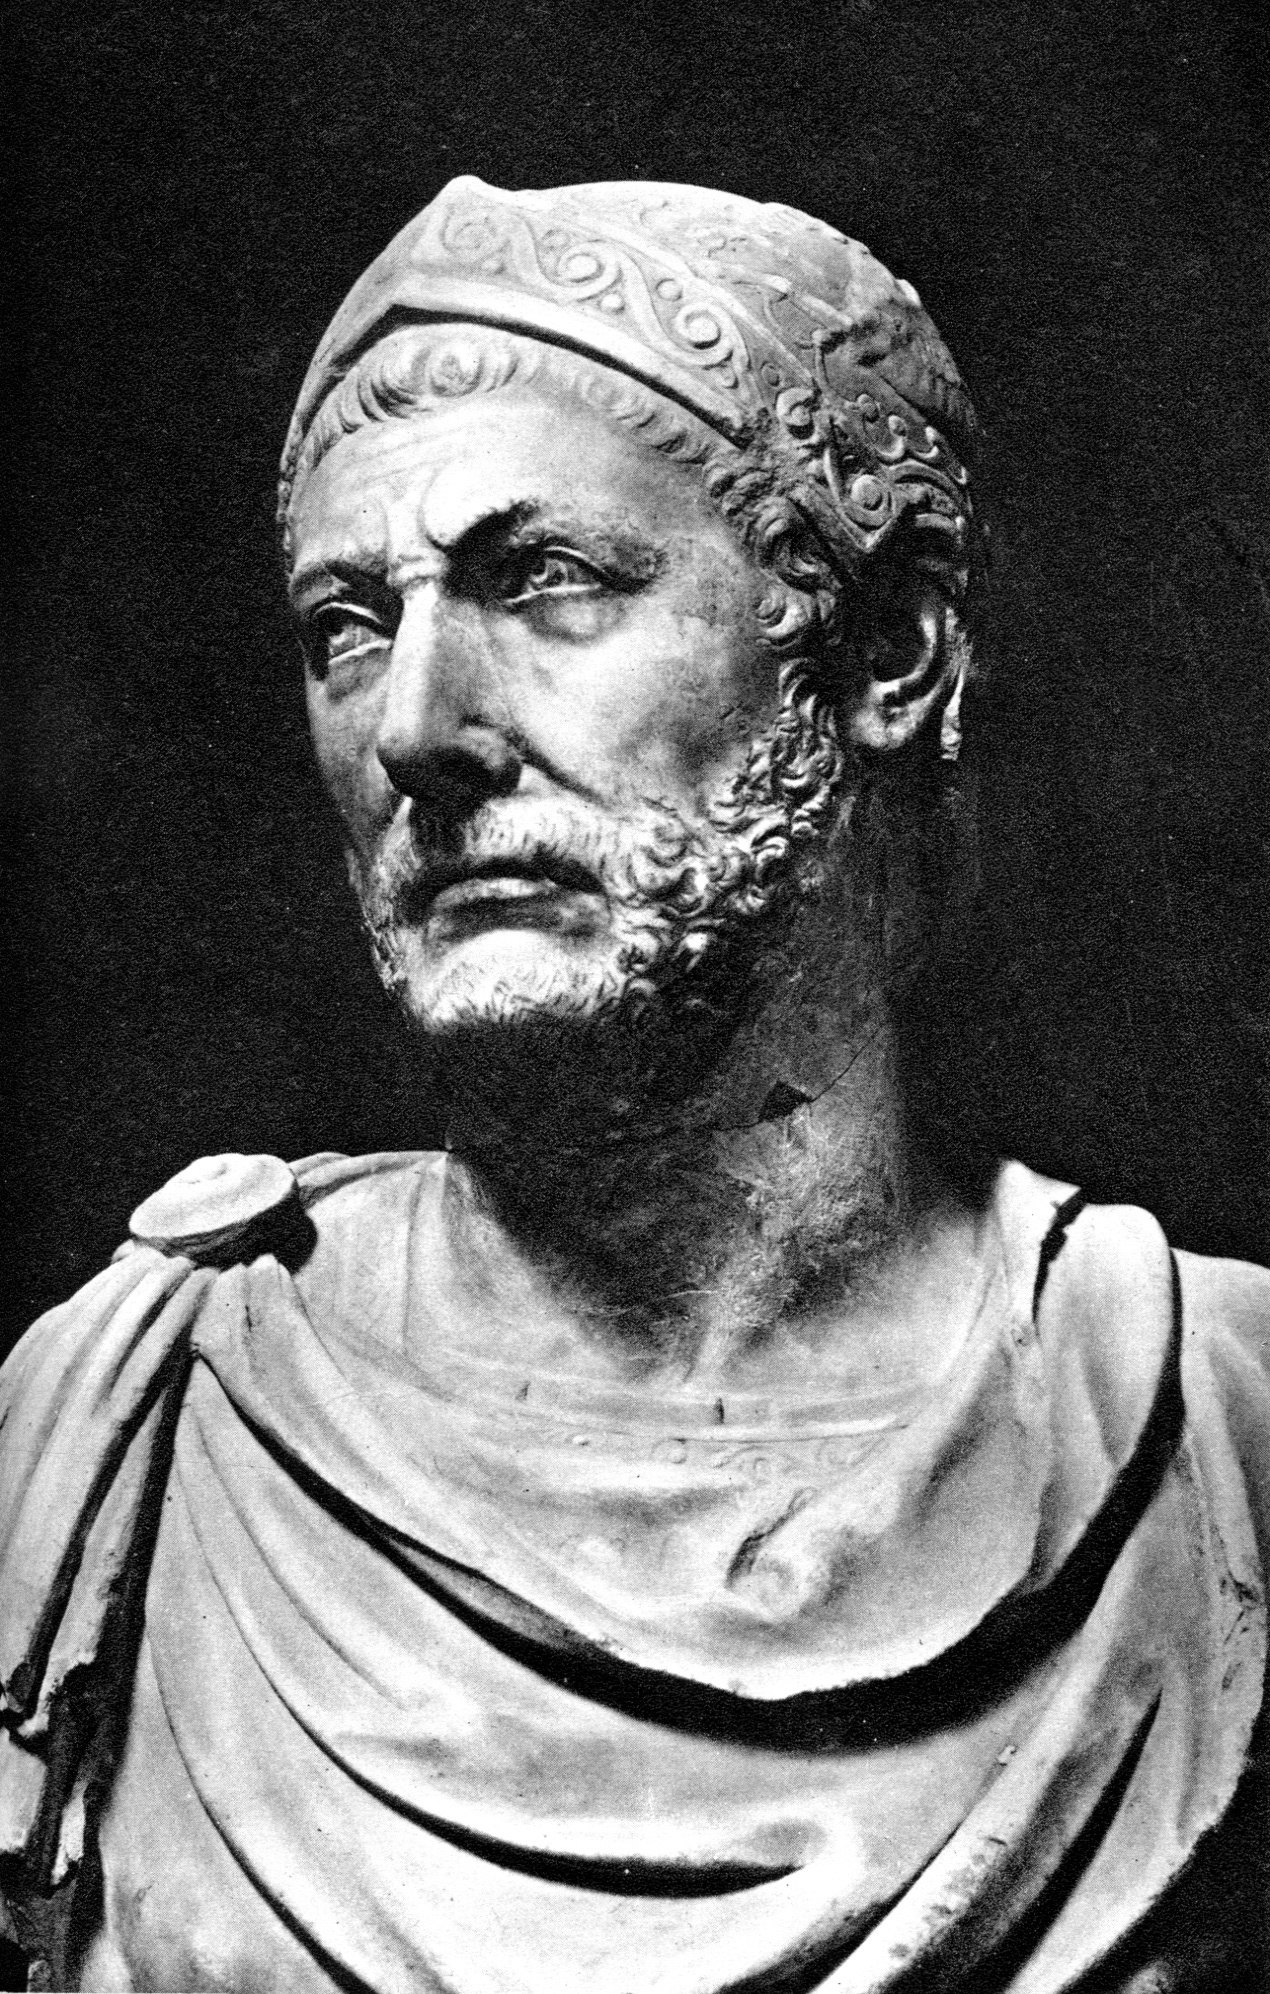
Wikimedia Commons · Public domain · file Hannibal was probably born at Carthage, capital of the Carthaginian state whose armies and government he later served. Wikipedia describes Carthage as the most likely birthplace; no exact birth site is known.
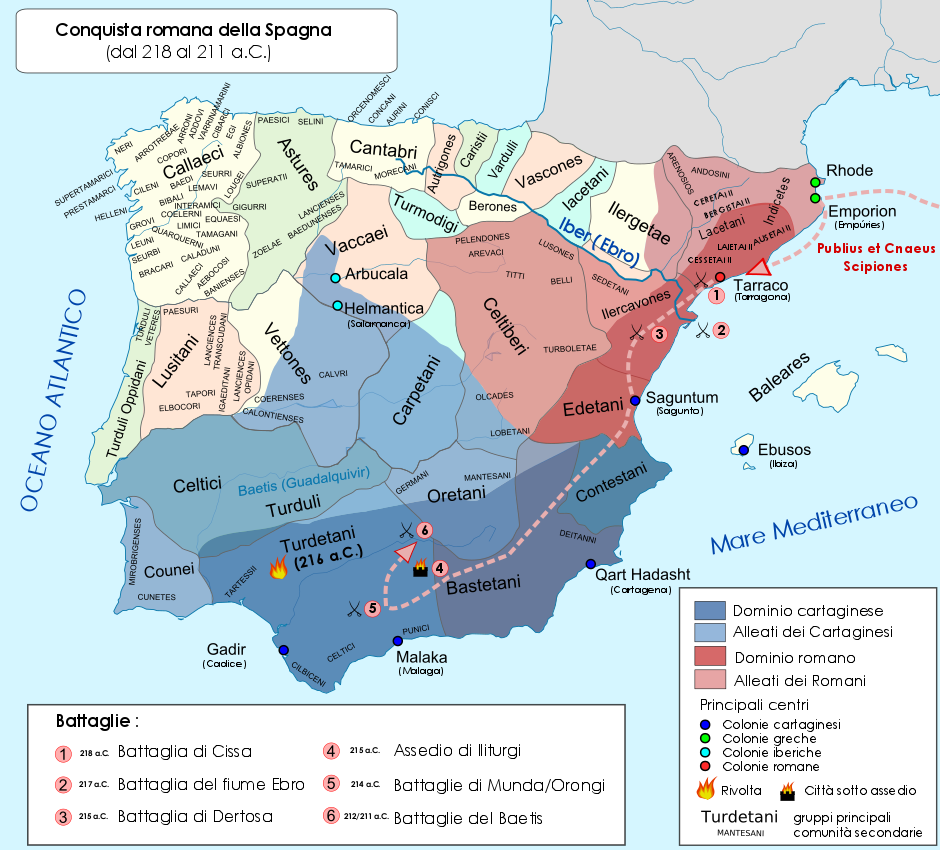
Accompanies Hamilcar to Hispania
· Carthaginian Hispania, Spain
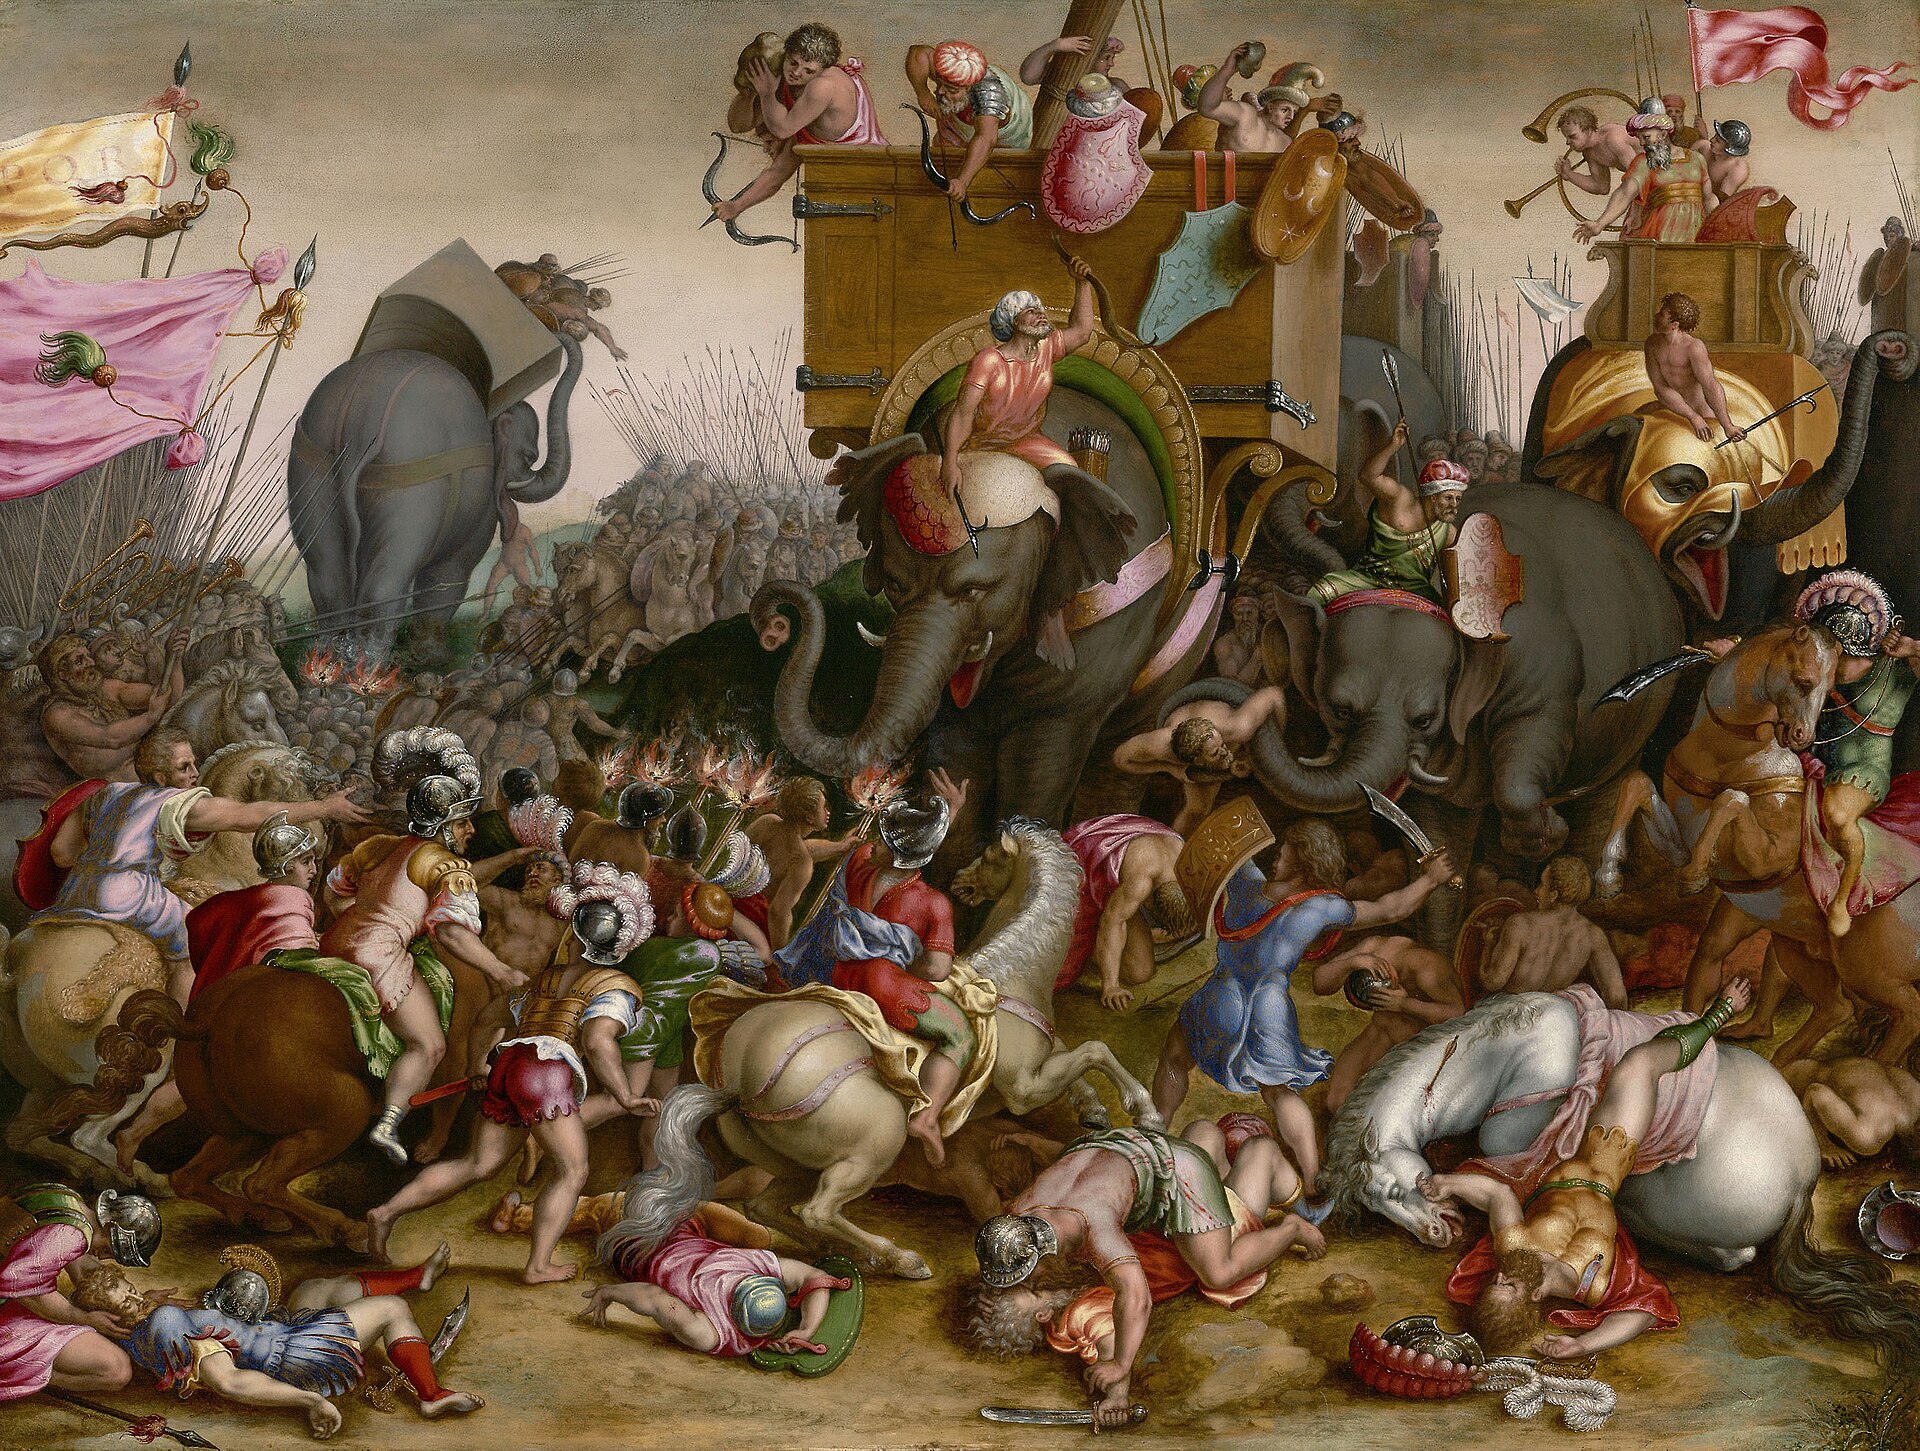
Wikimedia Commons · Public domain · file As a boy, Hannibal departed for Hispania with his father Hamilcar, beginning his long association with the Carthaginian conquest there. The Latin says that Hannibal went to Hispania with his father. The expedition is variously dated to 238 or 237 BC; Cartagena is a representative point for Carthaginian Hispania, not a documented arrival site.
Besieges Saguntum
· Saguntum, Sagunto, Valencia, Spain
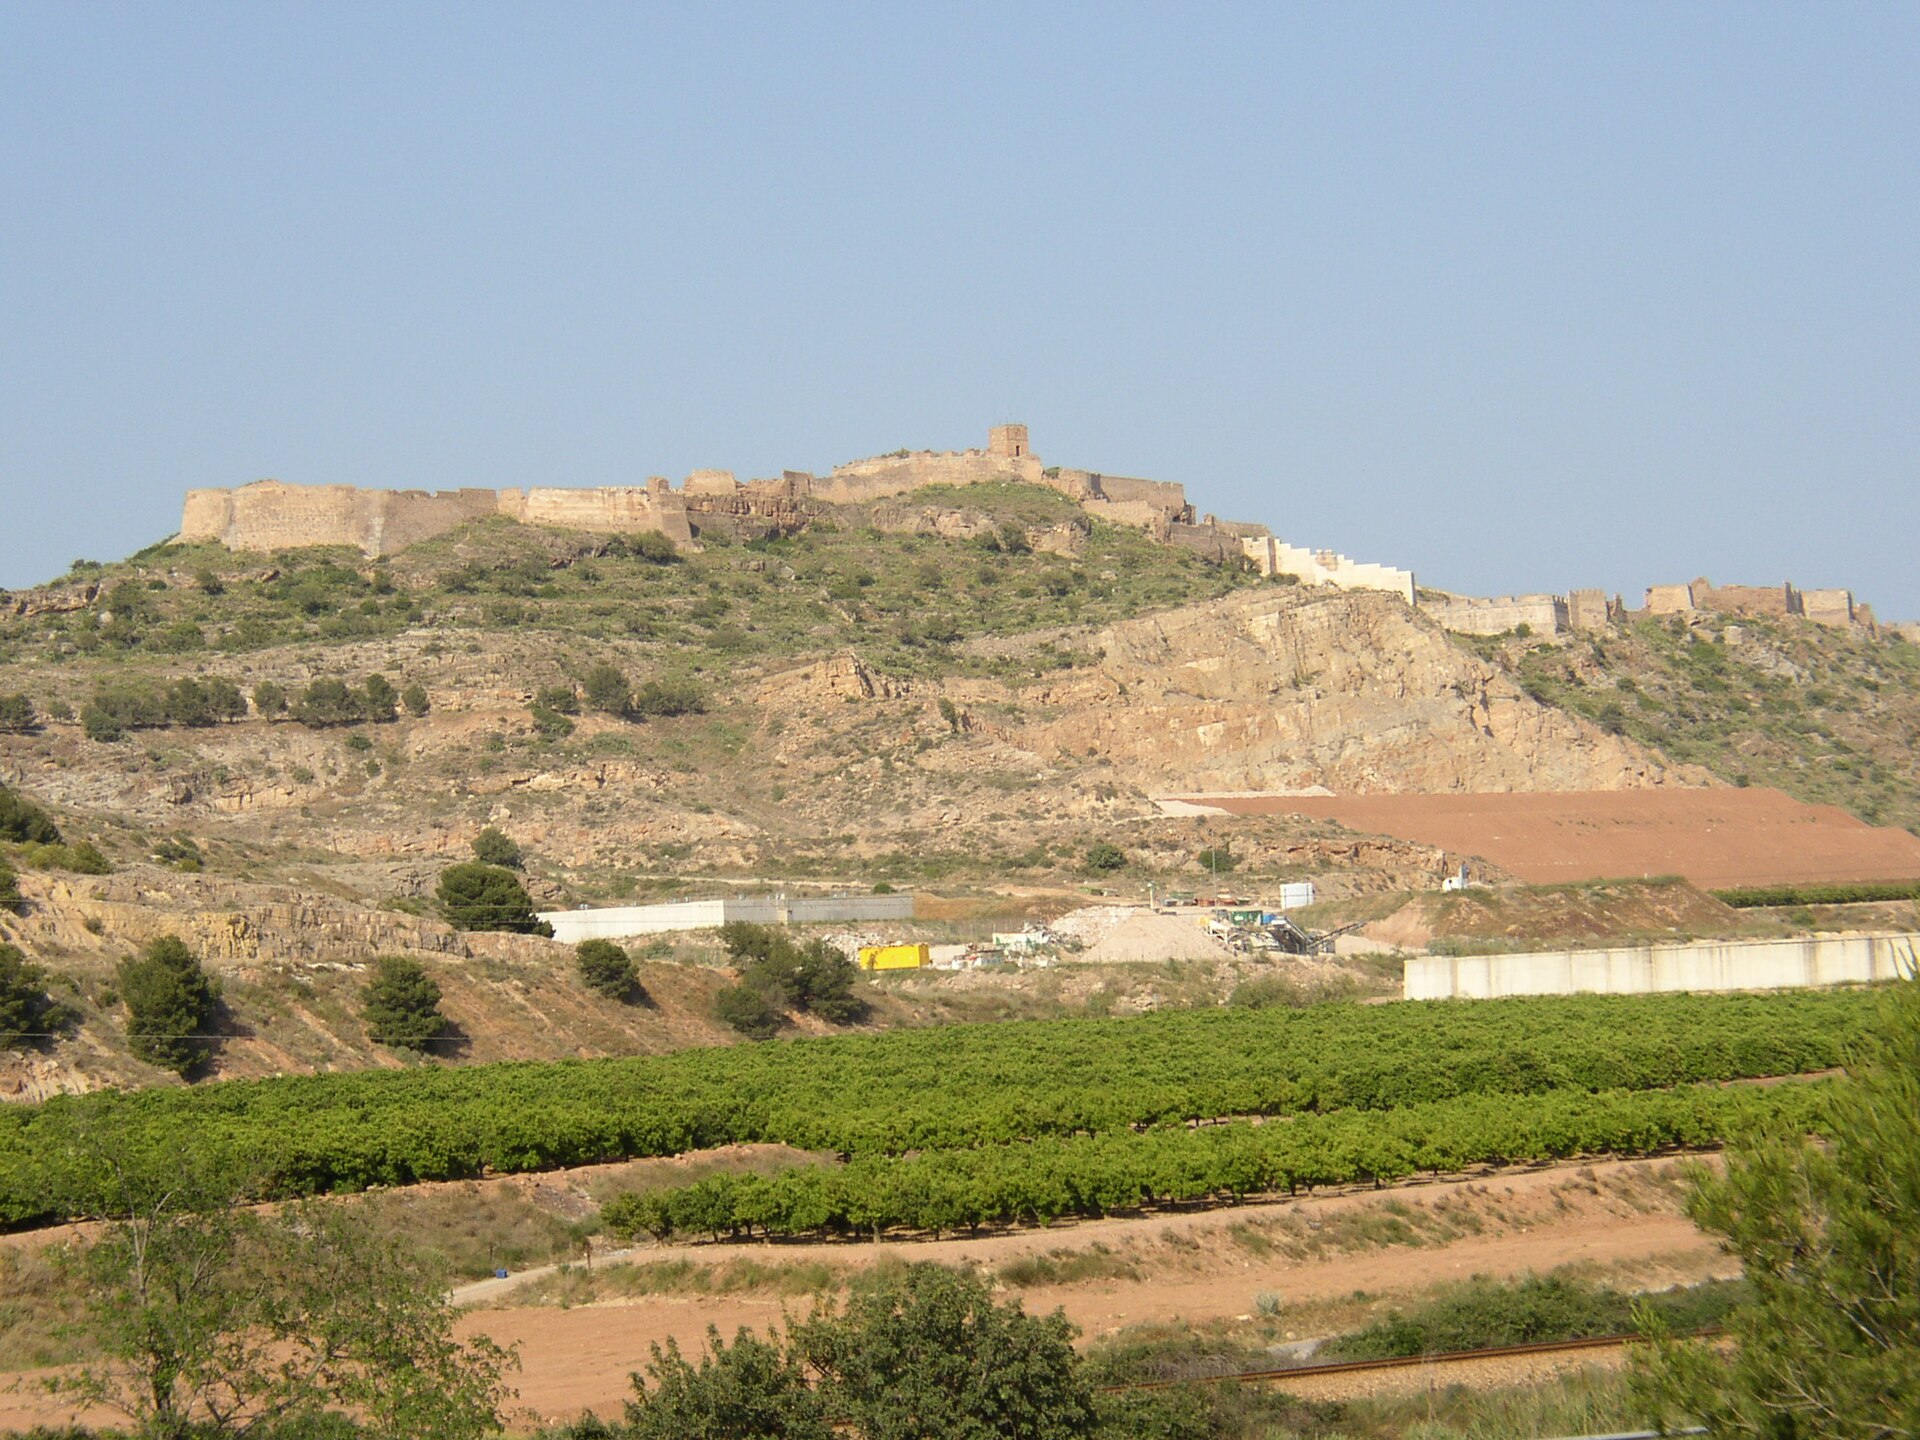
Wikimedia Commons · Creative Commons Attribution-Share Alike 3.0 · file Hannibal personally directed the eight-month siege whose outcome precipitated the Second Punic War; he was wounded during the assault. The siege began in 219 BC and ended in 218 BC; only year-level dating is secure.
Captures Clastidium
· Clastidium, Casteggio, Lombardy, Italy
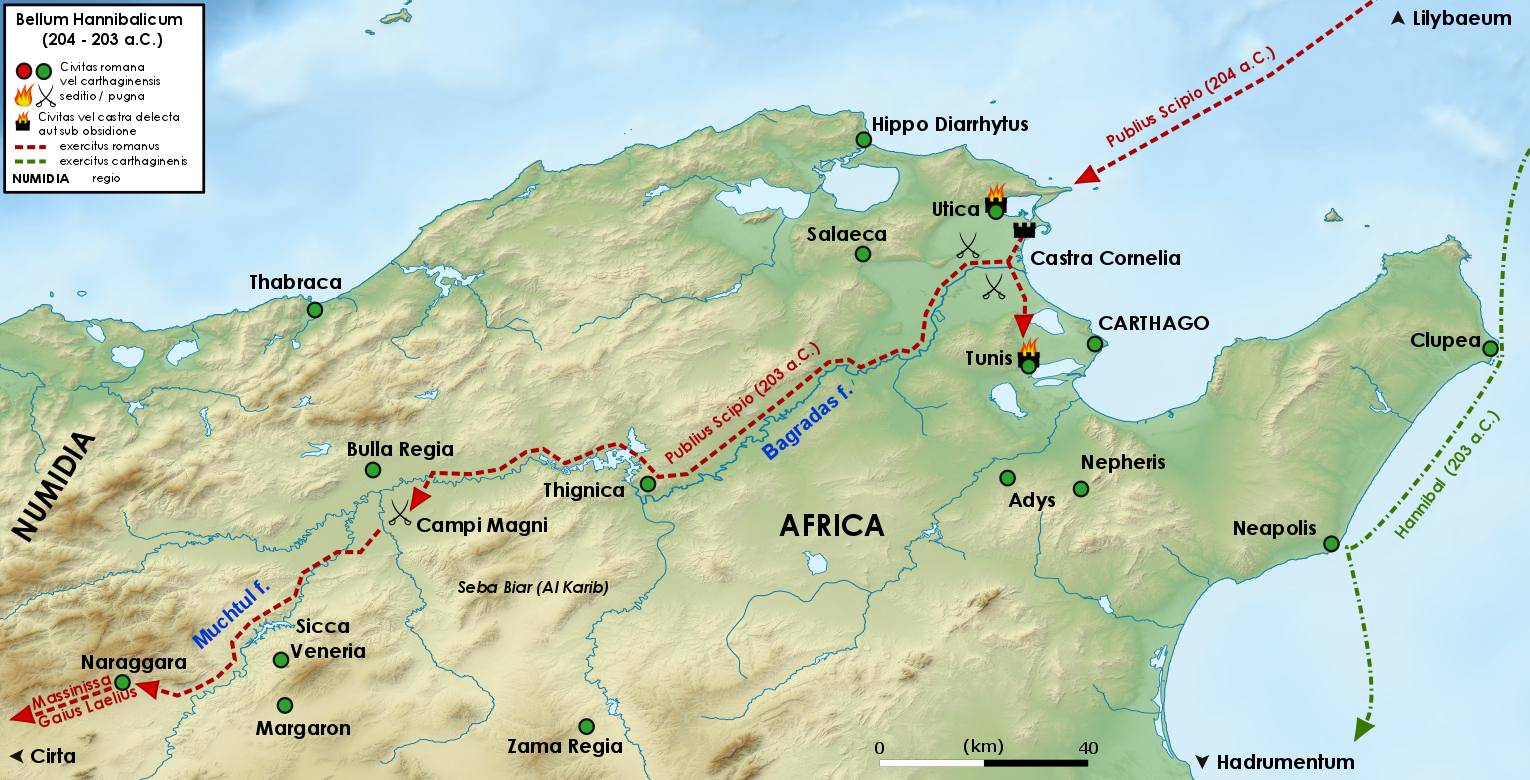
Wikimedia Commons · Creative Commons Attribution-Share Alike 4.0 · file Between the Ticinus and Trebia battles, Hannibal captured the Roman supply center at Clastidium and provisioned his army. The event occurred late in 218 BC; no more precise date is securely established.
Crosses the Western Alps
· Western Alps, France–Italy border
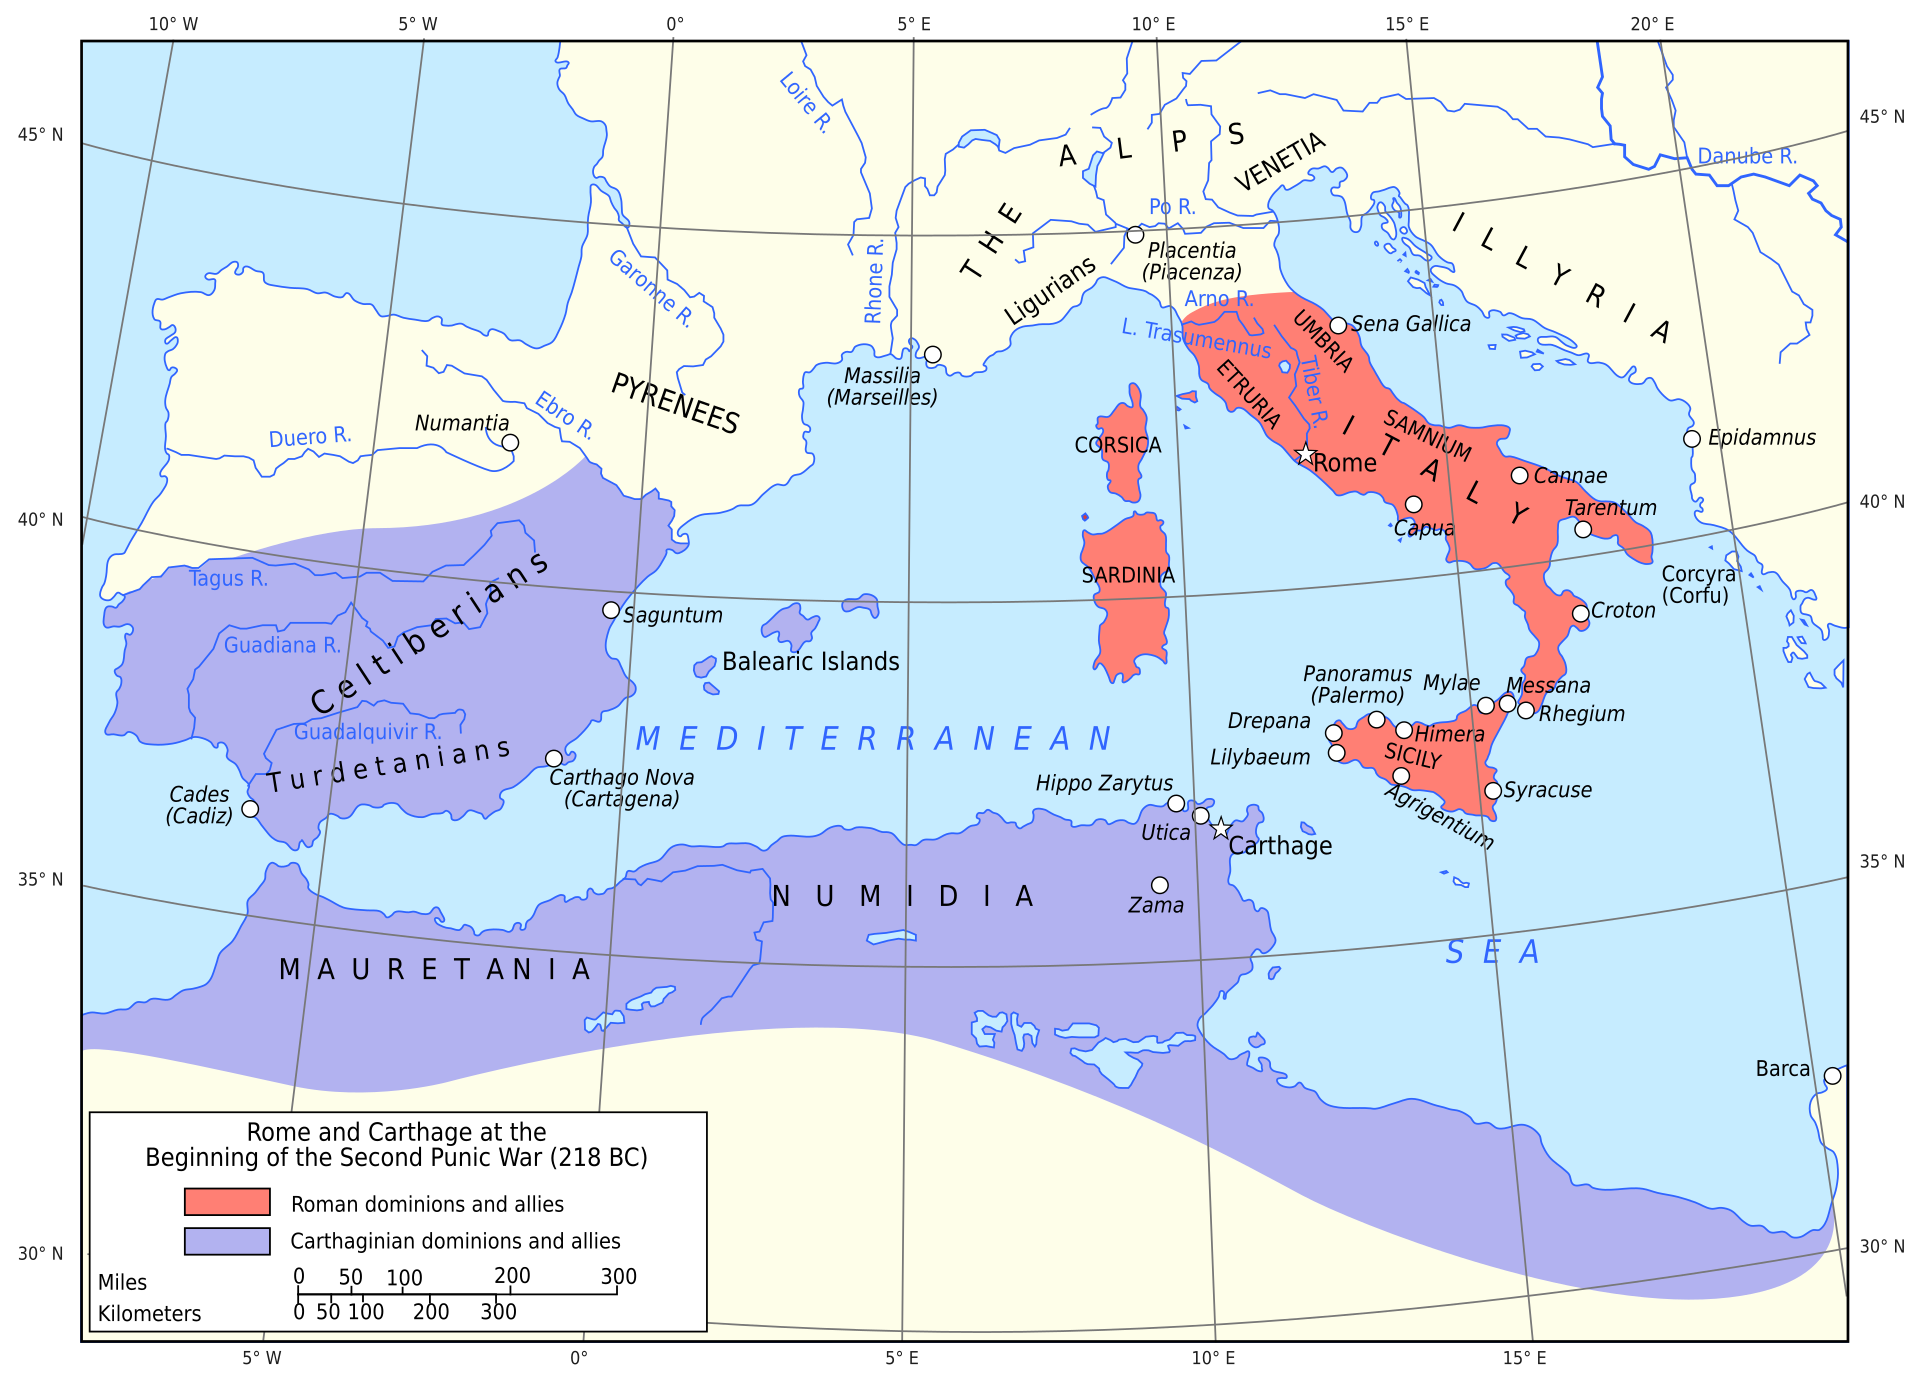
Wikimedia Commons · Public domain · file Hannibal led his multinational army and surviving elephants across the Western Alps, accomplishing the most celebrated movement of his Italian invasion. The precise pass remains unresolved; coordinates are a deliberately broad representative point rather than an endorsement of a specific route.
Departs New Carthage for Italy
· New Carthage, Cartagena, Murcia, Spain
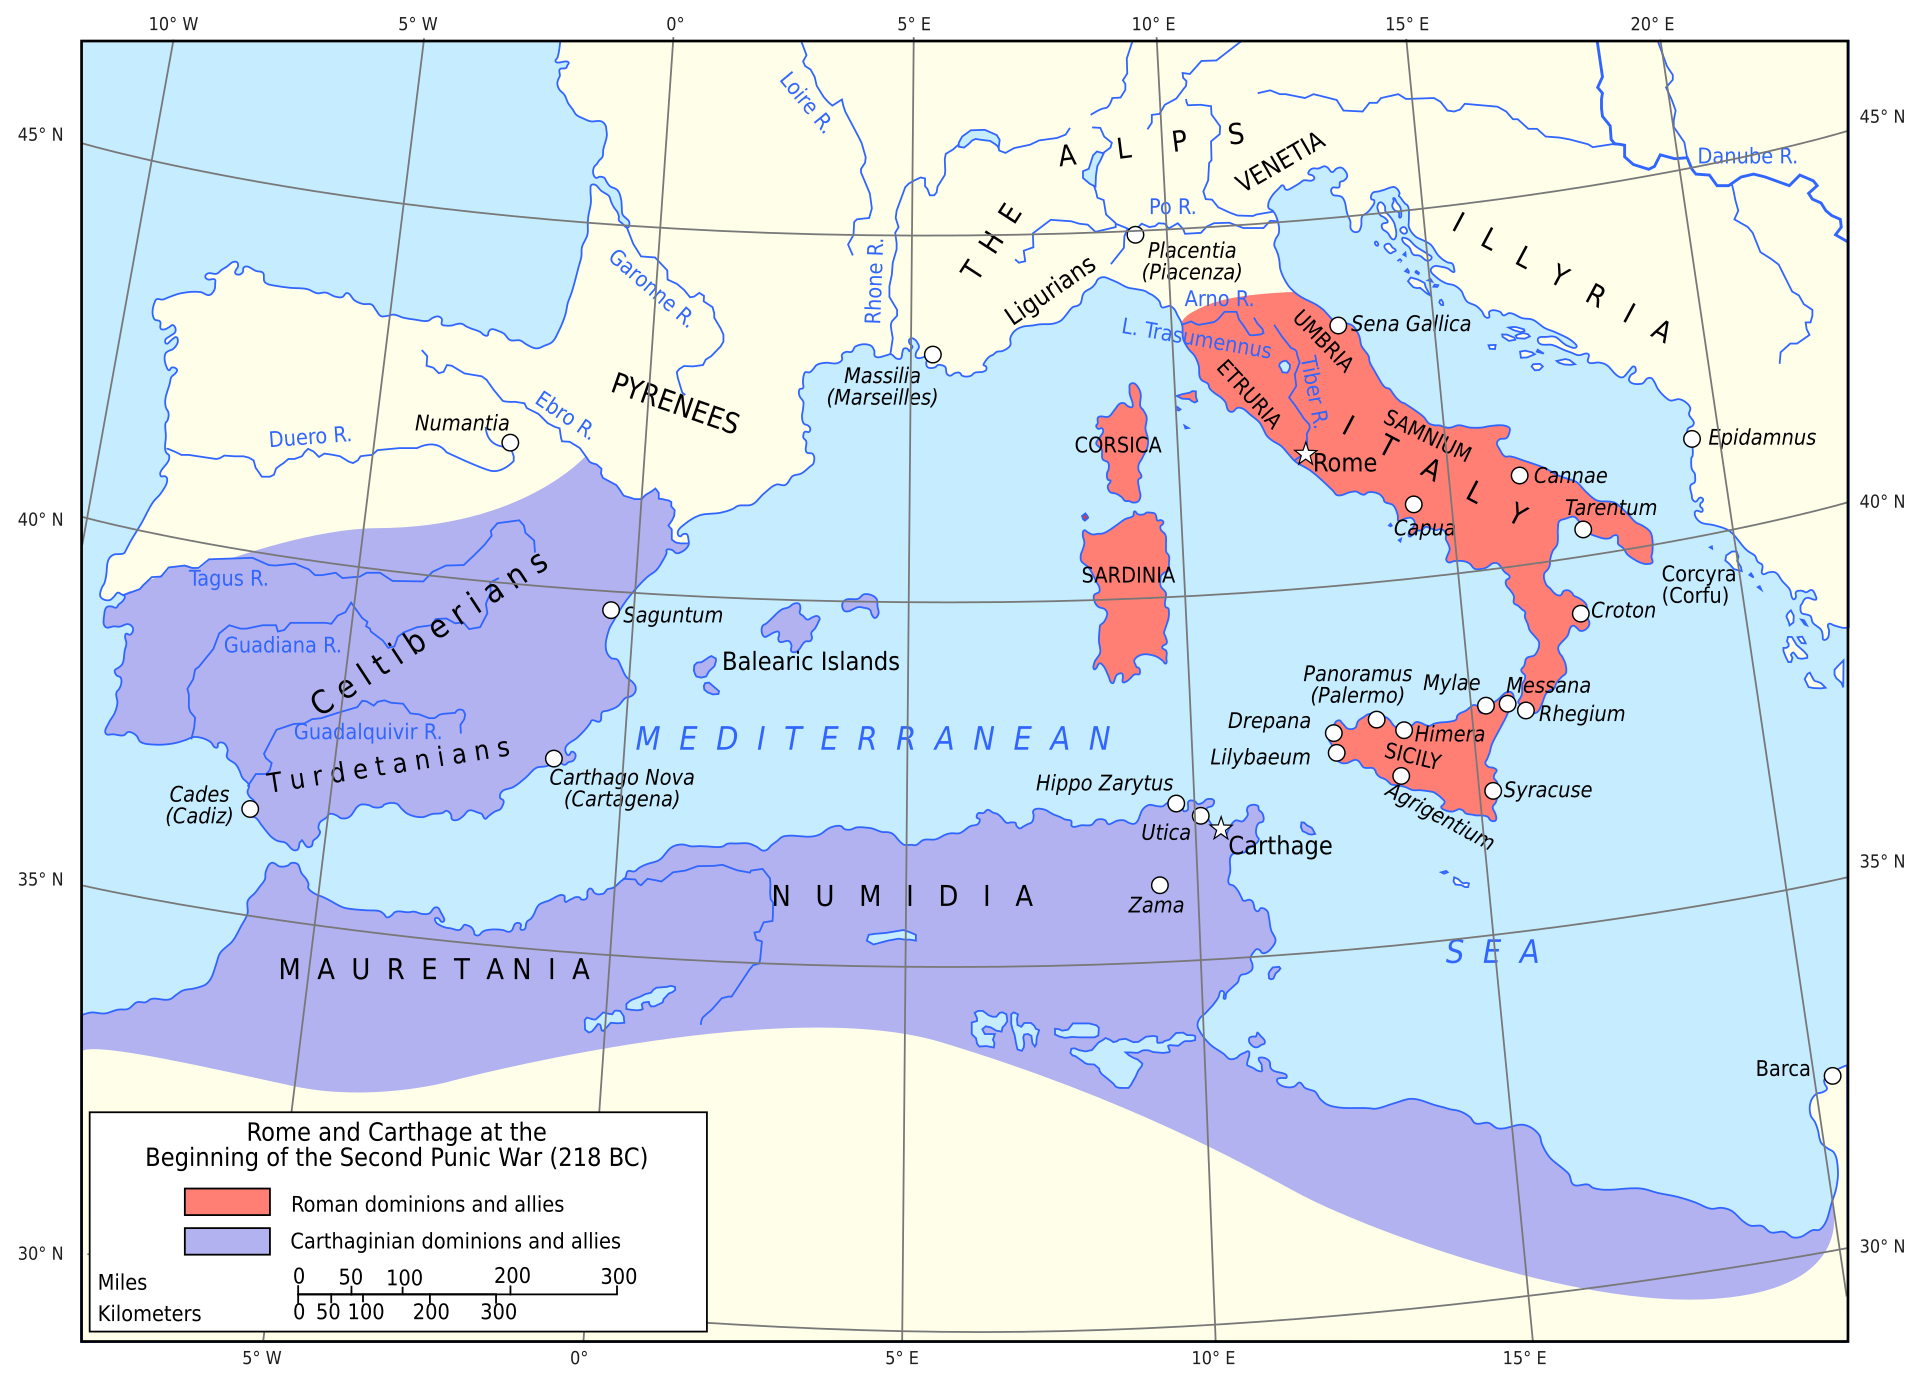
Wikimedia Commons · Creative Commons Attribution-Share Alike 3.0 · file Hannibal began the land campaign that carried his army from southeastern Iberia toward the Pyrenees, Rhône, Alps, and Italy. The departure occurred in late spring 218 BC.
Winters at New Carthage
· New Carthage, Cartagena, Murcia, Spain
Wikimedia Commons · Creative Commons Attribution-ShareAlike 2.0 Generic · file After Saguntum, Hannibal wintered at New Carthage while preparing the overland invasion of Italy. This was the winter spanning 219–218 BC.
Crosses the Rhône
· Lower Rhône crossing area, Provence, France
Wikimedia Commons · Public domain · file Hannibal crossed the Rhône during the approach to the Alps, personally landing with an early wave during the contested operation. The exact crossing point and even directional wording in modern accounts are disputed. Coordinates represent a commonly proposed lower-Rhône crossing area north of Avignon.
Fights at the Ticinus
· Lower Ticino battlefield, near Pavia, Lombardy, Italy
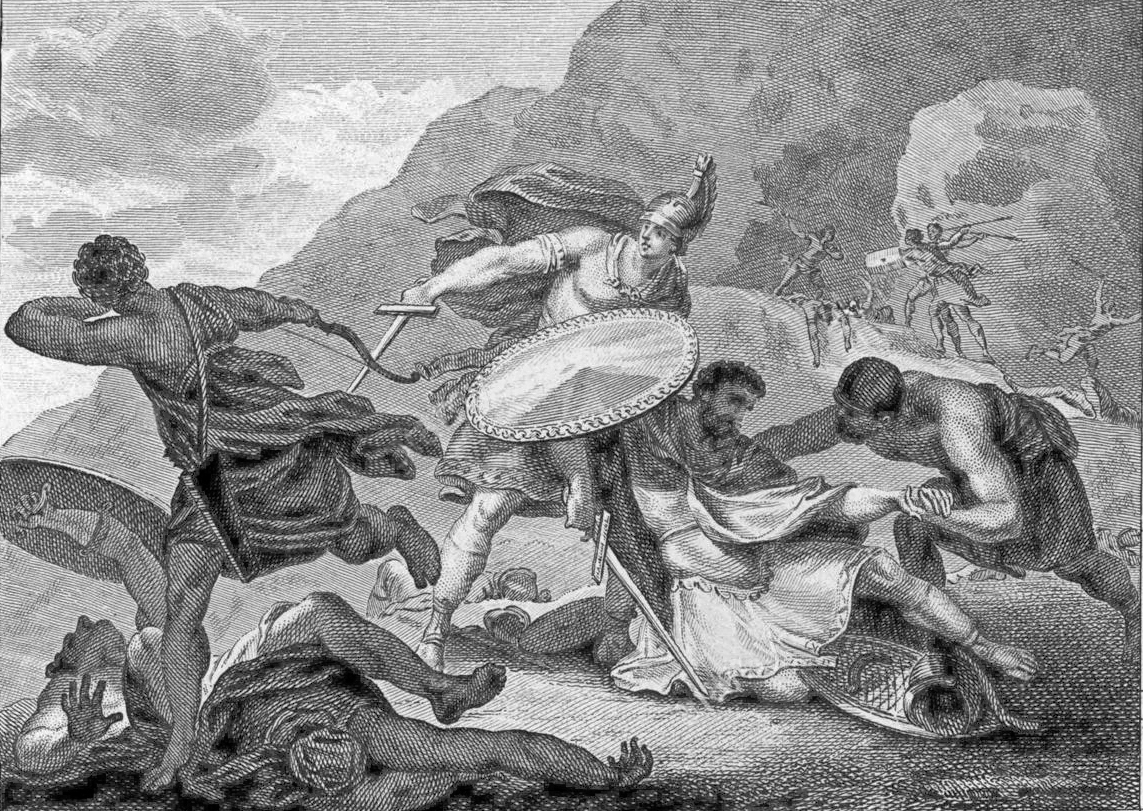
Wikimedia Commons · Public domain · file Hannibal commanded the Carthaginian cavalry victory over Publius Cornelius Scipio near the lower Ticino, strengthening his position among the northern Italian Gauls. Neither the precise date nor exact battlefield is known; coordinates represent the lower Ticino west of Pavia.
Commands at the Trebia
· Trebia battlefield, Emilia-Romagna, Italy
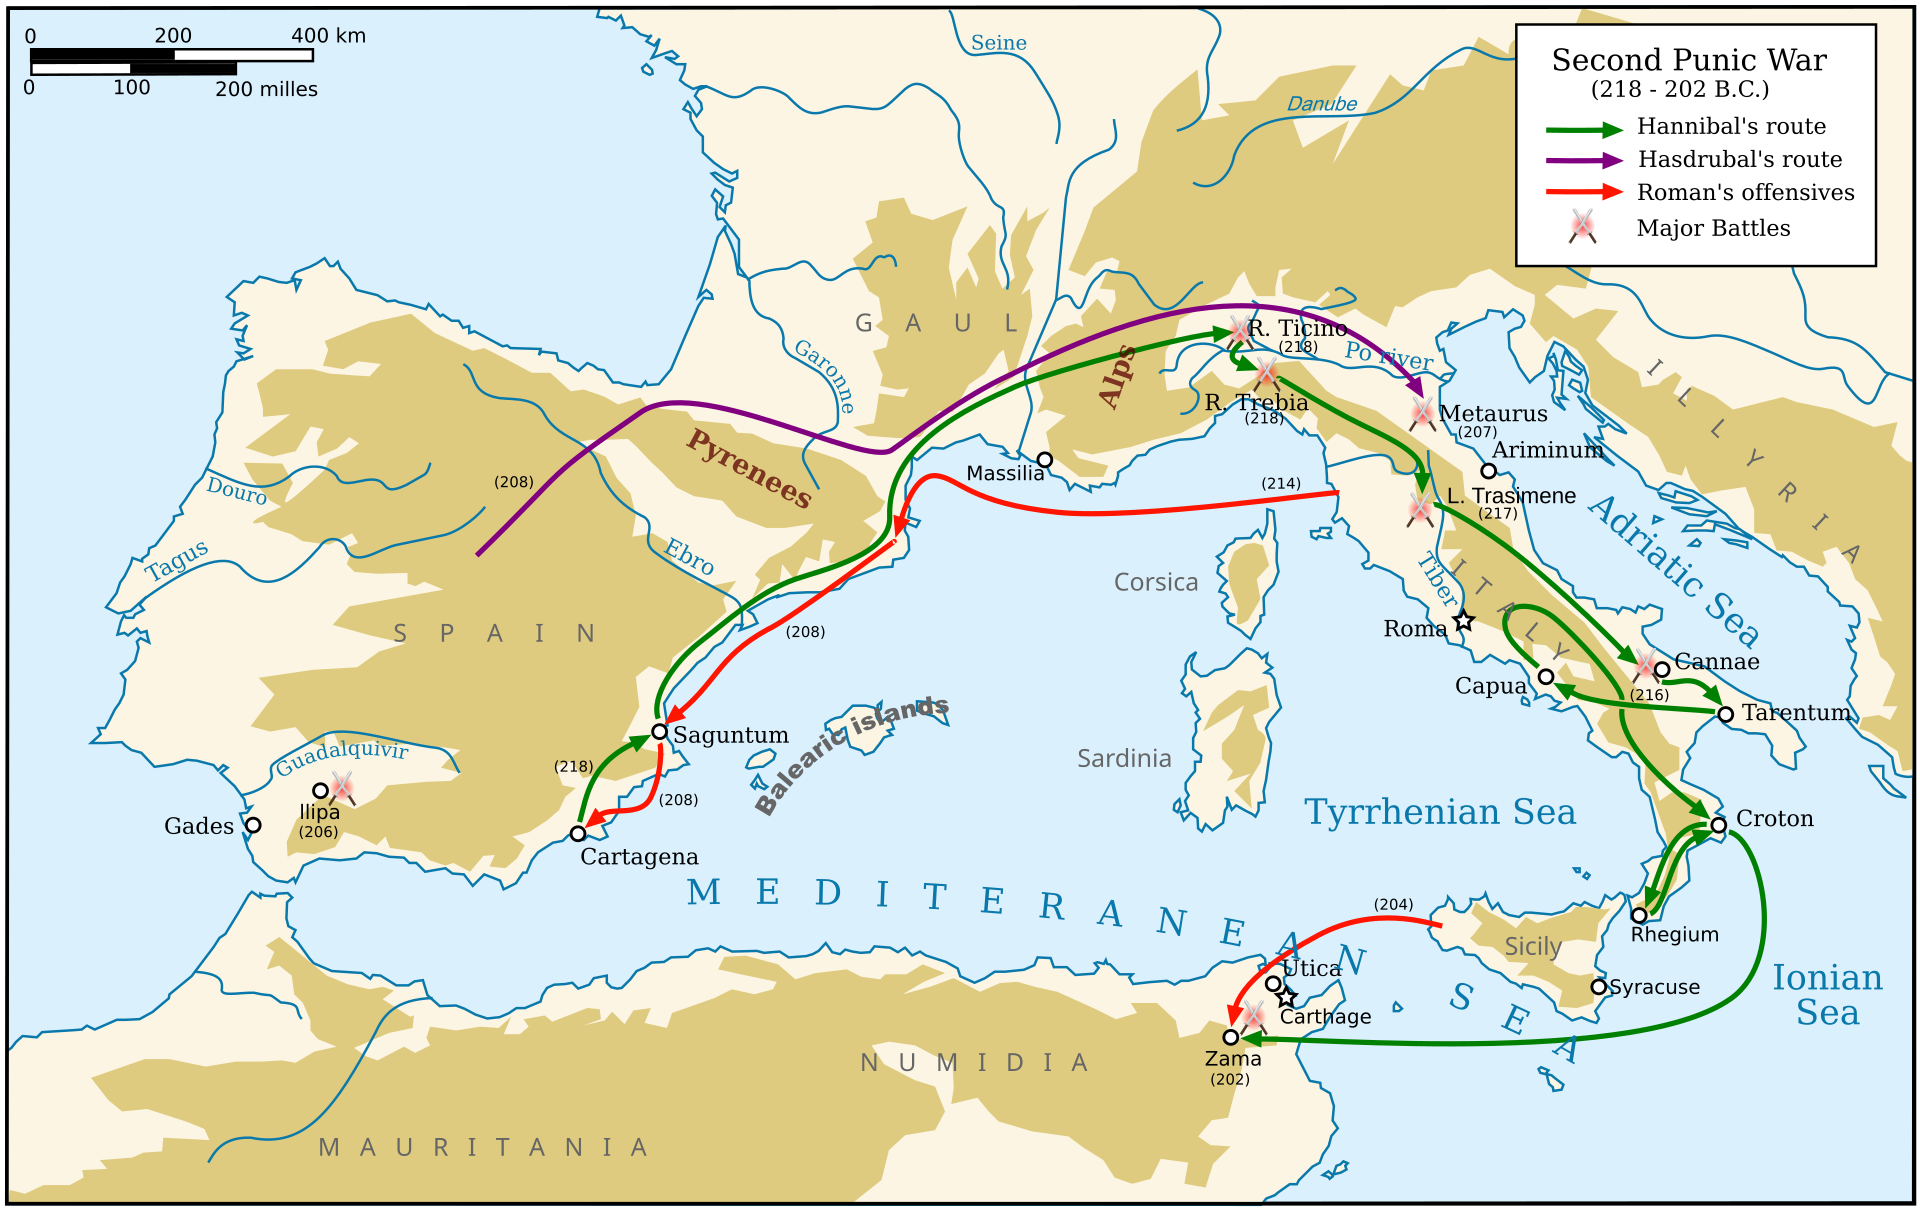
Wikimedia Commons · Public domain · file Hannibal lured the Roman army across the cold Trebia and defeated it through frontal pressure, cavalry superiority, and an ambush. Sources differ between December 22 and 23; December 22 is used with the uncertainty recorded here.
Establishes position at Geronium
· Geronium area, Molise, Italy
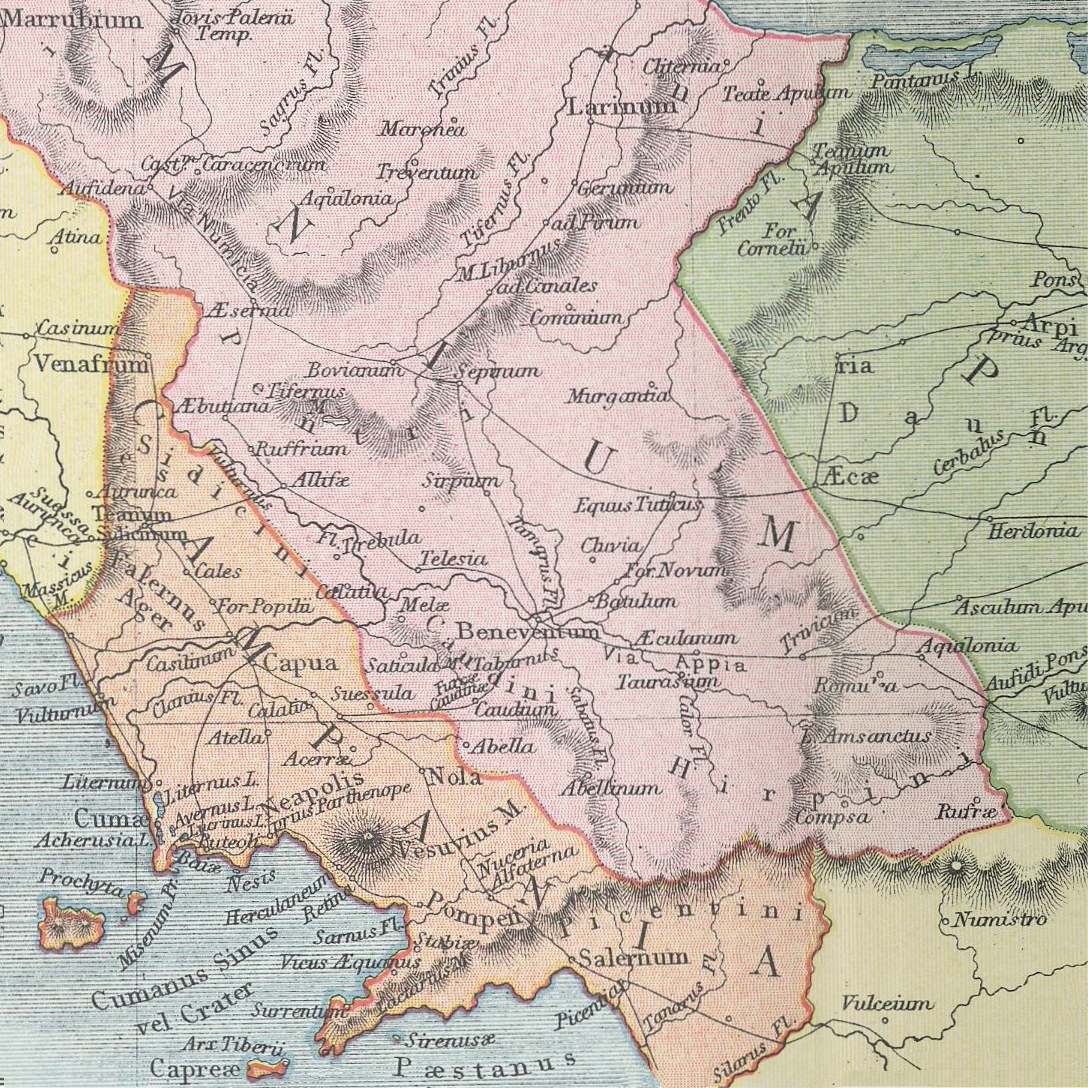
Wikimedia Commons · Public domain · file Hannibal occupied the Geronium area for supplies and defeated Marcus Minucius Rufus after drawing his force into an ambush. Geronium's exact archaeological location remains debated; coordinates represent the commonly associated area near Casacalenda.
Ambushes Rome at Lake Trasimene
· Lake Trasimene battlefield, Umbria, Italy
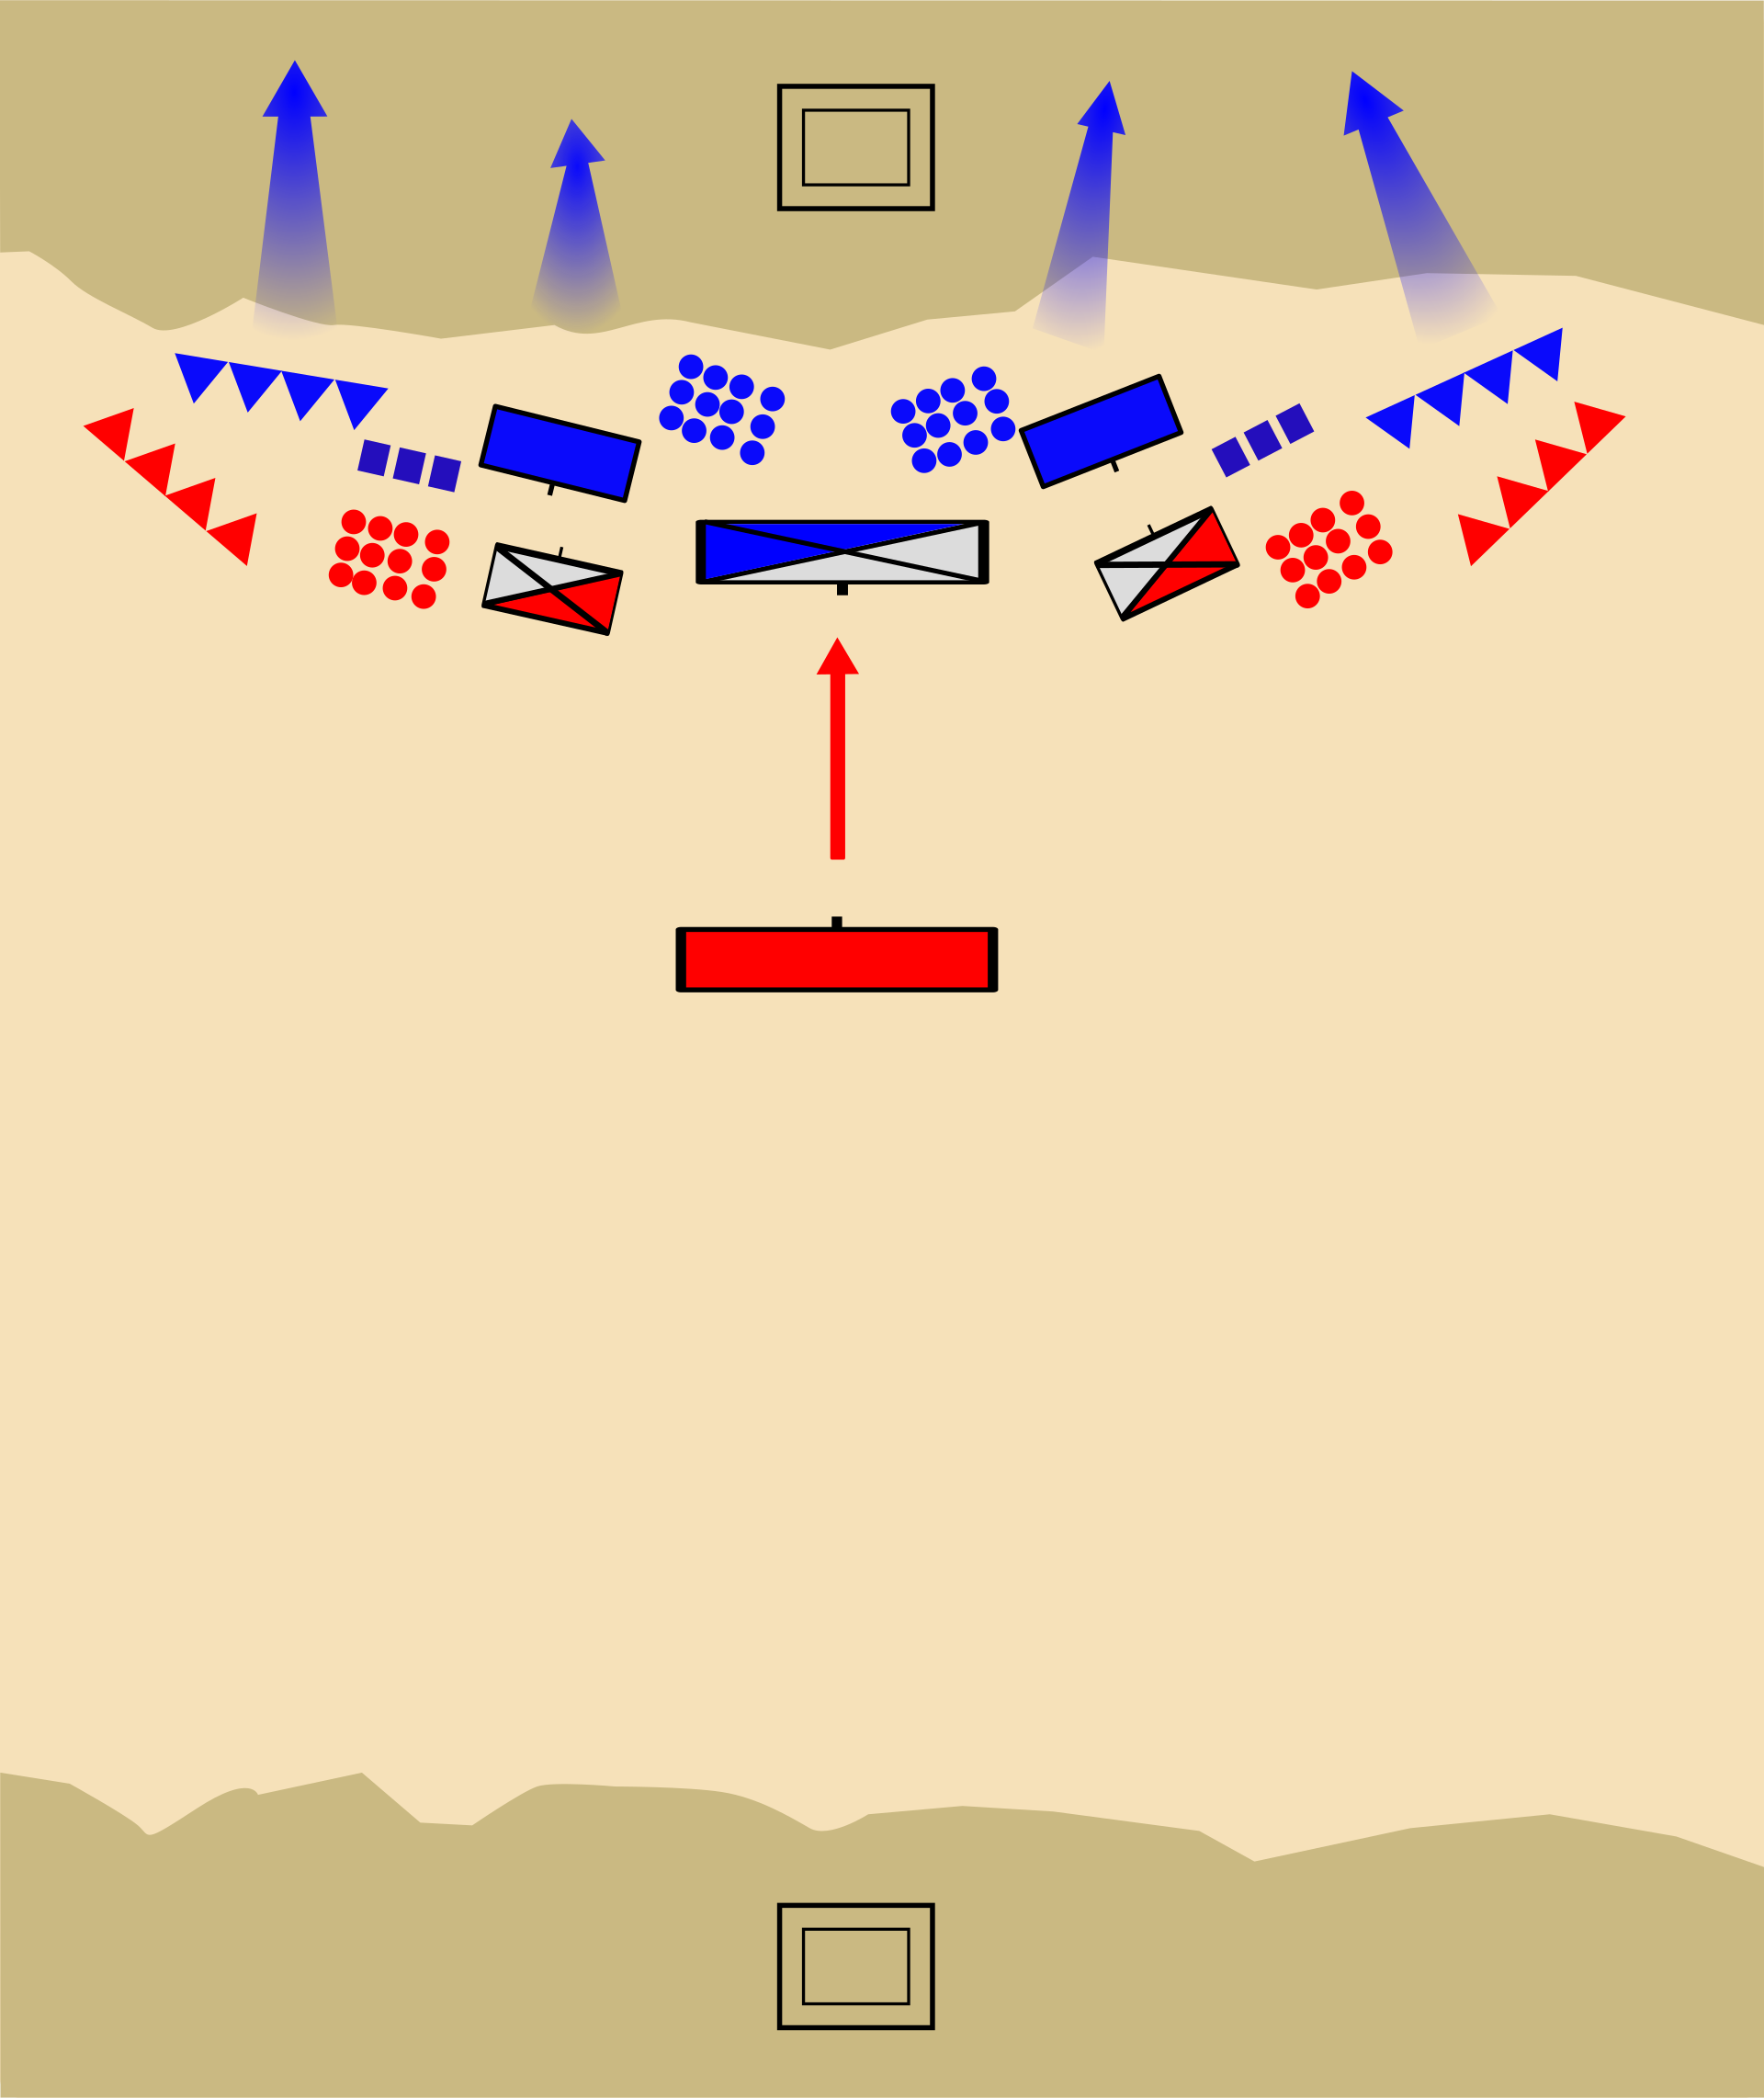
Wikimedia Commons · Public domain · file Hannibal trapped and destroyed the army of consul Gaius Flaminius along Lake Trasimene in one of antiquity's largest ambushes.
Breaks out of Ager Falernus
· Mount Callicula, Campania, Italy
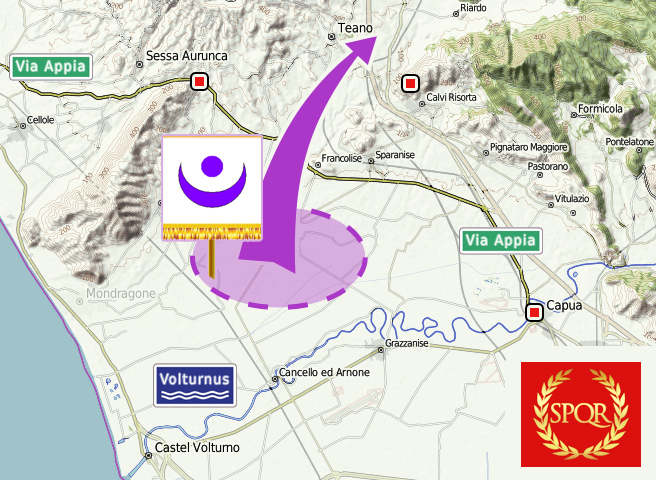
Wikimedia Commons · Public domain · file After ravaging the Falernian plain, Hannibal escaped a Roman attempt to confine his army by using a diversion involving cattle carrying torches. The ancient identification of Mount Callicula is uncertain; coordinates represent the Roccamonfina–Falernian area.
Makes first attempt on Nola
· Nola, Campania, Italy
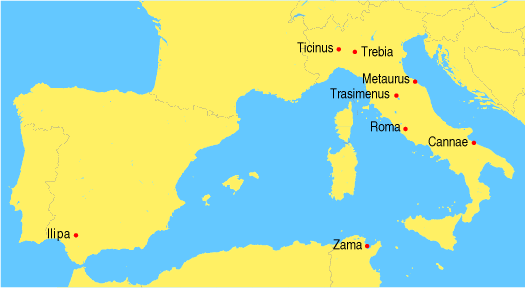
Wikimedia Commons · Public domain · file Hannibal camped outside Nola and attempted to capture the city, but Marcus Claudius Marcellus repelled the attack. The battle occurred late in 216 BC.
Winters at Capua
· Ancient Capua, Santa Maria Capua Vetere, Campania, Italy
Wikimedia Commons · Creative Commons Attribution-Share Alike 3.0 · file After Cannae, Capua defected to Hannibal and became his principal Campanian base and winter quarters. The winter quarters followed the campaigning season of 216 BC.
Wins the Battle of Cannae
· Cannae battlefield, Apulia, Italy
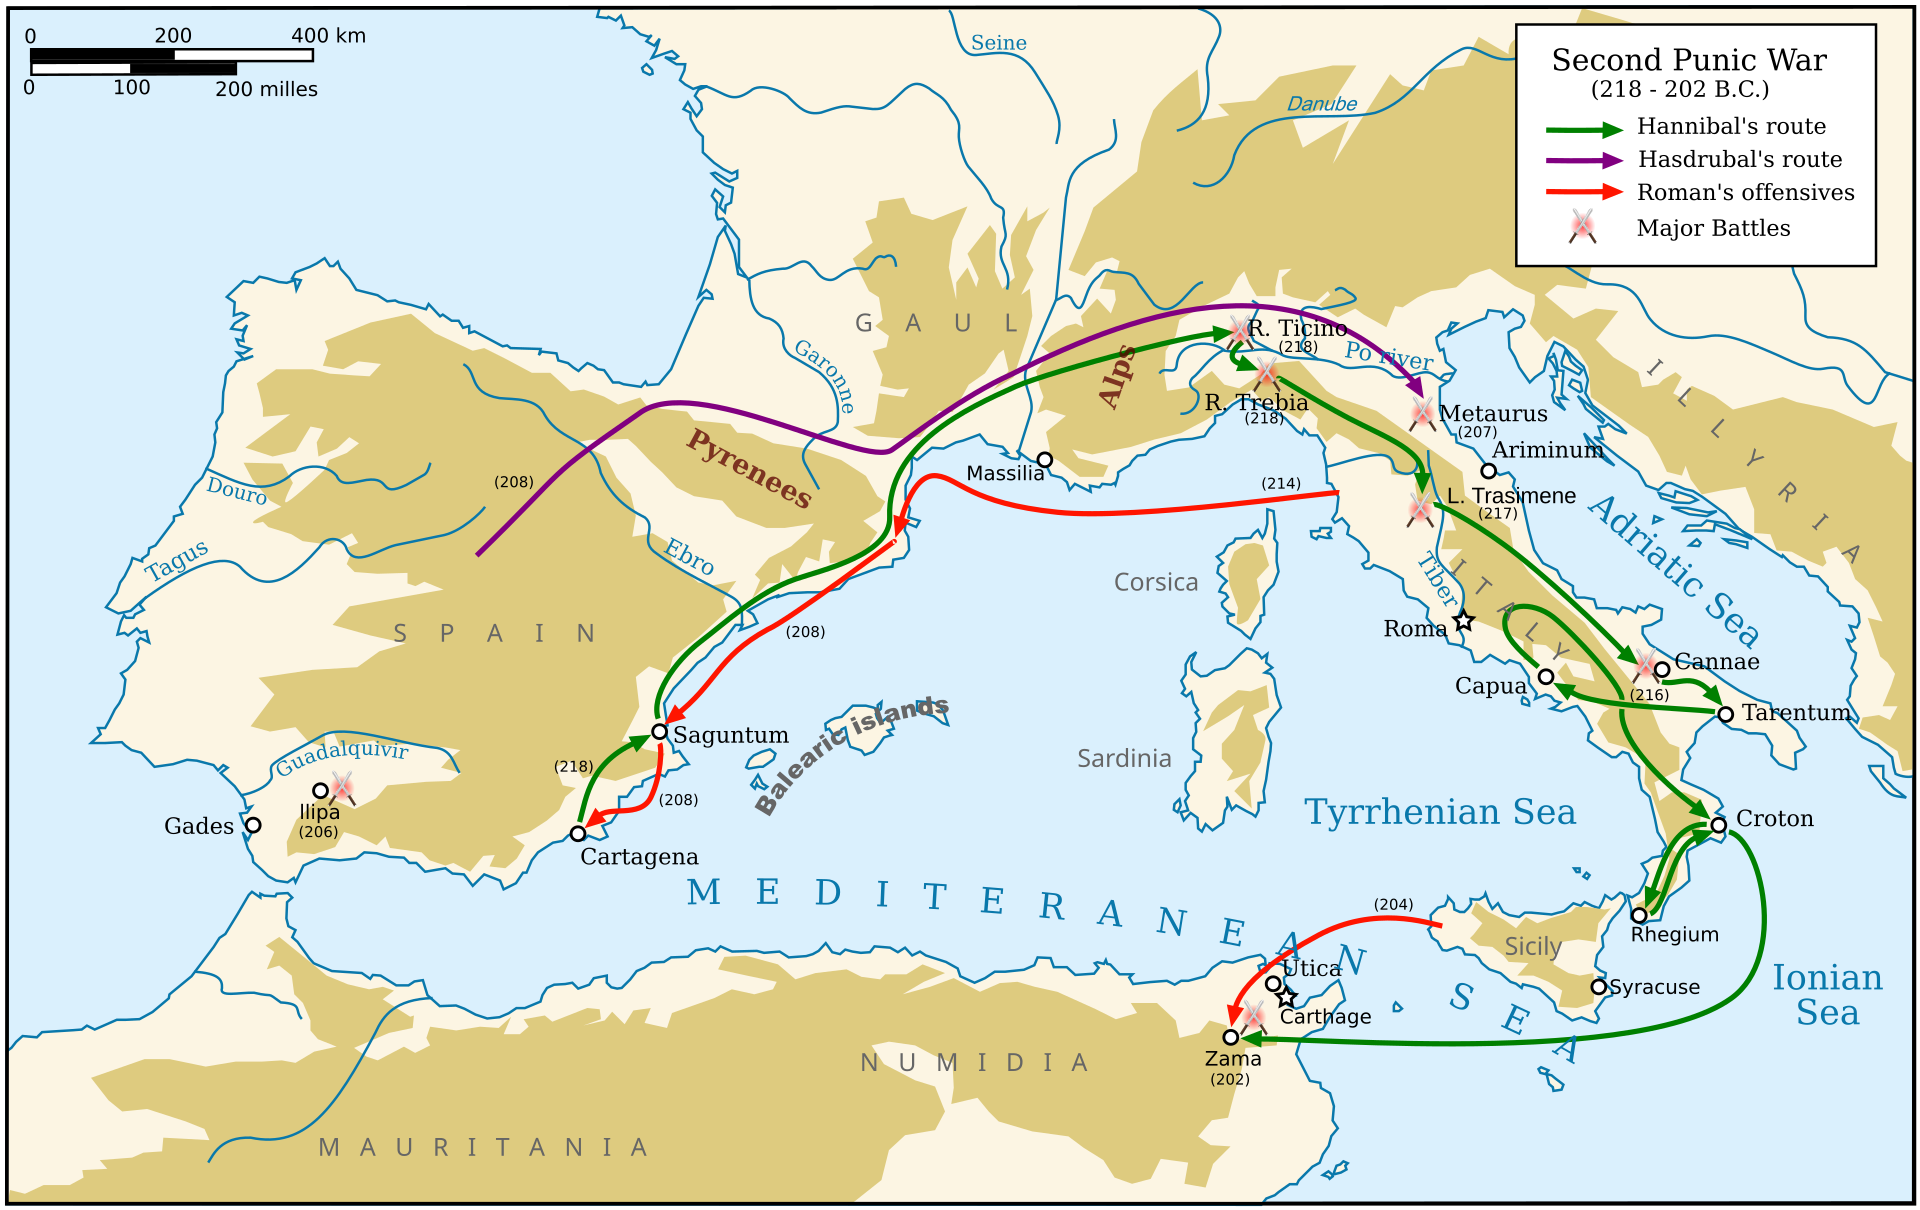
Wikimedia Commons · Public domain · file Hannibal executed a double envelopment at Cannae, destroying a much larger Roman army and securing his most famous victory.
Returns to Nola
· Nola, Campania, Italy
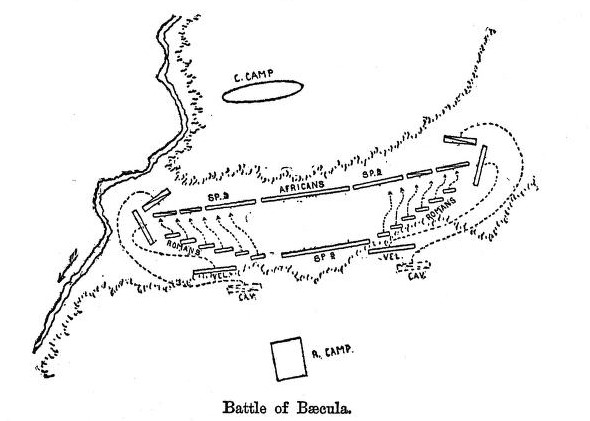
Wikimedia Commons · Public domain · file Hannibal made a second attempt to seize Nola, again confronting the Roman army of Marcellus. Wikipedia dates the engagement to August 215 BC without a supported day.
Makes third attempt on Nola
· Nola, Campania, Italy
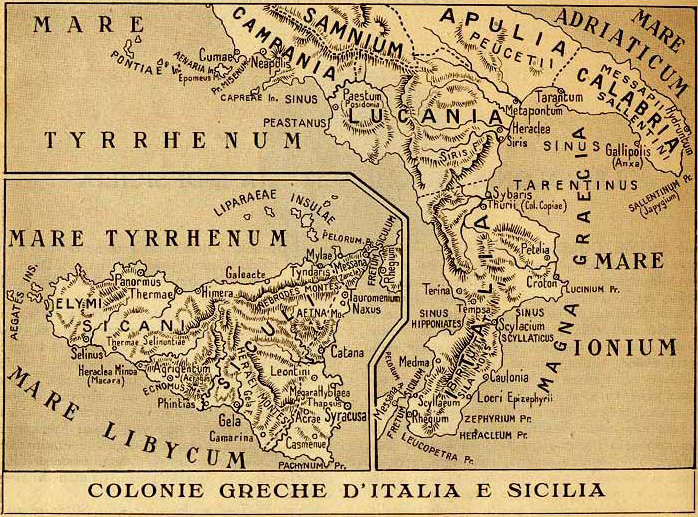
Wikimedia Commons · Public domain · file Hannibal returned for a third and final attempt to take Nola but was again prevented from capturing the city.
Destroys Roman force by the Silarus
· Silarus River area, Campania, Italy
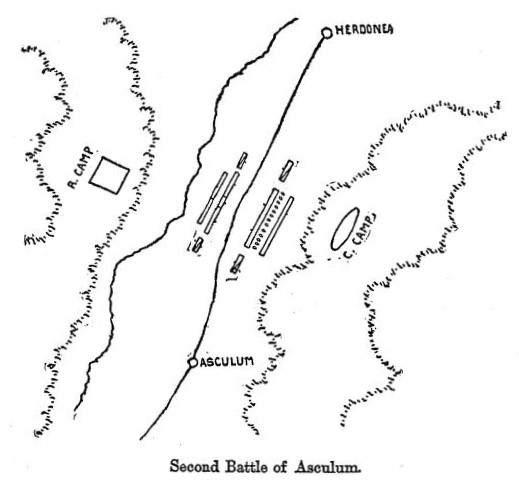
Wikimedia Commons · Creative Commons Attribution-Share Alike 4.0 · file Hannibal intercepted Marcus Centenius Penula's army in Lucania and virtually destroyed it near the Silarus River. The exact battlefield along the modern Sele River is unknown; coordinates are representative.
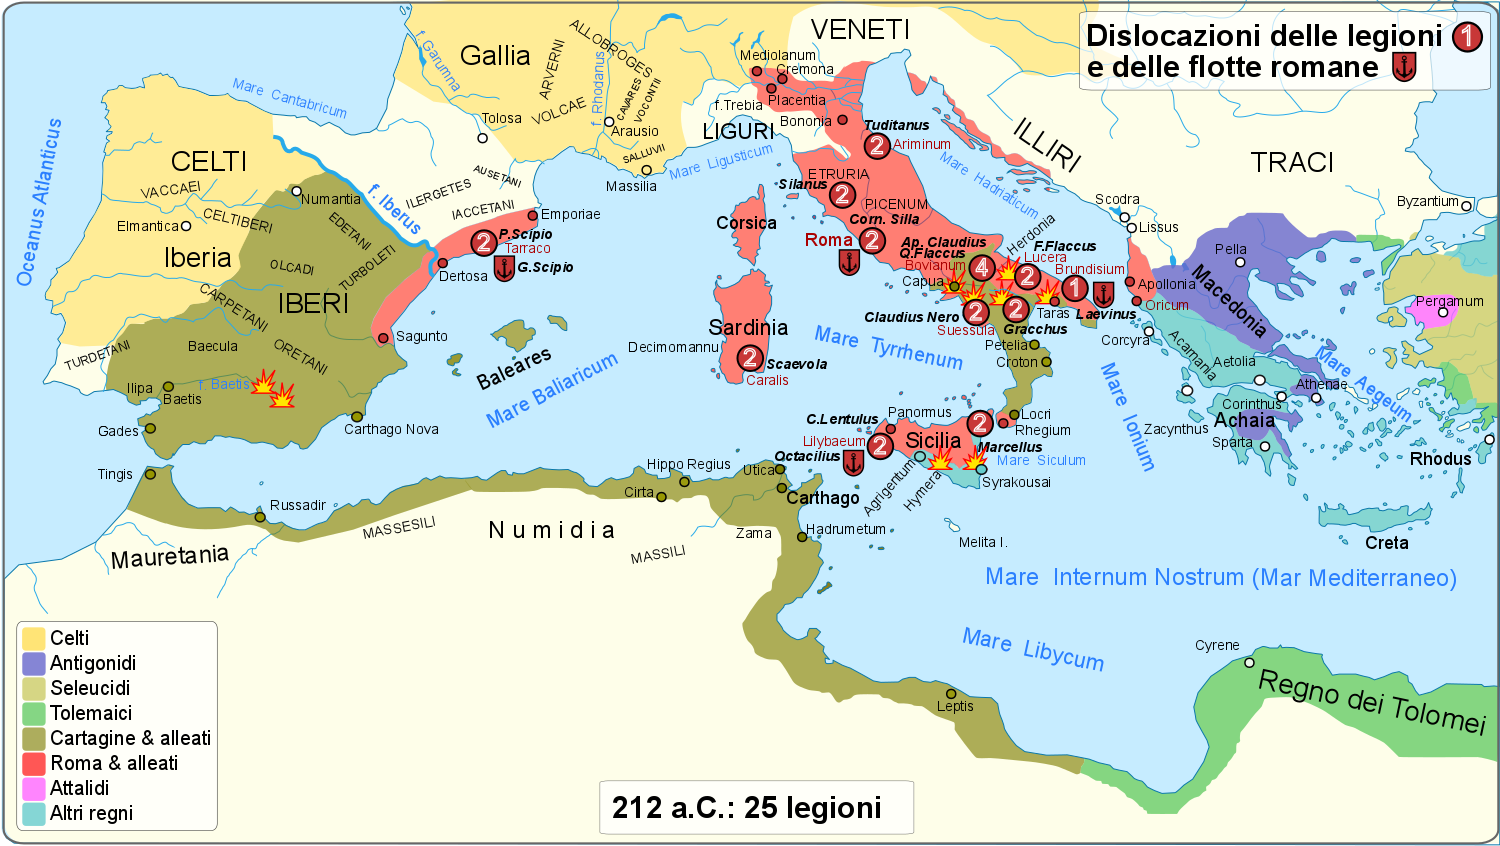
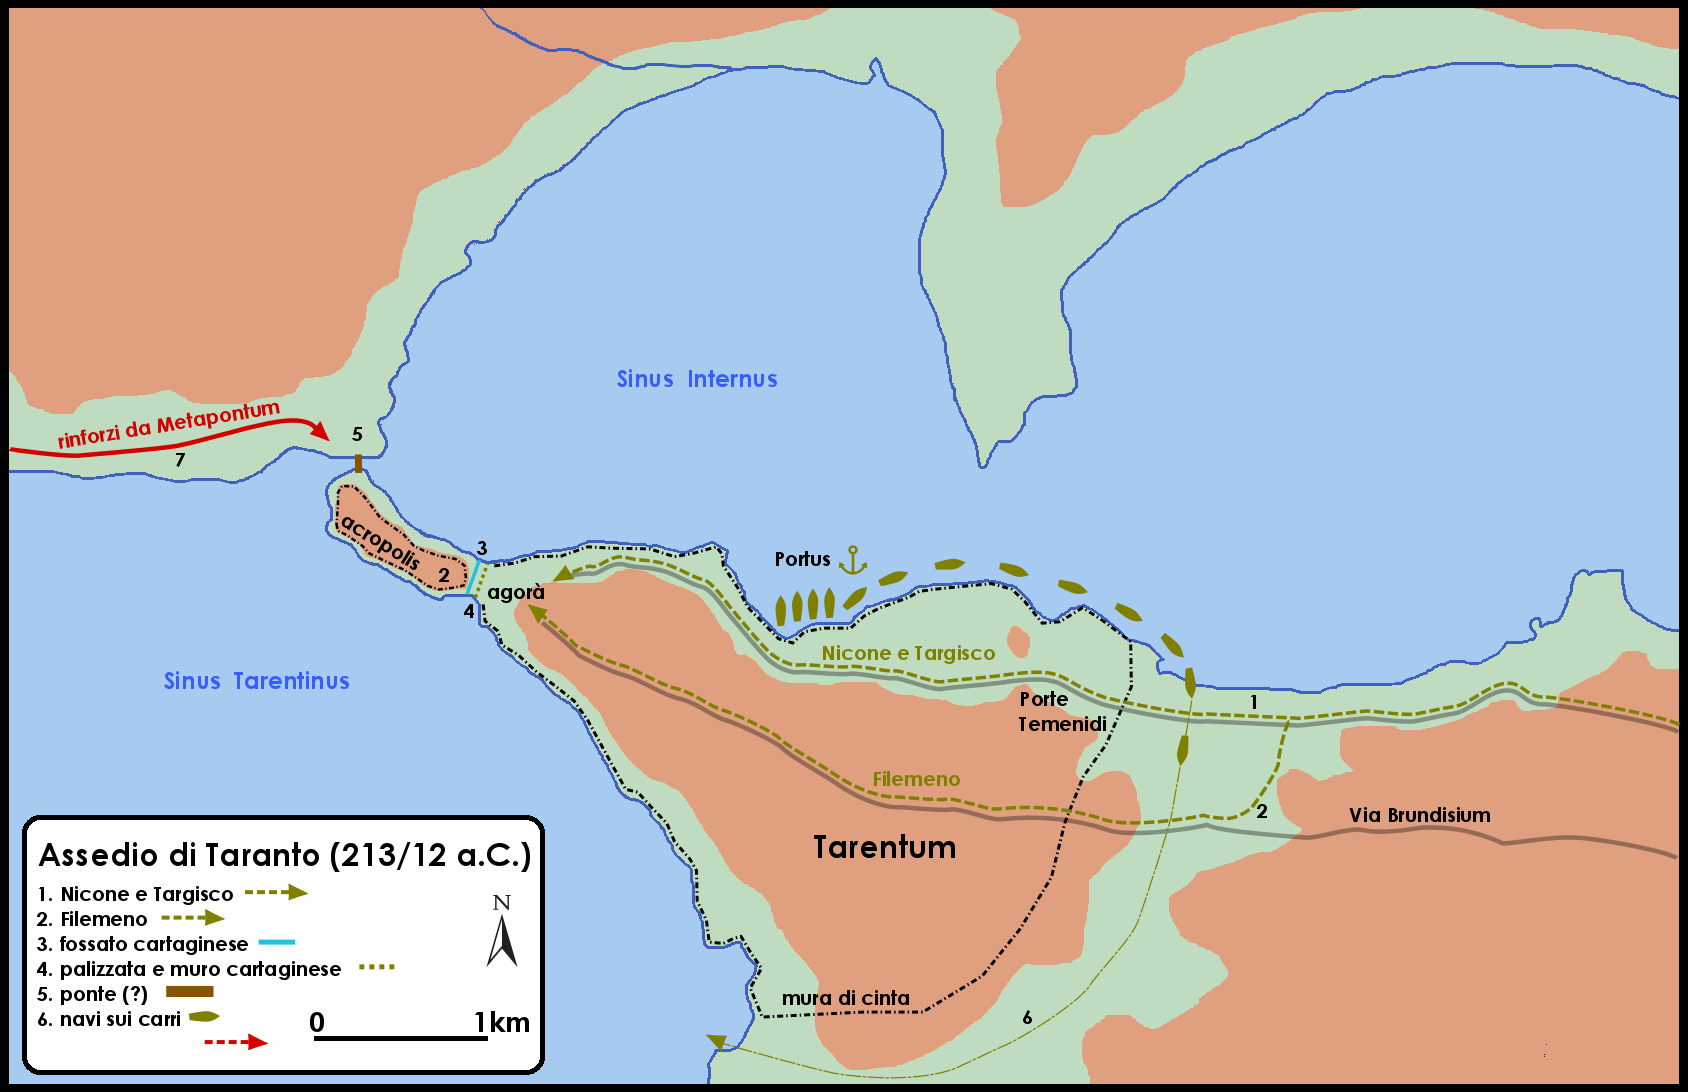
Captures Tarentum
· Ancient Tarentum, Taranto, Apulia, Italy
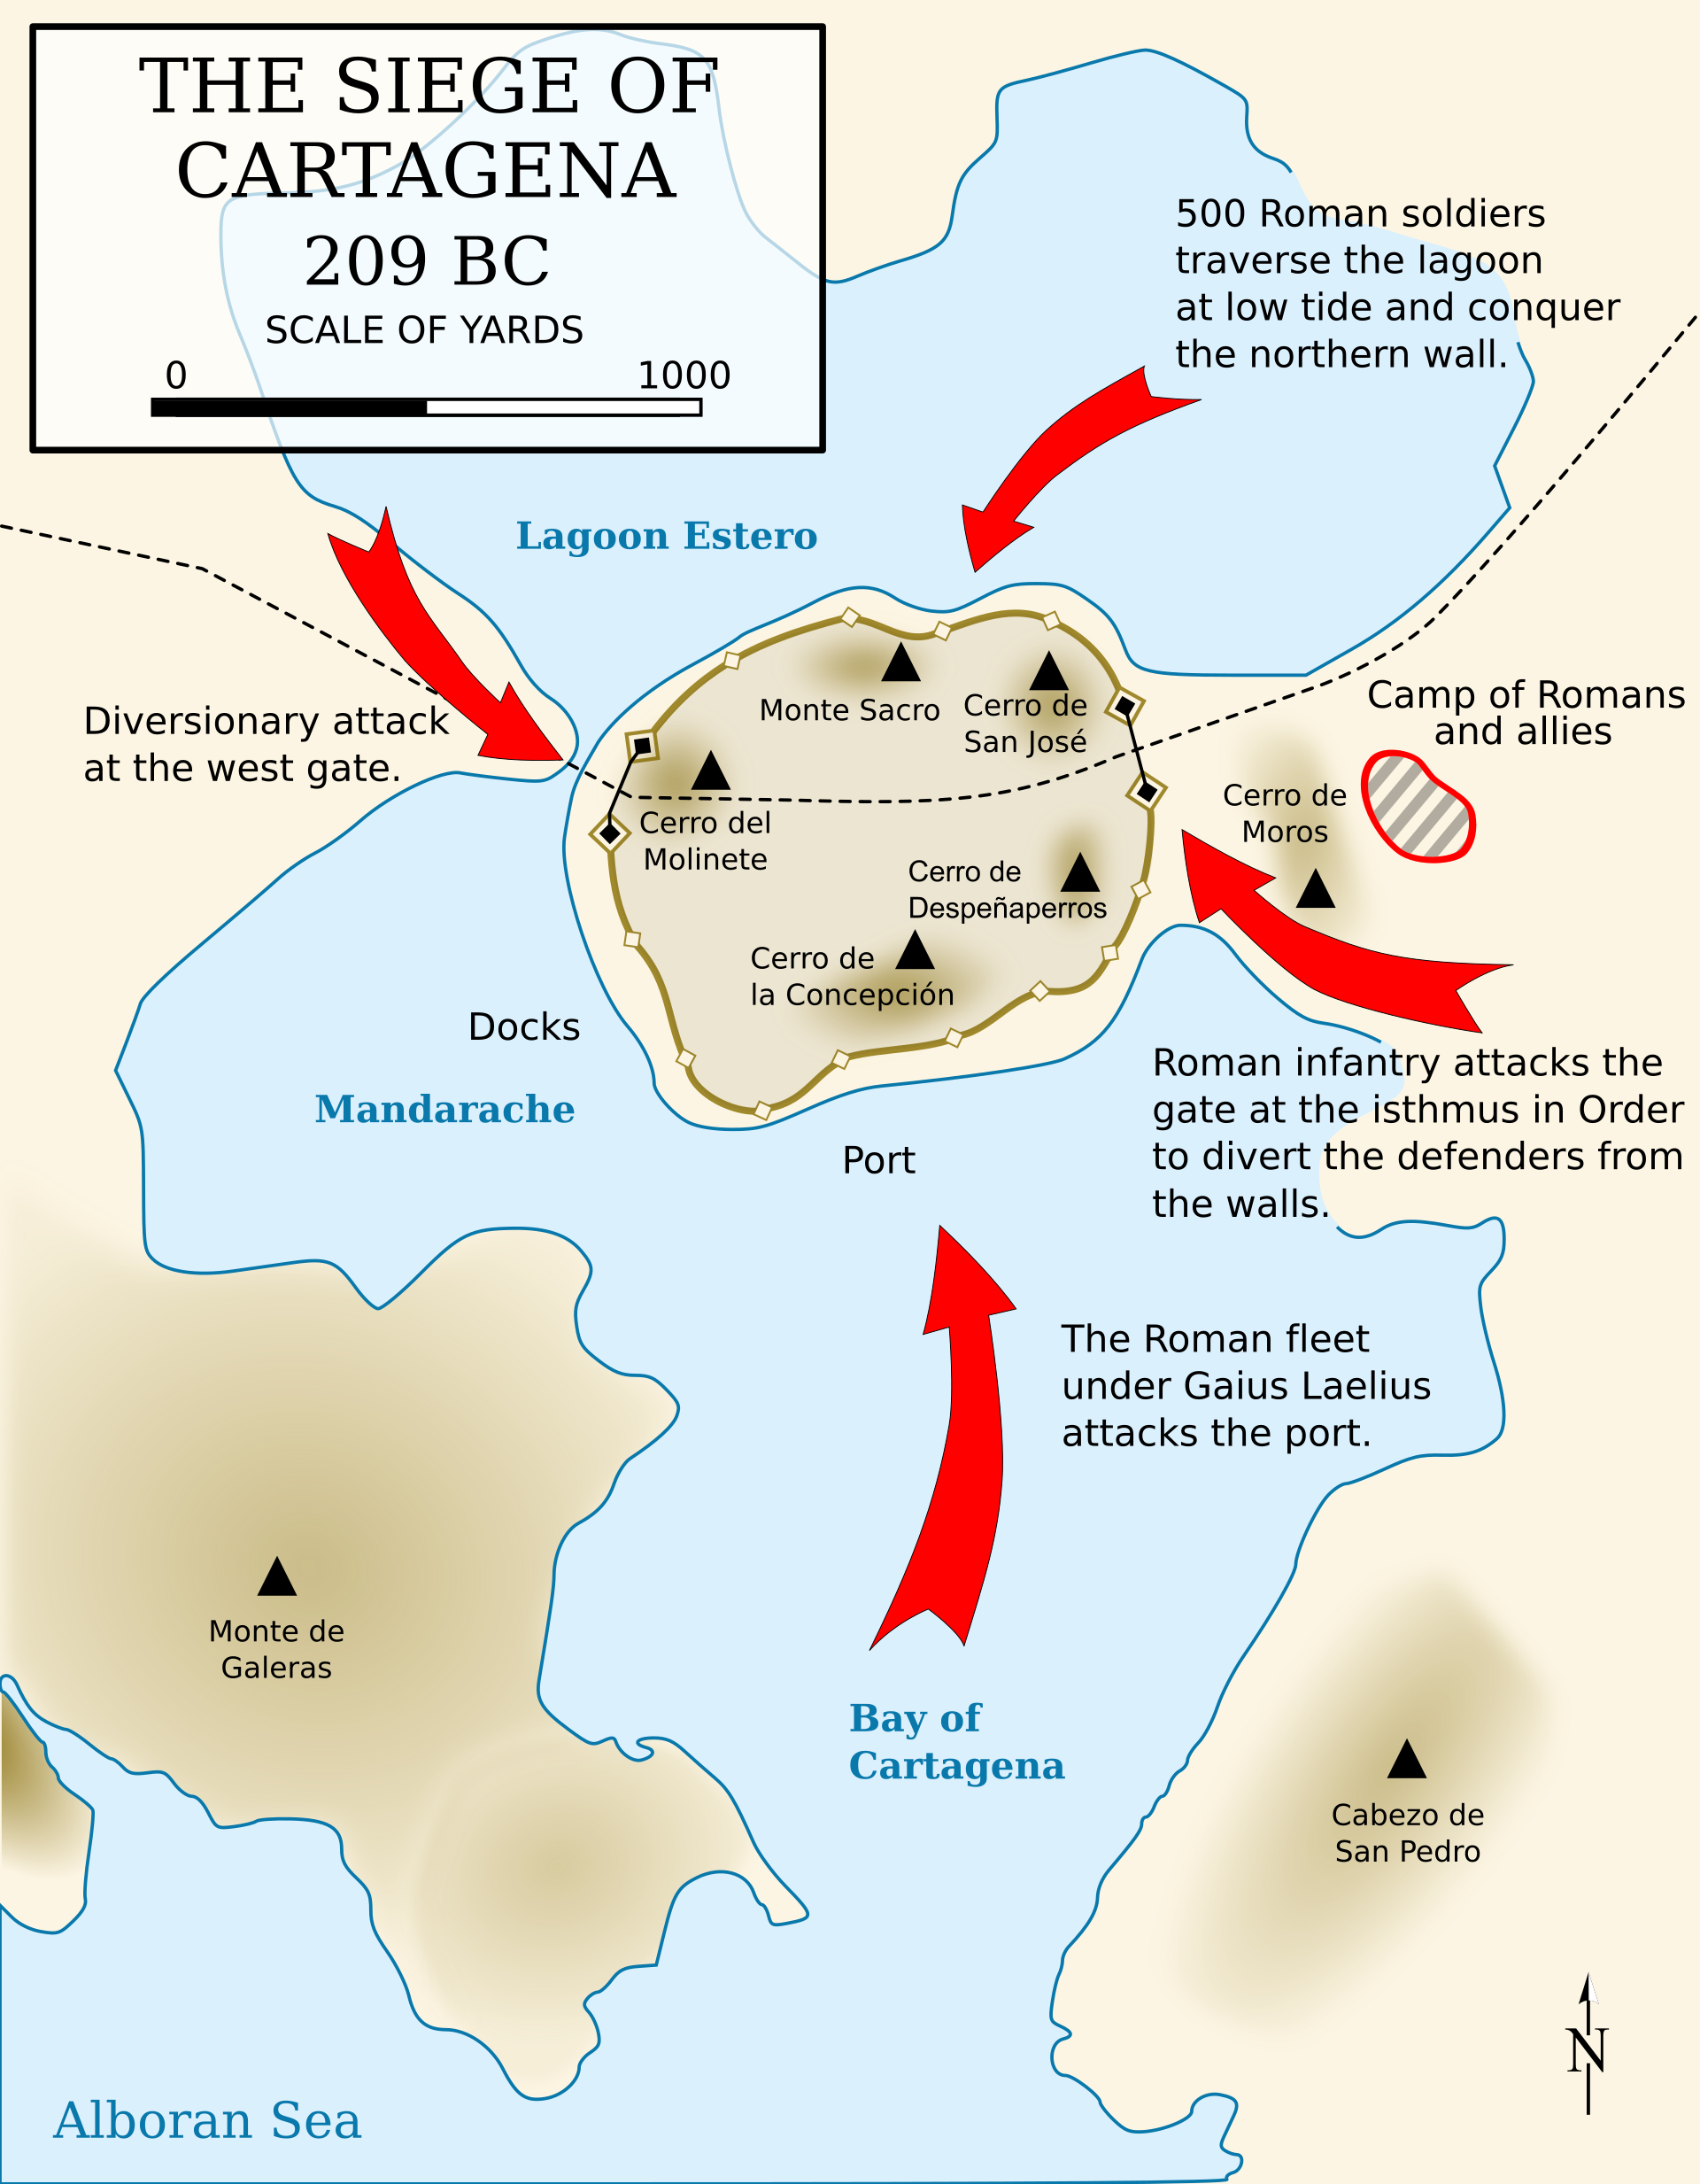
Wikimedia Commons · Creative Commons Attribution-Share Alike 4.0 · file Hannibal entered Tarentum through gates opened by conspirators and captured the city, although its Roman-held citadel remained beyond his control. The engagement is dated to March 212 BC.
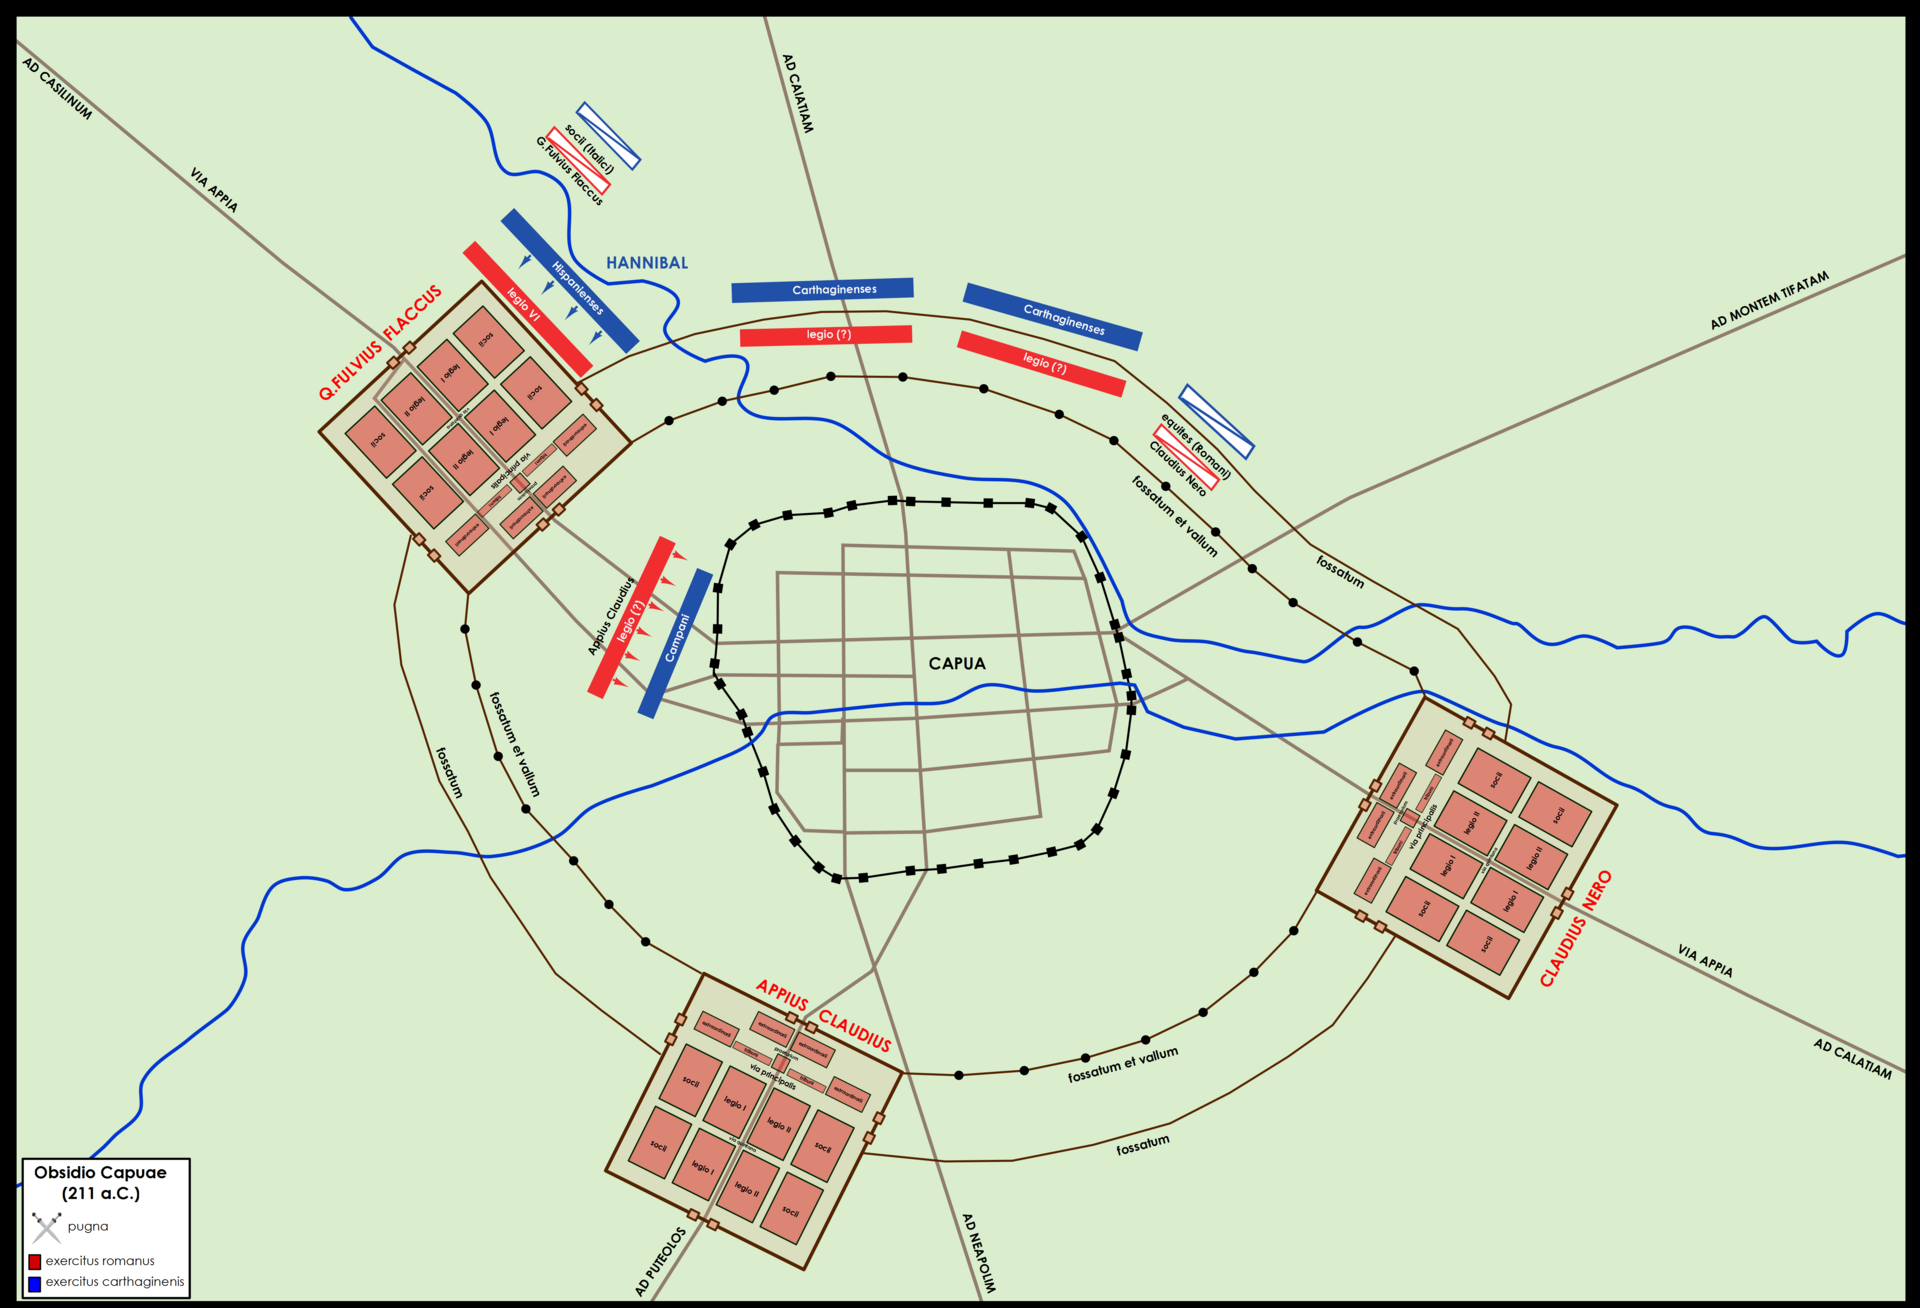
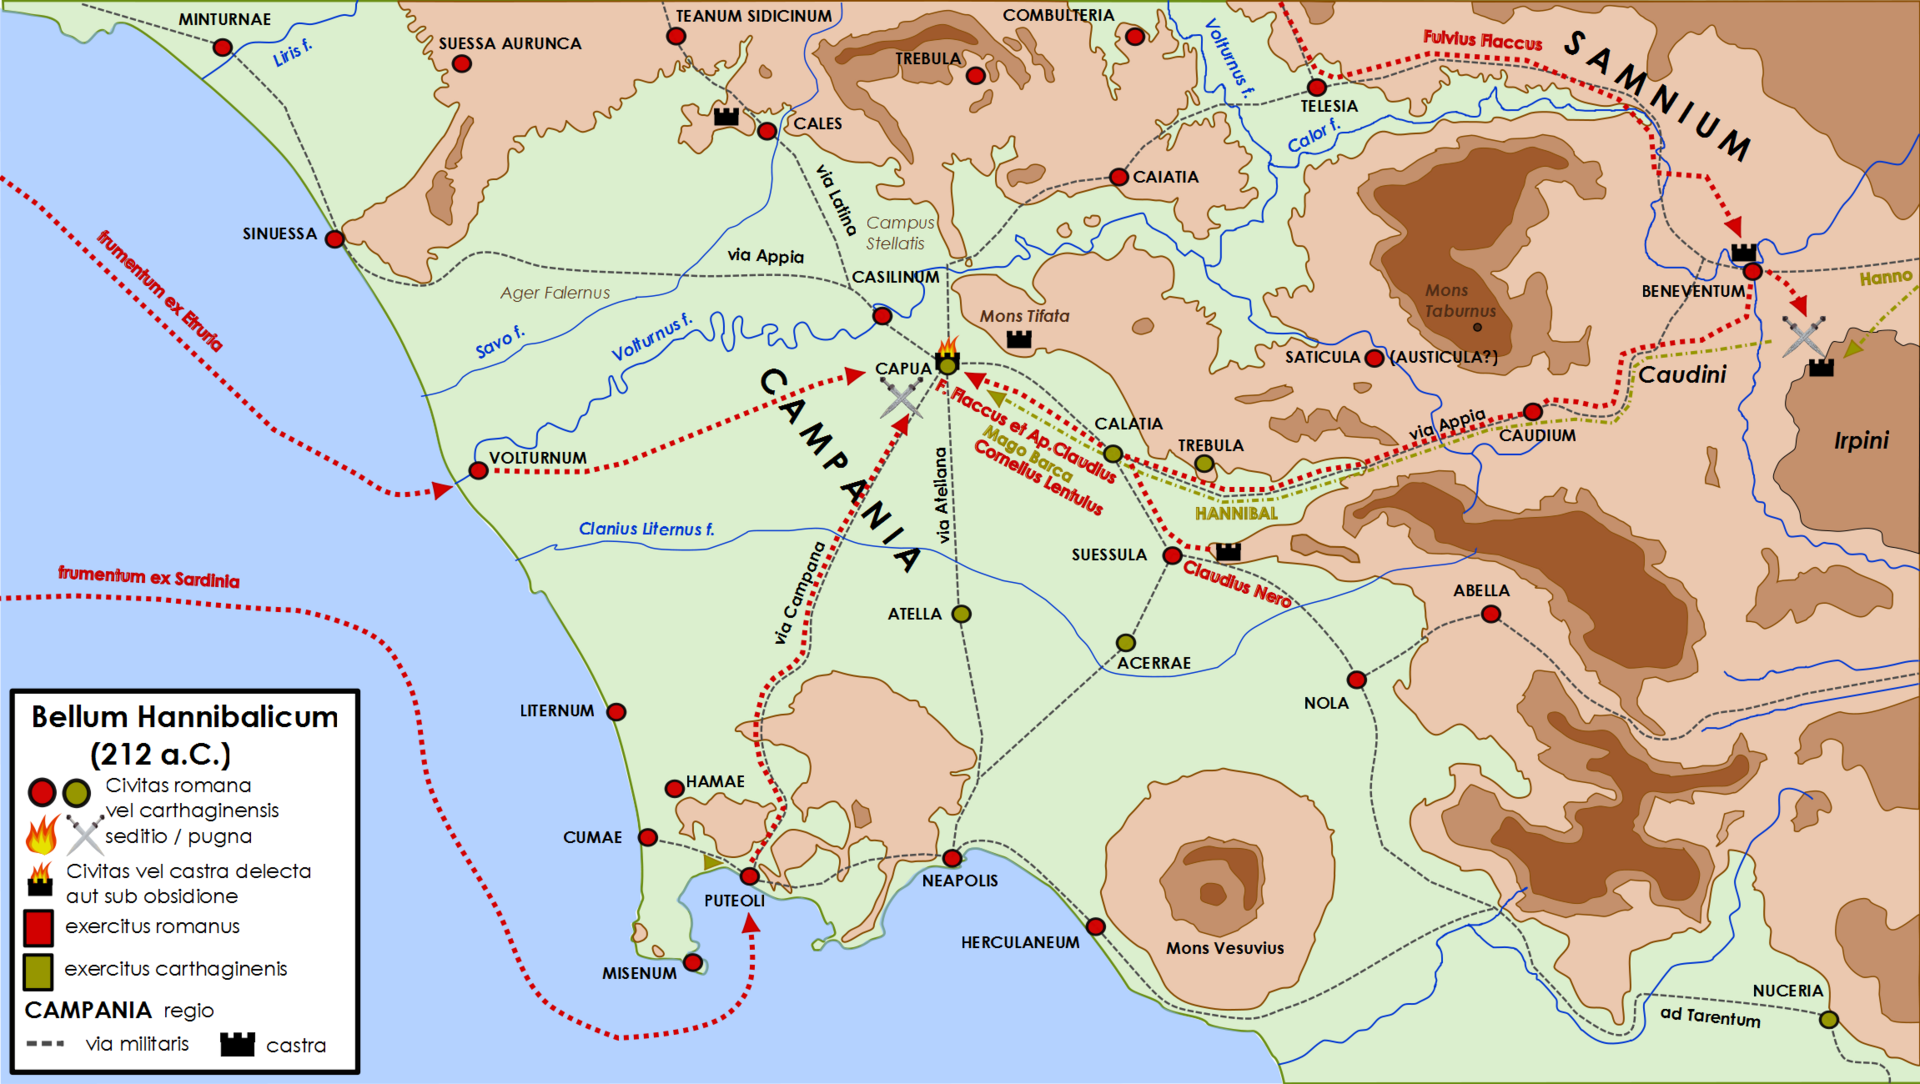
Attempts to relieve Capua
· Ancient Capua, Santa Maria Capua Vetere, Campania, Italy
Hannibal returned to the besieged allied city and attacked Roman siege positions, but could not compel the Romans to abandon the operation.
Marches to the gates of Rome
· Outskirts of ancient Rome, Lazio, Italy
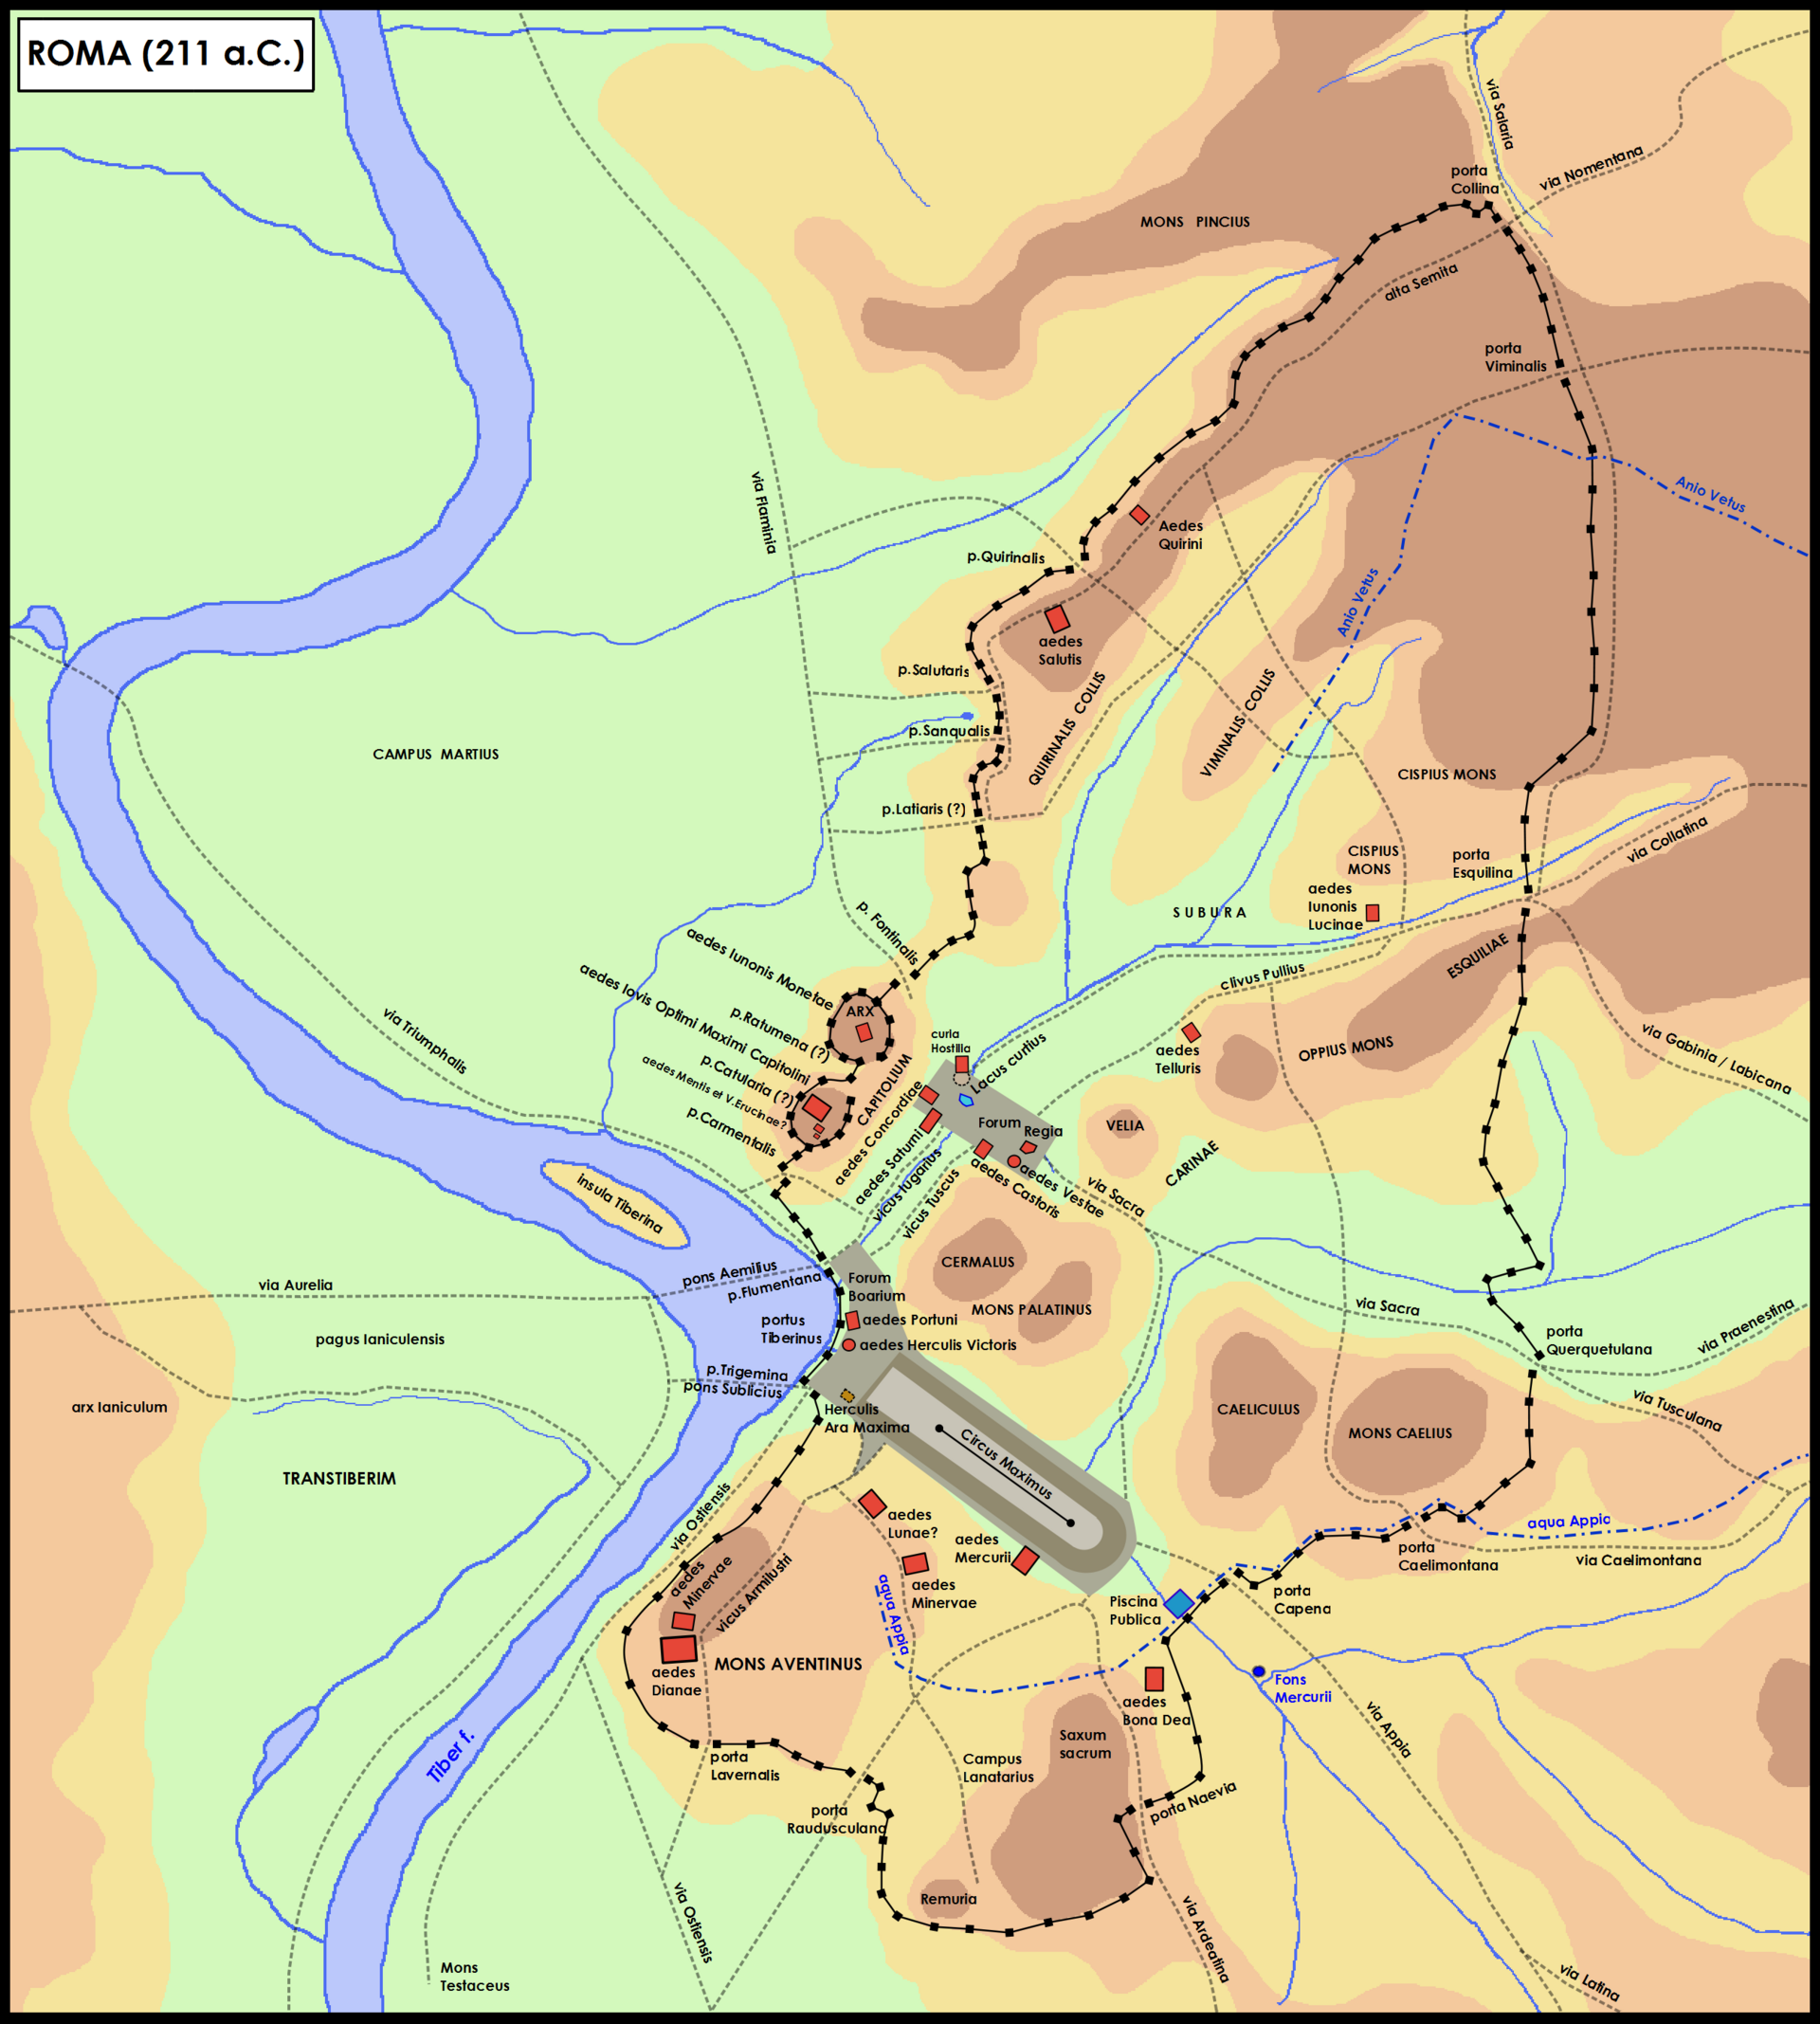
Wikimedia Commons · Creative Commons Attribution-Share Alike 4.0 · file Seeking to draw Roman armies away from Capua, Hannibal made a rapid diversion toward Rome and camped outside the city. Hannibal remained outside the fortified city. Coordinates represent the vicinity of ancient Rome rather than a securely identified campsite.
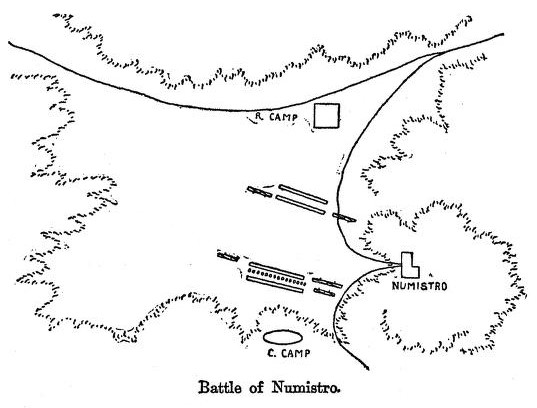
Fights Marcellus at Numistro
· Numistro, near Muro Lucano, Basilicata, Italy
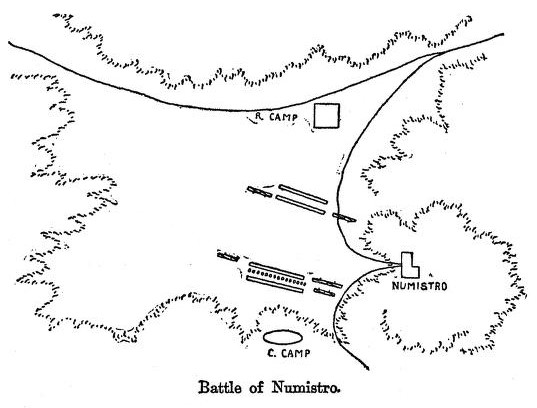
Wikimedia Commons · Public domain · file Hannibal met Marcellus at Numistro in a day-long, inconclusive engagement before withdrawing toward Apulia. Numistro is generally placed near modern Muro Lucano, but the exact battlefield is uncertain.
Returns to Herdonia
· Ancient Herdonia, Ordona, Apulia, Italy
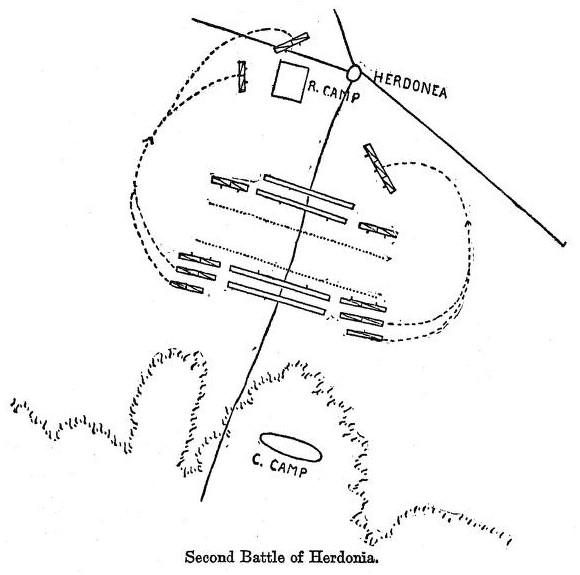
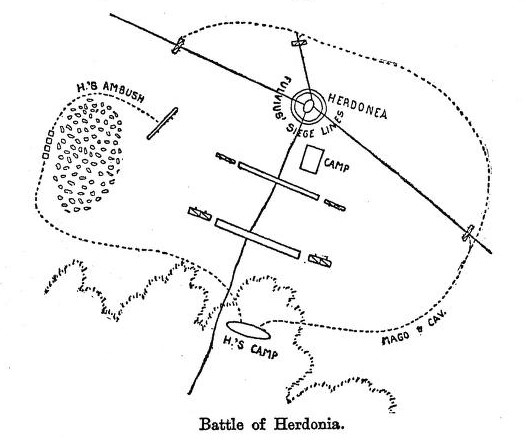
Wikimedia Commons · Public domain · file After forced marches back into northern Apulia, Hannibal surprised and defeated the Roman army besieging Herdonia. Ancient narratives may conflate or duplicate engagements at Herdonia in 212 and 210 BC.
Encamps near Canusium
· Ancient Canusium, Canosa di Puglia, Apulia, Italy
Wikimedia Commons · Public domain · file Hannibal encamped near Canusium and fought Marcellus in a costly three-day engagement during Rome's coordinated southern offensive. The battle is usually assigned to spring 209 BC.
Moves to relieve Caulonia
· Ancient Caulonia, near Monasterace, Calabria, Italy
Wikimedia Commons · Creative Commons Attribution 3.0 · file Hannibal hurried into Bruttium and destroyed a Roman detachment near Caulonia, although the movement prevented him from reaching Tarentum in time. Coordinates represent the archaeological site of ancient Caulonia.
Sets the Petelia ambush
· Ancient Petelia, Strongoli, Calabria, Italy
Wikimedia Commons · Creative Commons Attribution-Share Alike 4.0 · file Hannibal concealed infantry and cavalry near Petelia and destroyed a Roman detachment traveling toward Locri. The engagement occurred in summer 208 BC; the exact ambush site near Petelia is unknown.
Fights at Grumentum
· Ancient Grumentum, Basilicata, Italy
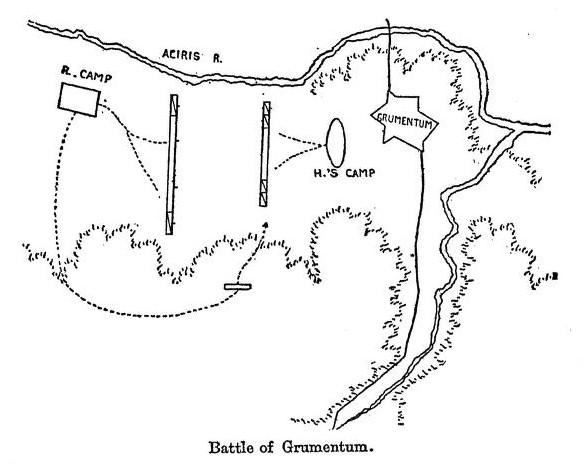
Wikimedia Commons · Public domain · file Hannibal fought the army of consul Gaius Claudius Nero near Grumentum before moving onward through southern Italy. The engagement is generally dated to spring 207 BC.
Camps near the Temple of Juno Lacinia
· Temple of Juno Lacinia, Capo Colonna, Calabria, Italy
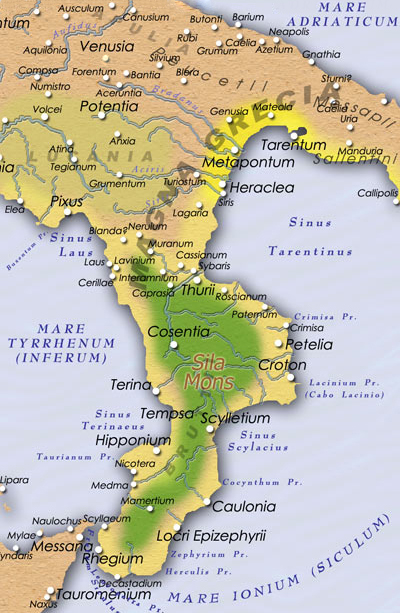
Wikimedia Commons · Public domain · file Near the close of the Italian war, Hannibal maintained a recurring camp beside the sanctuary of Juno Lacinia and recorded his campaign on a bronze inscription. The page's stated 206 BC evacuation conflicts with the better-attested recall and departure in 203 BC. The card represents the multiwinter camp around 205–203 BC.
Establishes headquarters at Croton
· Ancient Croton, Crotone, Calabria, Italy
Wikimedia Commons · Creative Commons Attribution-Share Alike 3.0 · file Confined increasingly to Bruttium, Hannibal made Croton his principal headquarters and logistical base for the final Italian campaigns. The source places this headquarters during the 205 BC campaign.
Concentrates his army at Hadrumetum
· Ancient Hadrumetum, Sousse, Tunisia
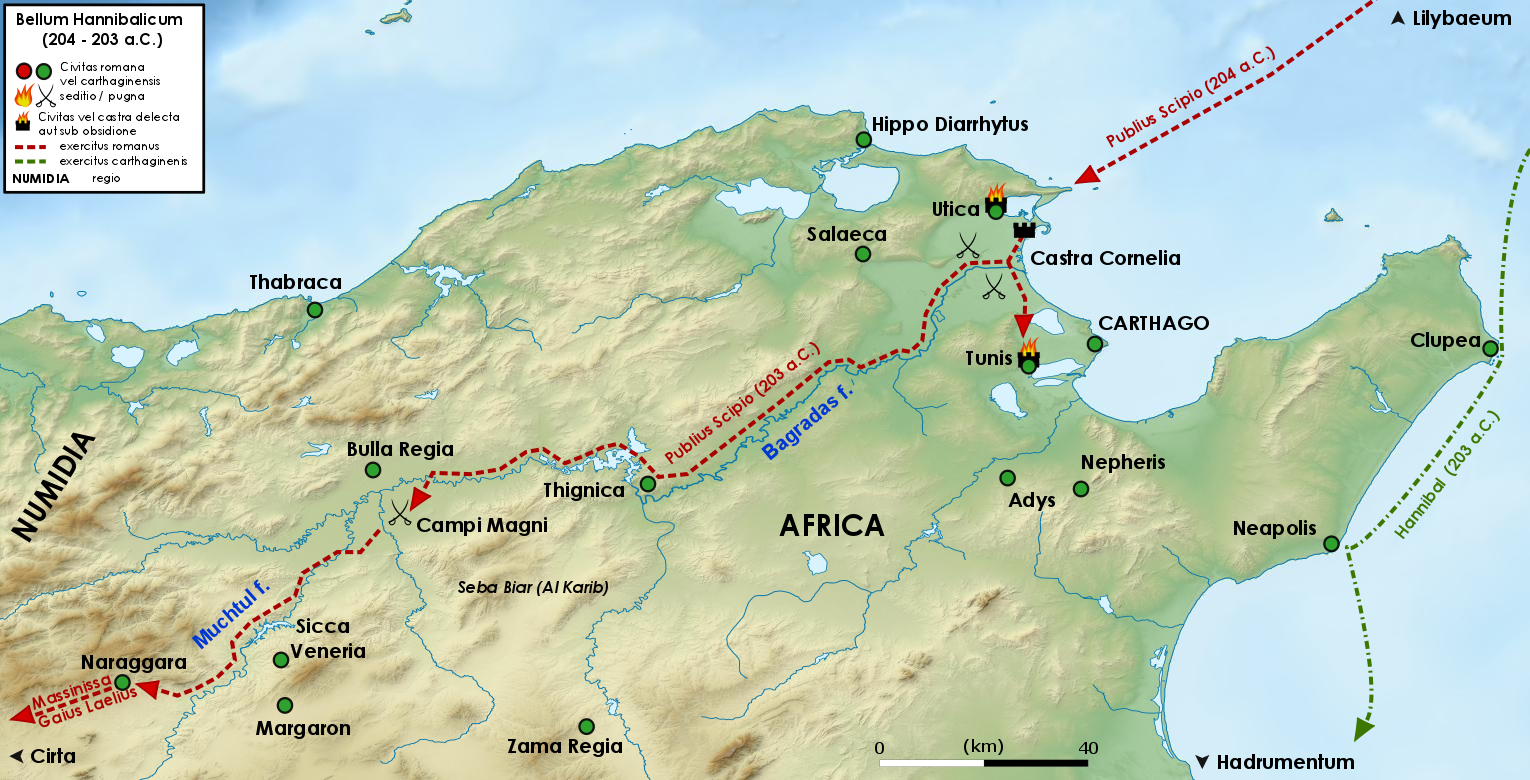
Wikimedia Commons · Public domain · file After landing, Hannibal assembled and reorganized the returning veterans and newly raised forces at Hadrumetum.
Returns to North Africa at Leptis Minor
· Leptis Minor, Lamta, Tunisia
Wikimedia Commons · Creative Commons Attribution-Share Alike 4.0 · file Recalled from Italy, Hannibal transported his surviving veterans from Croton and landed south of Carthage at Leptis Minor.
Commands at Zama
· Zama battlefield area, near Siliana, Tunisia
Wikimedia Commons · Creative Commons CC0 1.0 Universal Public Domain Dedication · file Hannibal marched inland from Hadrumetum and commanded Carthage's last major field army against Scipio Africanus at Zama. The exact battlefield remains debated; coordinates follow the representative location used by the cited article.
Escapes back to Hadrumetum
· Ancient Hadrumetum, Sousse, Tunisia
Wikimedia Commons · Creative Commons Attribution-Share Alike 3.0 · file Following the defeat at Zama, Hannibal escaped with a small cavalry party and returned to the Carthaginian base at Hadrumetum. The Latin states that Hannibal escaped amid the turmoil with a few horsemen and fled to Hadrumetum.
Continues to Antioch
· Ancient Antioch, Antakya, Türkiye
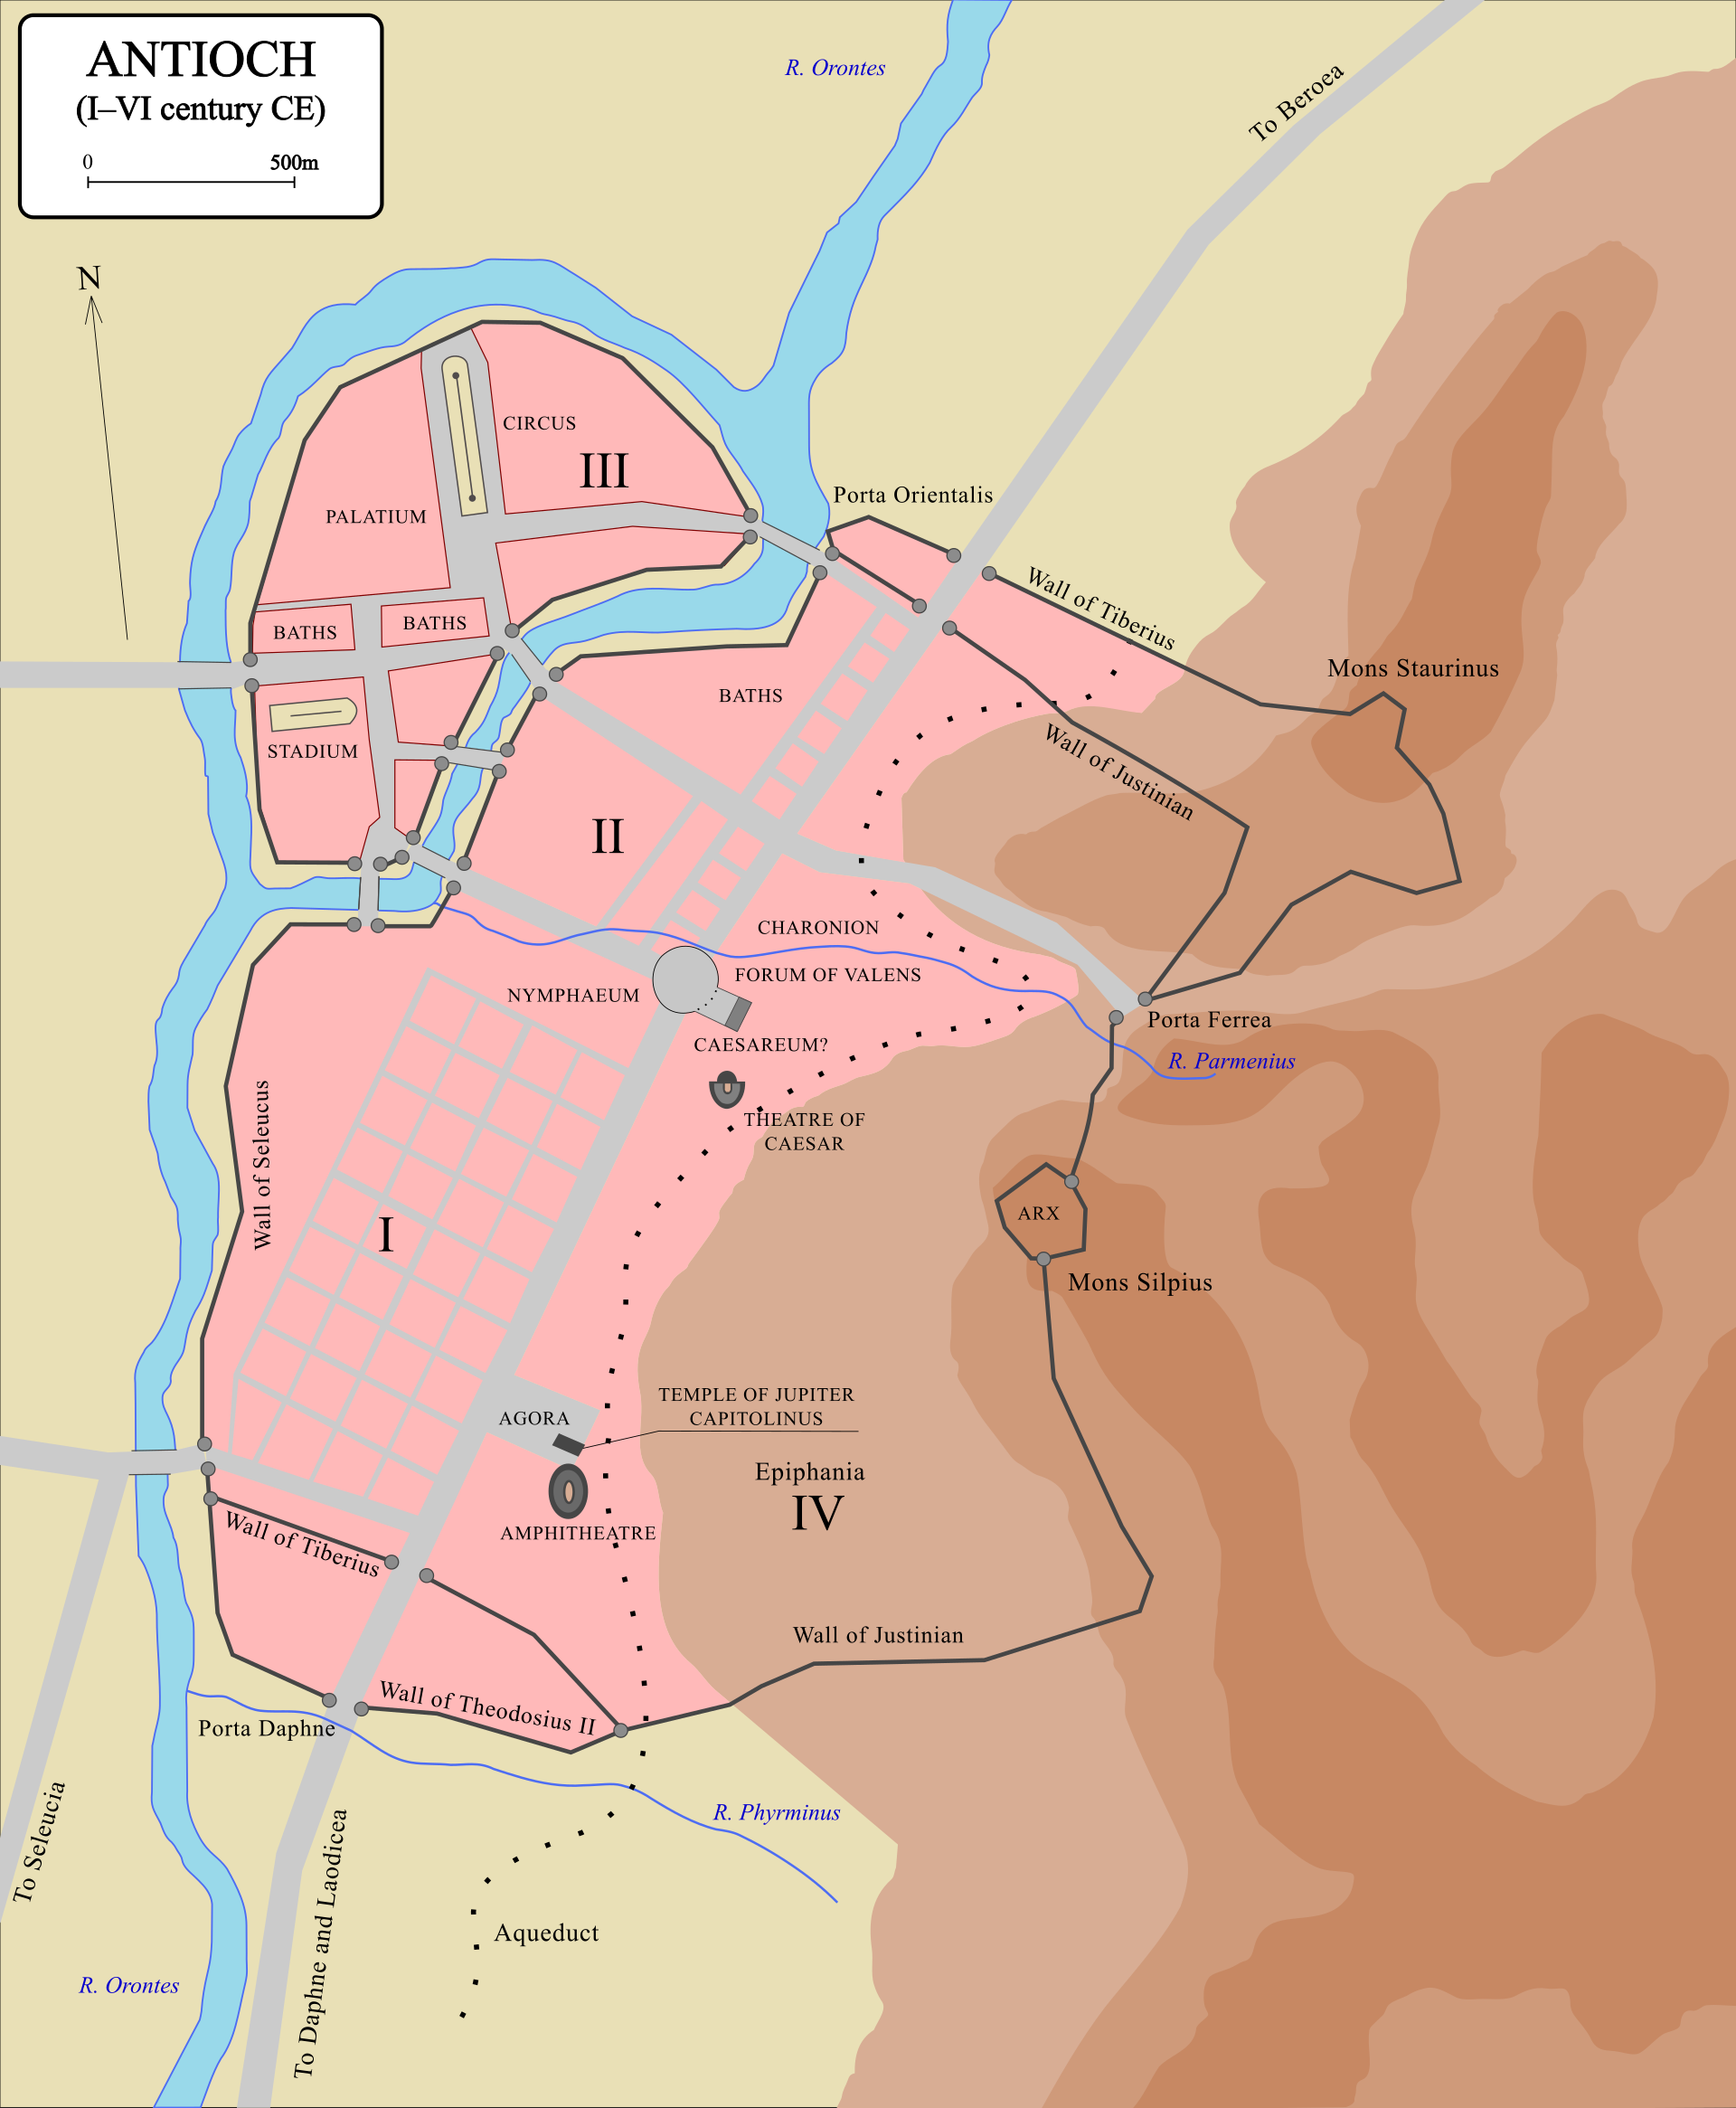
Wikimedia Commons · Creative Commons Attribution-Share Alike 4.0 · file After a brief stay at Tyre, Hannibal continued to Antioch while seeking the protection of Antiochus III. The journey's individual stages are not precisely dated beyond the exile beginning in 195 BC.
Finds Antiochus at Ephesus
· Ancient Ephesus, İzmir Province, Türkiye
Hannibal reached Ephesus and joined the court of Antiochus III, becoming an adviser in Seleucid planning against Rome. The arrival is generally associated with Hannibal's flight in 195 BC.
Reaches Tyre in exile
· Ancient Tyre, Tyre, Lebanon
Wikimedia Commons · Creative Commons Attribution-Share Alike 4.0 · file Fleeing Roman demands and domestic enemies, Hannibal reached Tyre, the Phoenician mother city of Carthage. The traditional chronology places Hannibal's flight from Carthage in 195 BC.
Secretly lands near Cyrene
· Territory of Cyrene, Libya
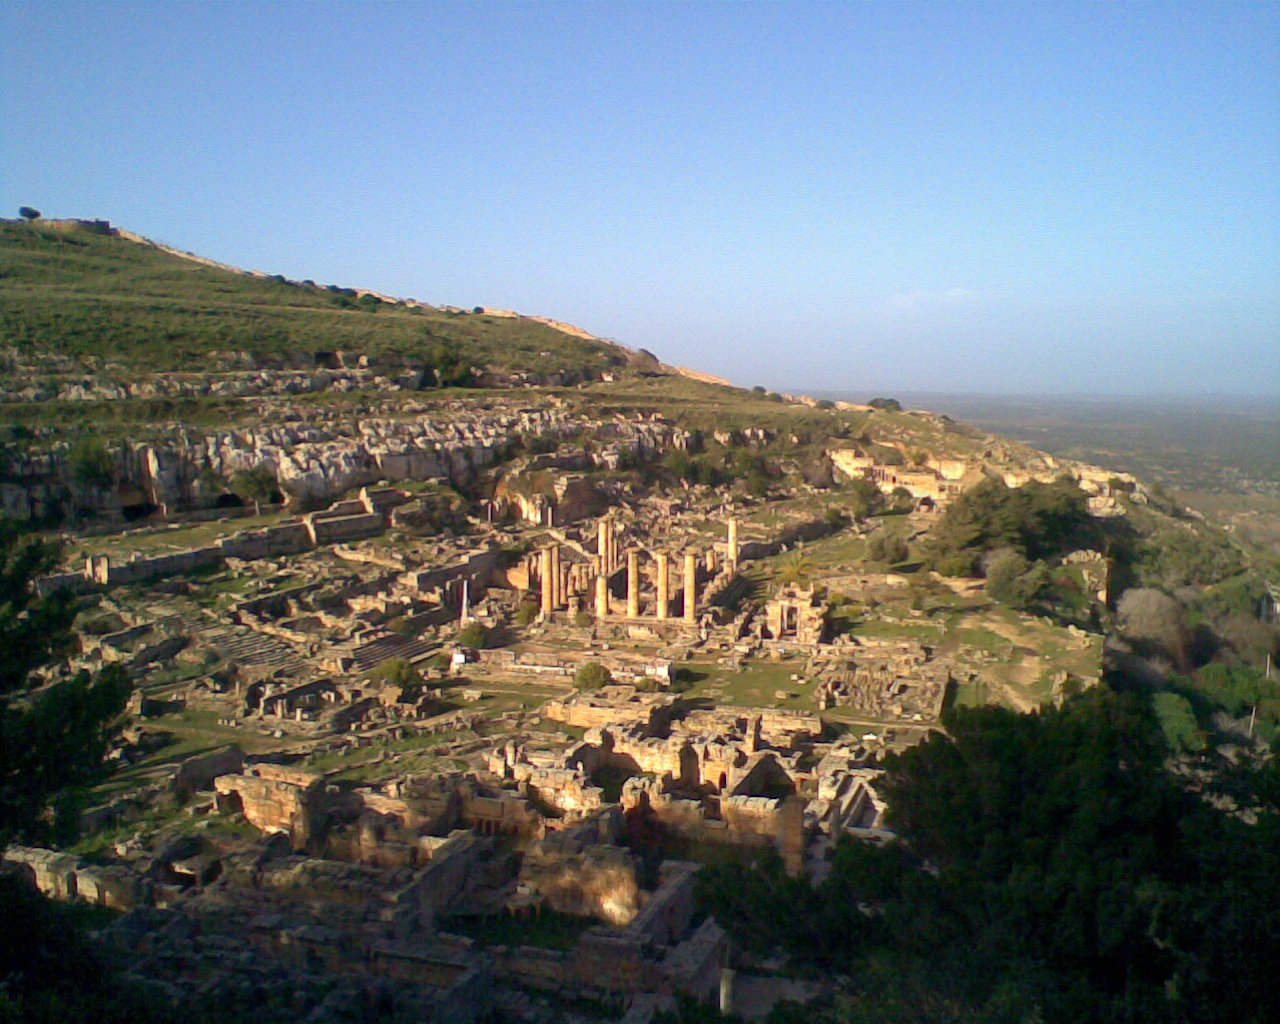
Wikimedia Commons · Public domain · file During exile, Hannibal made a covert return toward Carthaginian territory, landing near Cyrene to explore whether Carthage could be induced to renew war. Cornelius Nepos dates this episode to the consulship corresponding to 193 BC; the exact landing point is unknown.
Sails from Seleucia Pieria
· Seleucia Pieria, Hatay Province, Türkiye
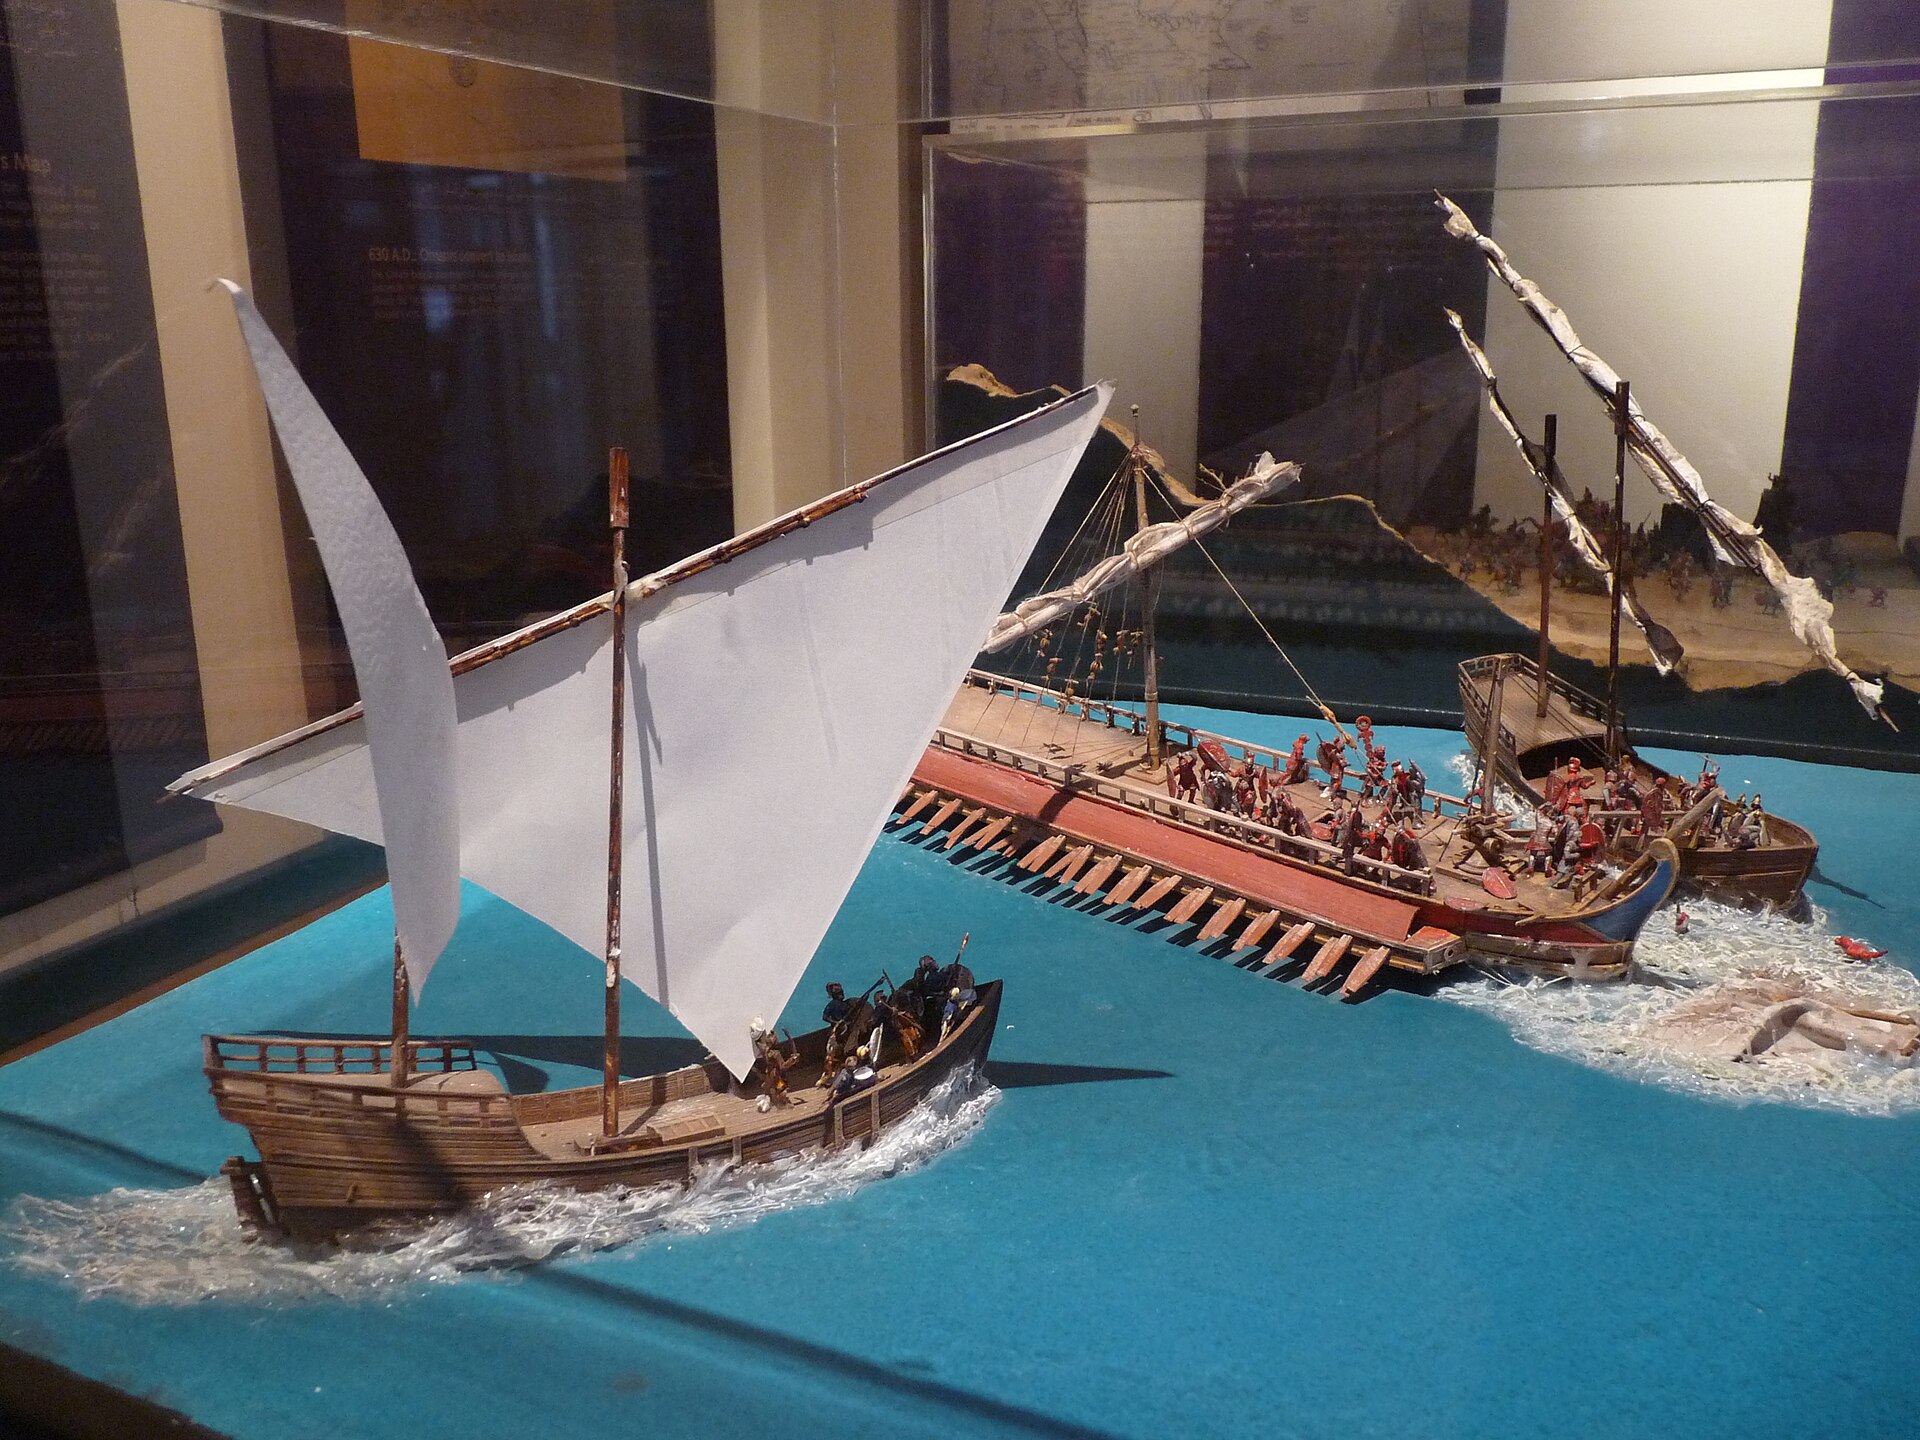
Commanding a newly assembled Seleucid fleet, Hannibal departed Seleucia Pieria to reinforce naval forces operating farther west.
Commands fleet at Side
· Ancient Side, Antalya Province, Türkiye
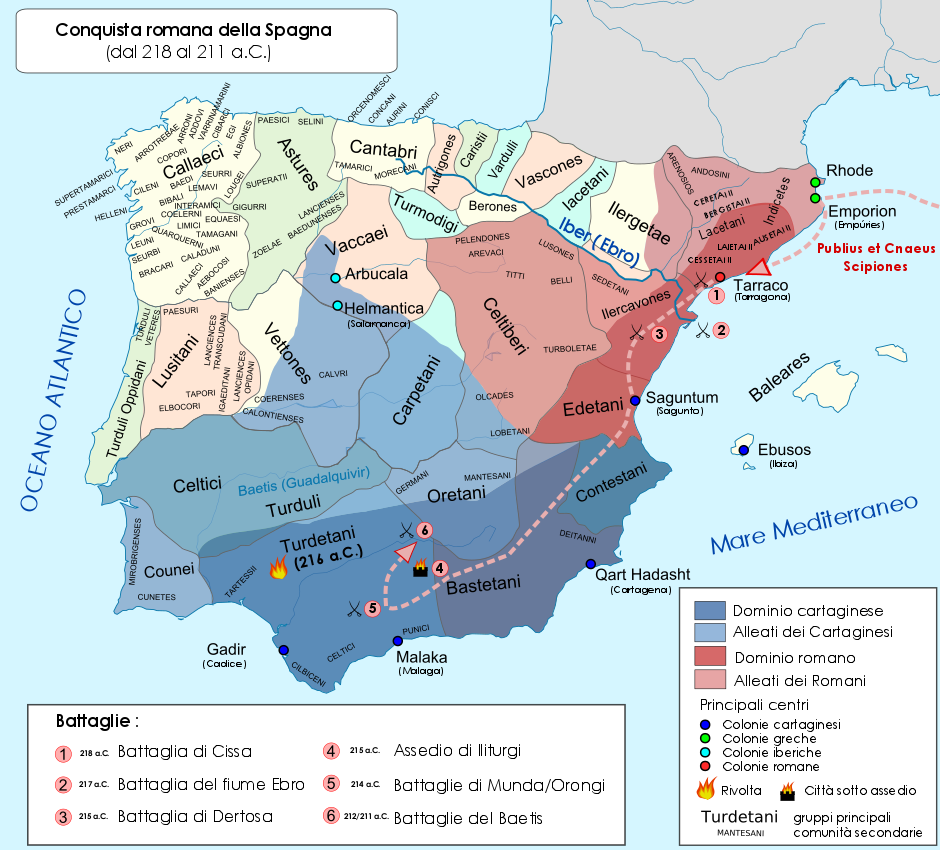
Wikimedia Commons · Creative Commons Attribution-Share Alike 3.0 · file Hannibal's Seleucid fleet reached Side and fought a Rhodian squadron near the mouth of the Eurymedon River. The naval engagement is generally dated to August 190 BC.
Seeks asylum on Crete
· Ancient Gortyn, Crete, Greece
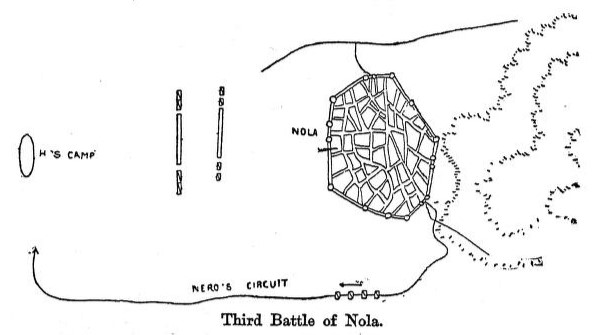
Wikimedia Commons · Creative Commons Attribution 3.0 · file After Antiochus III's defeat, Hannibal fled to the Gortynians on Crete while deciding where he could safely continue his exile. The journey followed the Seleucid defeat and settlement of 190–189 BC; year-level placement is approximate.
Takes refuge with Prusias
· Kingdom of Bithynia, northwestern Türkiye
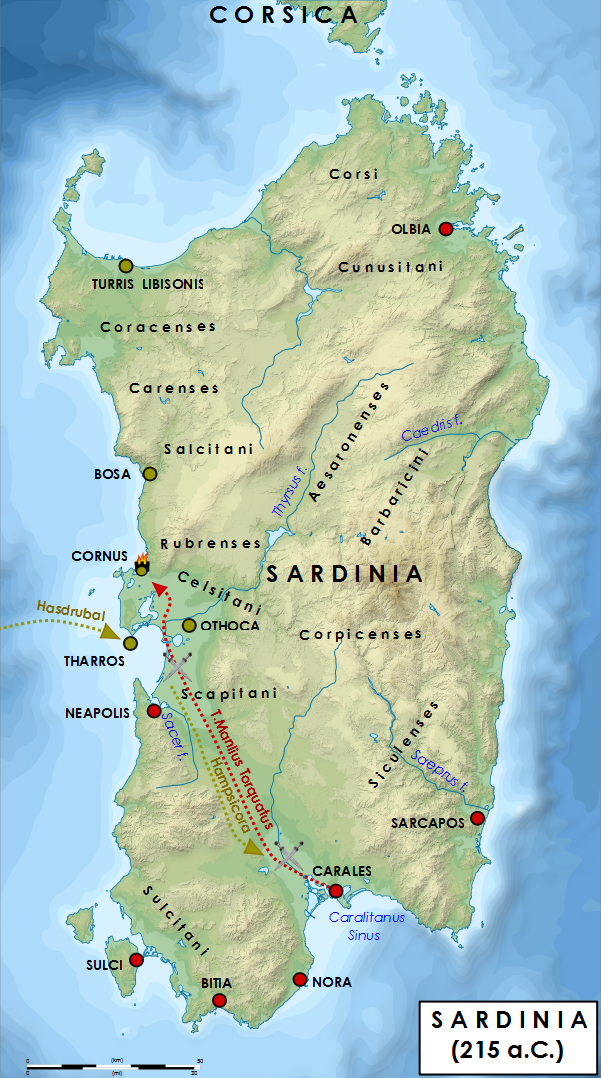
Wikimedia Commons · Creative Commons Attribution-Share Alike 4.0 · file Hannibal returned to Anatolia and entered the protection of Prusias I, ruler of Bithynia, whom he later assisted against Pergamon. The source establishes presence in Prusias's kingdom but not a particular court city. Nicomedia is used as a representative point.
Dies at Libyssa
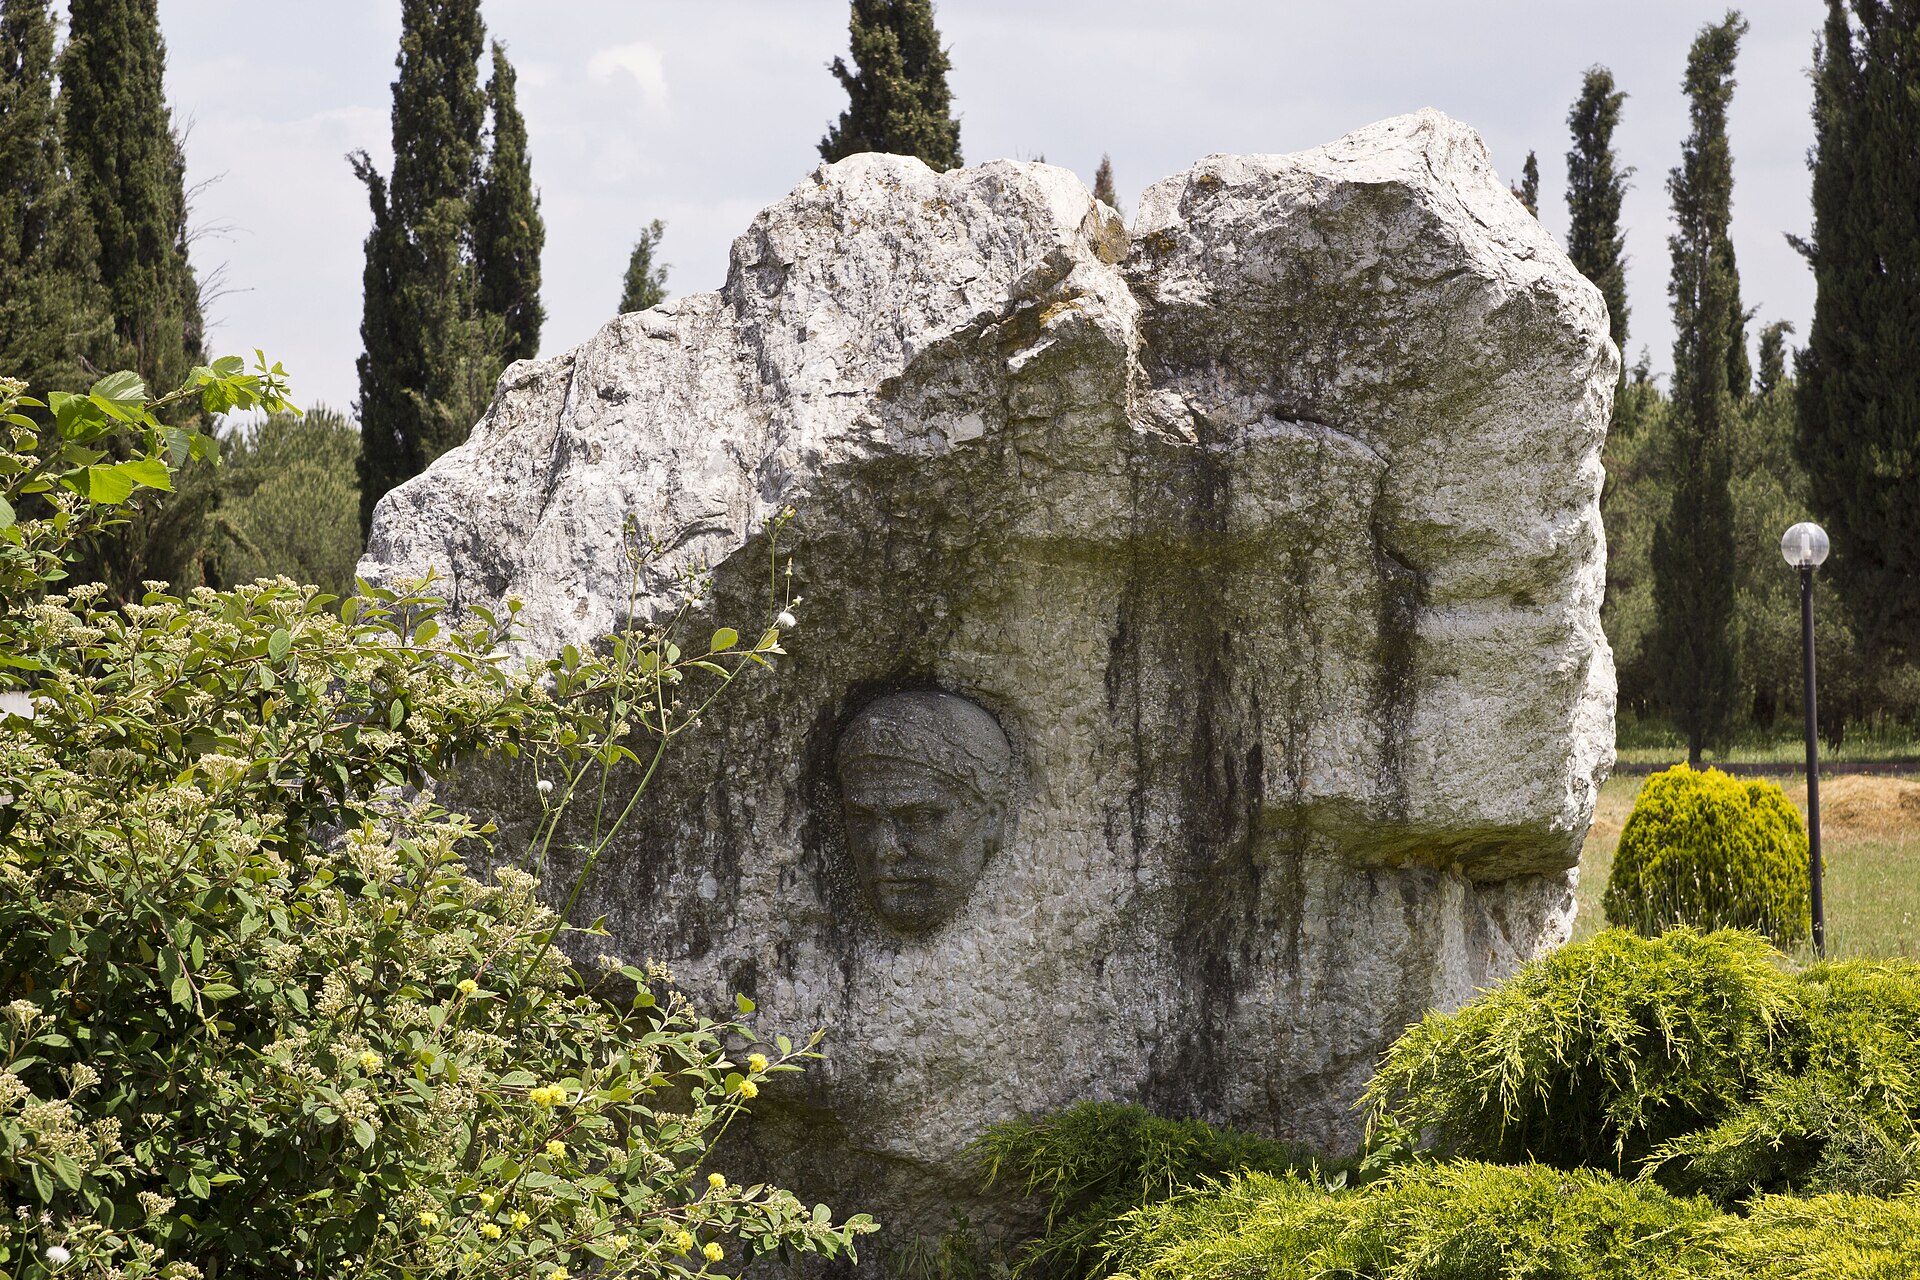
· Libyssa, near Gebze, Kocaeli Province, Türkiye
Wikimedia Commons · Creative Commons Attribution 2.0 · file Facing surrender to Rome, Hannibal died in Bithynia, traditionally by poison, at Libyssa near the Sea of Marmara. Ancient authorities variously date his death to 183, 182, or 181 BC. Libyssa is traditionally associated with the Gebze area, but its exact location is uncertain.